crwdns2915892:0crwdne2915892:0
Use this repair guide to remove and replace the Sony Handycam DCR DVD103 lens.
If the Sony Handycam DCR DVD103 has a cracked or broken lens, this repair guide will help the camera perform as designed. This repair does not require special skills.
The camera featured in this repair guide does not contain a battery.
crwdns2942213:0crwdne2942213:0
-
-
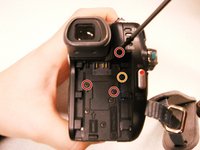
Turn the camera so the back side, beneath the viewfinder, is facing you.
-
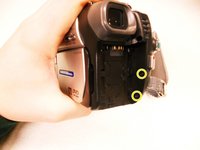
Locate the battery pack compartment.
-
Press the small release button near the battery compartment.
-
While pressing the button, slide the switch forward to unlock the battery.
-
-
-
Carefully pull the battery pack out of the compartment.
-
To reinsert, align the battery pack with the compartment.
-
Slide the battery back into the camera until it clicks securely into place..
-
-
-
Using a #00 Phillips screwdriver, remove the six 4.5 mm screws from the camera's bottom.
-
-
-
Remove the three 4.5 mm screws beneath the battery.
-
Remove the 2.9 mm screw from the right corner.
-
Remove the two 4.5 mm screws from the battery's right wall.
-
-
-
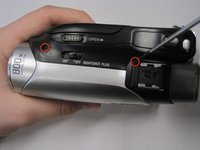
Remove the 4.5 mm screw under the output flap on the front of the camera below the lens.
-
-
-
Remove the two 4.5 mm screws at the top of the camera.
-
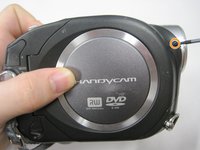
Remove the 4.5 mm screw from the disk side of the camera (next to the lens).
-
-
-
-
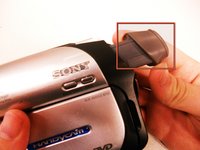
Extend the gray viewfinder, then gently remove the black plastic casing.
-
-
-
Remove the two 2.9 mm screws under the black plastic casing.
-
-
-
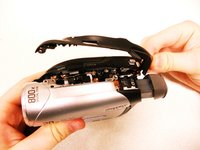
Gently pull apart the outer silver case and screen.
-
Remove the copper wire strip to detach the case from the camera.
-
-
-
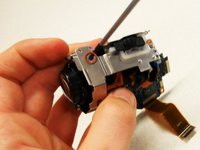
Remove the 4.5 mm thread that connects the lens to the camera body.
-
-
-
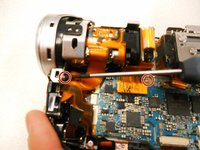
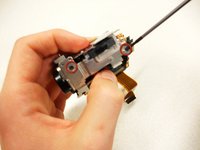
Remove the two 4.5 mm screws from the bottom left and top left of the lens casing.
-
Remove the two 2.9 mm screws from the top right and bottom right of the lens casing.
-
-
-
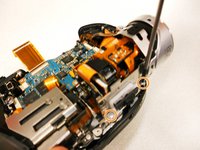
Gently slide the ribbon cables away from their connections on the motherboard.
-
-
-
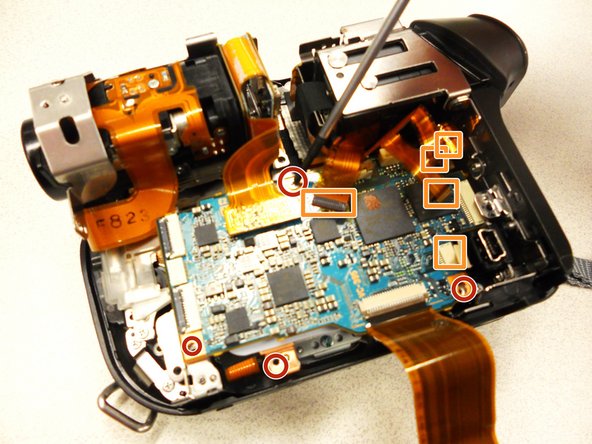
Remove the 4.5 mm screw that connects the camera body to the lens on the DVD side of the camera.
-
-
-
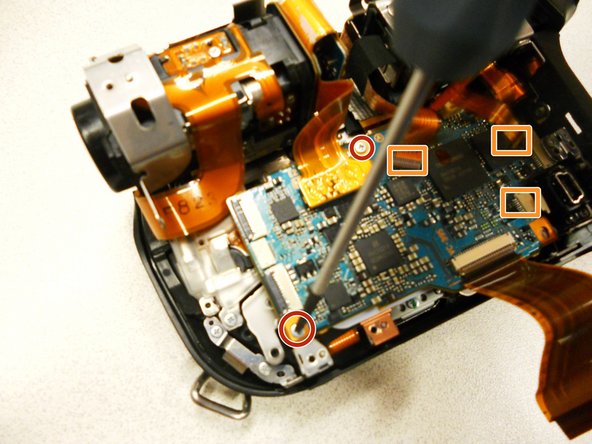
Remove the five 2.9 mm screws connected to the circuit board.
-
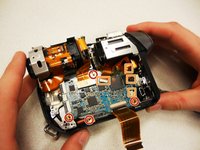
Remove the circuit board from the camera.
-
Remove the five copper wires attached to the circuit board.
-
-
-
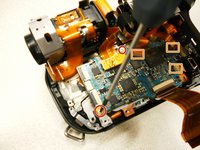
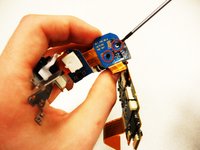
Unscrew the three 2.9 mm black screws to remove the metal bracket from the lens.
-
-
-
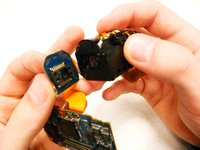
Remove the two silver 4.5 mm screws from the bottom of the lens.
-


To reassemble your device, follow these instructions in reverse order.
crwdns2935221:0crwdne2935221:0
crwdns2935229:02crwdne2935229:0
crwdns2935287:0crwdne2935287:0

Cal Poly, Team 7-44, Regan Winter 2011 crwdns2935289:0Cal Poly, Team 7-44, Regan Winter 2011crwdne2935289:0
CPSU-REGAN-W11S7G44
crwdns2931471:05crwdne2931471:0
crwdns2935297:010crwdne2935297:0