crwdns2915892:0crwdne2915892:0
Sometimes, either because it has been scratched/broken/damaged in some way, we need to replace the lens of a Handycam. This guide will help you replace the lens of your HDR-PJ410 Sony Handycam.
crwdns2942213:0crwdne2942213:0
-
-
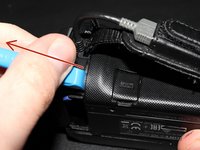
Pull the battery cover outwards to unlock it.
-
Then, push the small blue tab outwards to unlock the battery.
-
Finally, pull the battery out.
-
-
-
Pull the battery up and outwards to "unhook" it from the camera body.
-
-
-
Remove the 4x #000 Philips screws from the bottom of the camera.
-
-
-
Remove the 2x #000 Philips screws from the right side of the camera.
-
-
-
Flip open the LCD screen.
-
Remove the #000 Philips screw from top left side of the camera.
-
-
-
-
Remove the #000 Philips screw next to the top right corner of the LCD.
-
-
-
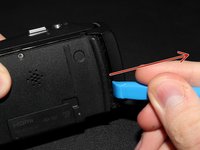
Use the Opening Tool to remove the small plastic panel from the back of the camera.
-
-
-
Remove #000 Philips screw from the top back of the camera, under the panel we removed on step 7.
-
-
-
Use a guitar pick or an opening tool to remove the plastic cover of the hinge that holds the LCD screen.
-
-
-
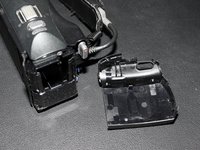
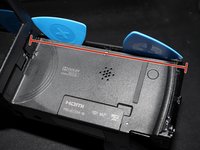
Use guitar picks to pry off the entire top and right panel of the camera (they are one piece).
-
-
-
Remove the silver colored outer lens cover using a guitar pick or an opening tool.
-
-
-
Remove the screw at the front of the camera on the bottom right corner, that holds the inner lens cover in place.
-
-
-
Very carefully remove the inner lens cover by pulling it outwards.
-
-
crwdns2935267:0crwdne2935267:0Tweezers$4.99
-
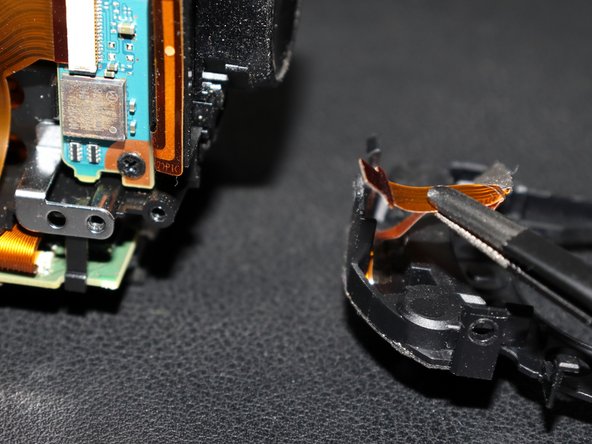
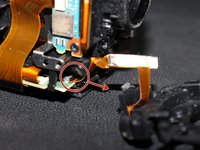
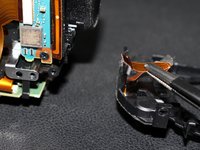
Disconnect the ribbon cable of the microphone from the board carefully using a pair of tweezers.
-
-
-
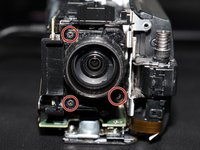
Remove the 3x #000 Philips screws that hold the lens in place.
-
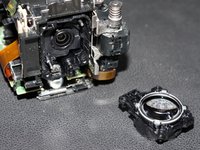
Then, carefully pull the old lens out.
-
Then follow this step in reverse to install the new lens. Put the lens in place and then screw the 3 screws again.
-
To reassemble your device, follow these instructions in reverse order.
To reassemble your device, follow these instructions in reverse order.


