crwdns2933423:0crwdne2933423:0

Sony FDL-220R Watchman Button Replacement

crwdns2942213:0crwdne2942213:0

  1. Sony FDL-220R Watchman Button Replacement, Remove battery cover and batteries: crwdns2935265:01crwdnd2935265:01crwdnd2935265:02crwdne2935265:0 Sony FDL-220R Watchman Button Replacement, Remove battery cover and batteries: crwdns2935265:01crwdnd2935265:02crwdnd2935265:02crwdne2935265:0
    • Press down on the textured area and push towards the bottom of the device.

    • Gently remove the battery cover.

    • Remove the three AA batteries.

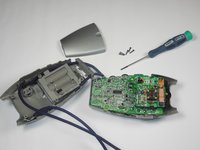
  2. Sony FDL-220R Watchman Button Replacement, Remove screws: crwdns2935265:02crwdnd2935265:01crwdnd2935265:02crwdne2935265:0 Sony FDL-220R Watchman Button Replacement, Remove screws: crwdns2935265:02crwdnd2935265:02crwdnd2935265:02crwdne2935265:0
    • Locate the five 5x11mm screws surrounding the battery compartment.

    • Remove screws with a Philips #00 screwdriver.

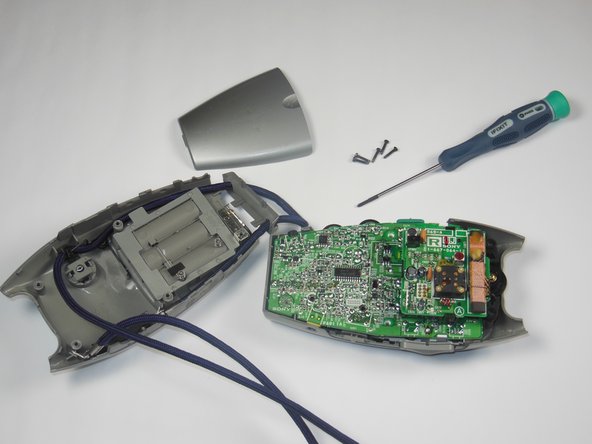
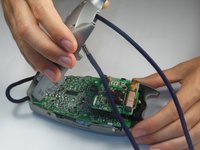
  3. Sony FDL-220R Watchman Button Replacement, Remove back casing: crwdns2935265:03crwdnd2935265:01crwdnd2935265:02crwdne2935265:0 Sony FDL-220R Watchman Button Replacement, Remove back casing: crwdns2935265:03crwdnd2935265:02crwdnd2935265:02crwdne2935265:0
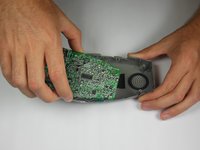
    • Grasp the entire back half of the Watchman's casing.

    • Snap off the casing from the bottom of the device.

    • Gently pull off entire back casing.

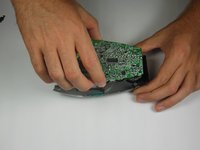
  4. Sony FDL-220R Watchman Button Replacement, Remove circuit board: crwdns2935265:04crwdnd2935265:01crwdnd2935265:03crwdne2935265:0 Sony FDL-220R Watchman Button Replacement, Remove circuit board: crwdns2935265:04crwdnd2935265:02crwdnd2935265:03crwdne2935265:0 Sony FDL-220R Watchman Button Replacement, Remove circuit board: crwdns2935265:04crwdnd2935265:03crwdnd2935265:03crwdne2935265:0
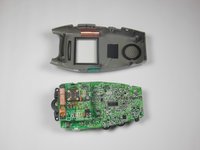
    • Carefully grasp the entire circuit board.

    • Pull the circuit board off of the device's plastic casing.

  5. Sony FDL-220R Watchman Button Replacement, Remove/Replace Buttons: crwdns2935265:05crwdnd2935265:01crwdnd2935265:02crwdne2935265:0 Sony FDL-220R Watchman Button Replacement, Remove/Replace Buttons: crwdns2935265:05crwdnd2935265:02crwdnd2935265:02crwdne2935265:0
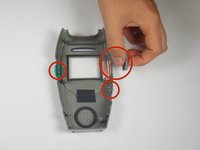
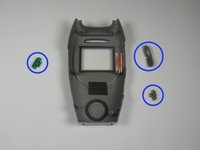
    • Locate the thee plastic buttons/switches on the sides of the plastic grey casing.

    • Buttons/switches should be simply resting in their slots on the device.

    • Remove all three buttons/switches.

    • If the buttons/switches are dirty, clean them in warm water and dry thoroughly.

    • If one of the buttons/switches is broken, simply replace it with a new one.

    • When replacing, make sure that the slot on the switches faces up.

crwdns2915888:0crwdne2915888:0

To reassemble your device, follow these instructions in reverse order.

Sam Putnam

crwdns2935283:010/22/14crwdne2935283:0

484 crwdns2915208:0crwdne2915208:0

crwdns2935297:04crwdne2935297:0

crwdns2915084:0crwdne2915084:0

Baylor, Team 4-5, Williams Fall 2014 crwdns2935289:0Baylor, Team 4-5, Williams Fall 2014crwdne2935289:0

BU-WILLIAMS-F14S4G5

crwdns2931471:04crwdne2931471:0

crwdns2935297:04crwdne2935297:0

crwdns2947412:00crwdne2947412:0

crwdns2917038:0crwdne2917038:0

crwdns2936625:0crwdne2936625:0:

crwdns2936751:024crwdne2936751:0 0

crwdns2936753:07crwdne2936753:0 0

crwdns2936753:030crwdne2936753:0 4

crwdns2942667:0crwdne2942667:0 278