crwdns2915892:0crwdne2915892:0
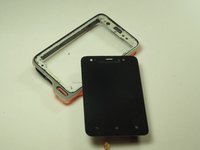
Sometimes, the screen can become cracked, damaged, or just simply not work. This can be frustrating, but never fear, as this replacement guide will make everything easier.
crwdns2942213:0crwdne2942213:0
-
-
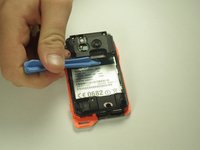
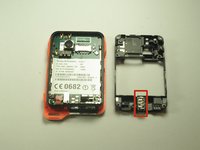
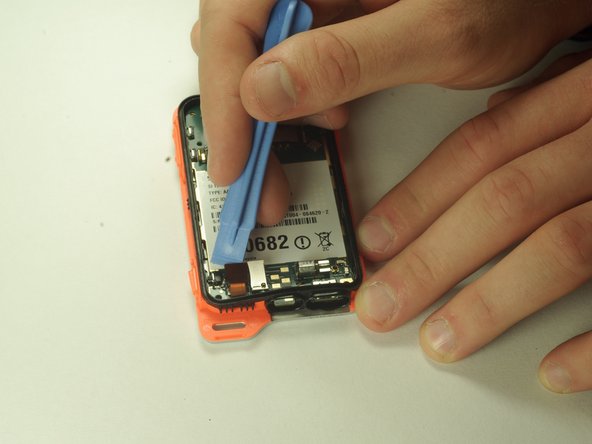
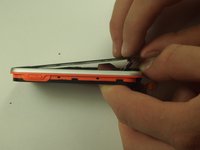
Open the flaps and remove the back cover using the plastic opening device.
-
-
-
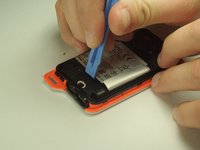
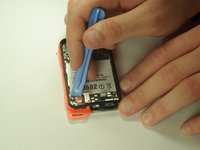
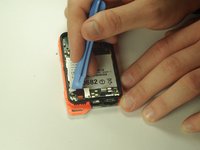
Remove the battery shield with the plastic opening device.
-
-
-
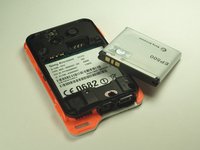
Remove the battery.
-
-
-
-
Unscrew the 5mm screws with the T5 head.
-
Unscrew the 6mm screw with the T6 head.
-
-
-
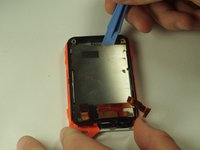
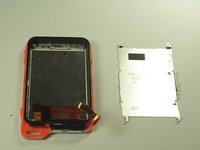
Remove the black cover with the plastic opening tool.
-
Remove the headphone jack from its slot.
-
-
-
Unplug the power cable by carefully prying it away from the motherboard.
-
-
-
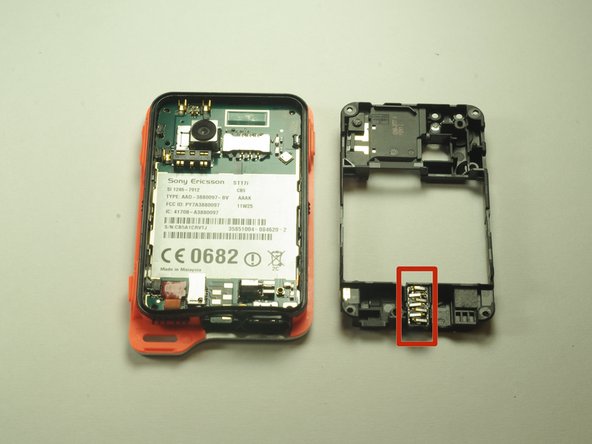
Remove the power strip on the back side of the motherboard.
-
-
-
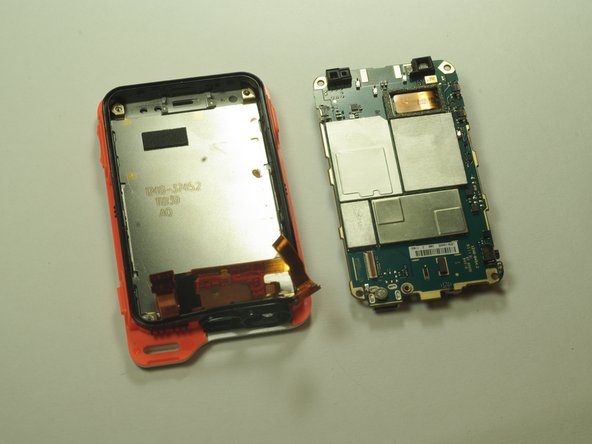
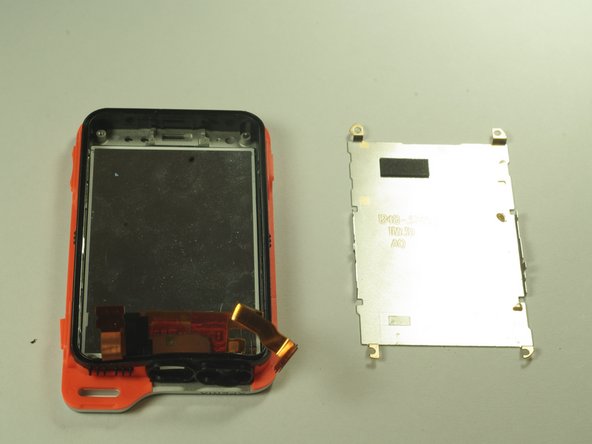
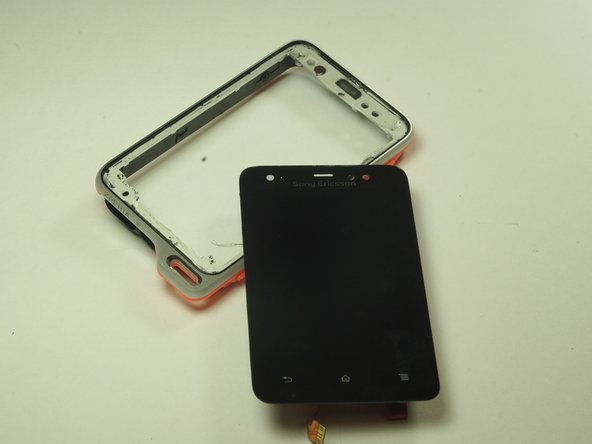
Push the screen through the front of the case, gently.
-
It may be a little tough, just work your way around the edges of the screen until it separates from the main case.
-
To reassemble your device, follow these instructions in reverse order.
To reassemble your device, follow these instructions in reverse order.
crwdns2935221:0crwdne2935221:0
crwdns2935229:05crwdne2935229:0
crwdns2947410:01crwdne2947410:0
hi can you add explain


