crwdns2915892:0crwdne2915892:0
This guide will show the steps for replacing the Sony Ericsson s710a battery and LCD screen. You can use this guide if the battery or LCD screen has been damaged and needs to be replaced or repaired. This guide can also be used to check the connection between the screen and the motherboard.
crwdns2942213:0crwdne2942213:0
-
-
Remove the back cover by sliding it off.
-
-
-
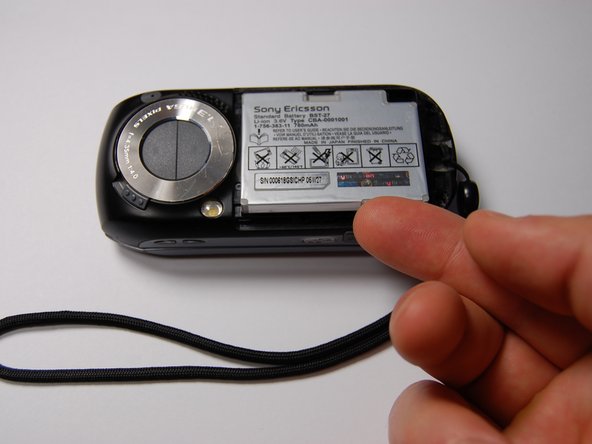
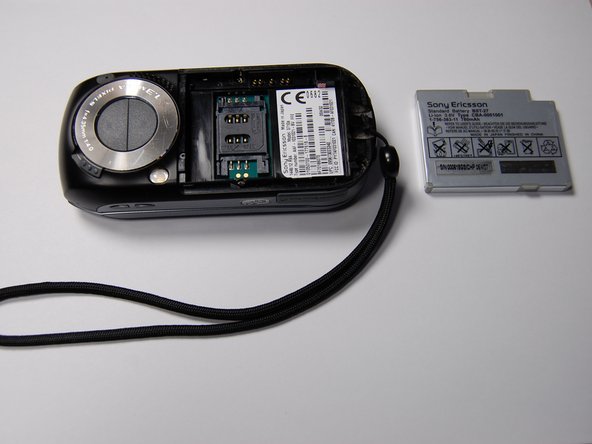
Pull the battery out using your finger.
-
-
-
Remove the four 6 mm screws from beneath the battery using a Phillips #00 screwdriver.
-
-
-
Remove the microphone cover using the iFixit opening tool.
-
-
-
-
Remove the two 6 mm screws from the front of the phone beneath the microphone cover using a Phillips #00 screwdriver.
-
-
-
Remove the black plastic piece on the side.
-
-
-
Use the iFixit opening tool to loosen the motherboard from the phone.
-
-
-
Lift the motherboard out with your fingers.
-
-
-
Remove the two cable connectors using the iFixit opening tool.
-
-
-
On the rotational assembly remove the following screws:
-
Four 3 mm screws
-
Two 2.3 mm screws
-
Lift the rotational assembly off of the phone to allow access to the other half of the device.
-
-
-
Detach the cable connectors on the other end of the cables using a plastic opening tool.
-
-
-
Remove the plastic cover on the back of the phone using an iFixit opening tool.
-
Remove the four 6 mm screws using a Phillips #00 screwdriver.
-
-
-
Pry the screen assembly from the main case using the iFixit opening tool.
-
-
-
With the face plate and LCD screen exposed, replace the existing LCD screen with a new LCD screen.
-
To reassemble your device, follow these instructions in reverse order.
To reassemble your device, follow these instructions in reverse order.


