crwdns2933423:0crwdne2933423:0

Sony Ericsson W518a Camera Lens Replacement

crwdns2942213:0crwdne2942213:0

  1. Sony Ericsson W518a Camera Lens Replacement, Faceplate: crwdns2935265:01crwdnd2935265:01crwdnd2935265:01crwdne2935265:0
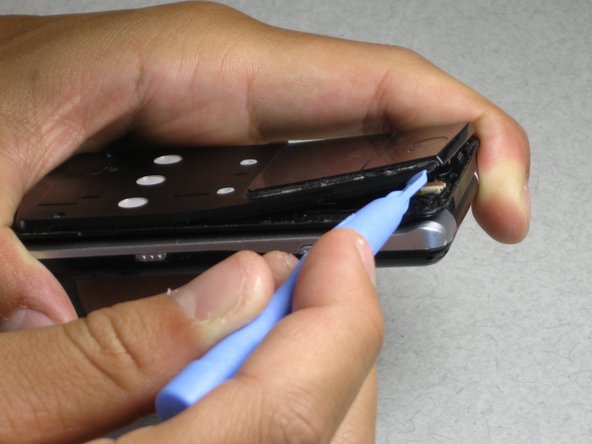
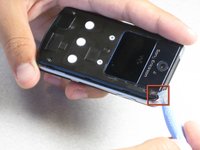
    • Find the small notch on the side of the phone. The notch is located by the "fast-forward" button and the "lock" switch.

  2. Sony Ericsson W518a Camera Lens Replacement: crwdns2935265:02crwdnd2935265:01crwdnd2935265:03crwdne2935265:0 Sony Ericsson W518a Camera Lens Replacement: crwdns2935265:02crwdnd2935265:02crwdnd2935265:03crwdne2935265:0 Sony Ericsson W518a Camera Lens Replacement: crwdns2935265:02crwdnd2935265:03crwdnd2935265:03crwdne2935265:0
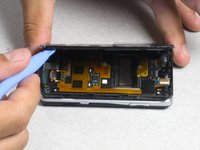
    • Insert your plastic opening tool into the notch.

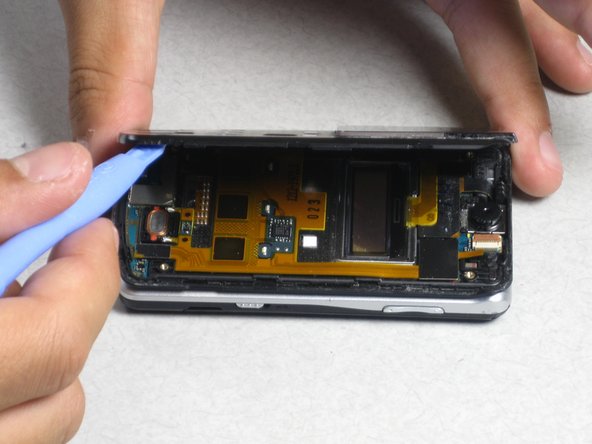
    • Pry off the faceplate by gently sliding the plastic opening tool around the phone while still keeping the tool under the edge of the phone.

    • When enough of the faceplate has been lifted it can be easily removed.

    • In order to replace the faceplate, simply press and snap the faceplate back onto the front of the phone.

  3. Sony Ericsson W518a Camera Lens Replacement, Camera Lens: crwdns2935265:03crwdnd2935265:01crwdnd2935265:01crwdne2935265:0
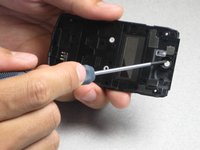
    • Remove the four 2mm Phillips screws from the back housing of the phone.

  4. Sony Ericsson W518a Camera Lens Replacement: crwdns2935265:04crwdnd2935265:01crwdnd2935265:03crwdne2935265:0 Sony Ericsson W518a Camera Lens Replacement: crwdns2935265:04crwdnd2935265:02crwdnd2935265:03crwdne2935265:0 Sony Ericsson W518a Camera Lens Replacement: crwdns2935265:04crwdnd2935265:03crwdnd2935265:03crwdne2935265:0
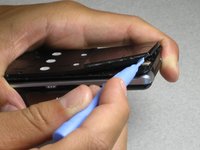
    • Insert the plastic opening tool in the notch at the top corner of the phone.

    • Lift the corner and run the plastic opening tool around the phone until the back housing can easily be removed.

  5. Sony Ericsson W518a Camera Lens Replacement: crwdns2935265:05crwdnd2935265:01crwdnd2935265:02crwdne2935265:0 Sony Ericsson W518a Camera Lens Replacement: crwdns2935265:05crwdnd2935265:02crwdnd2935265:02crwdne2935265:0
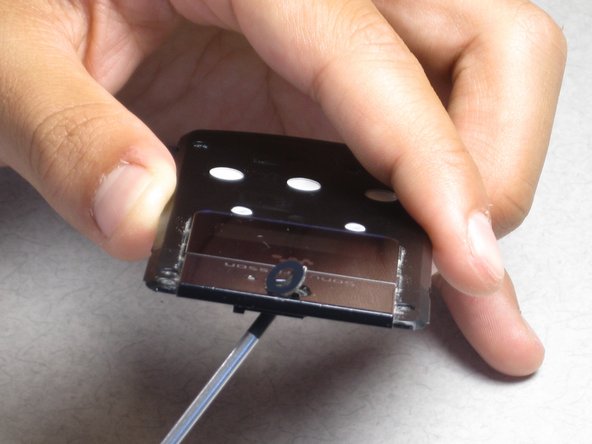
    • Remove the lends by pushing the lens from the inside of the housing.

crwdns2915888:0crwdne2915888:0

To reassemble your device, follow these instructions in reverse order.

crwdns2935227:0crwdne2935227:0

kgkramer

crwdns2935283:006/27/12crwdne2935283:0

121 crwdns2915208:0crwdne2915208:0

crwdns2935297:02crwdne2935297:0

crwdns2915084:0crwdne2915084:0

Cal Poly, Team 1-5, Regan SU 2012 crwdns2935289:0Cal Poly, Team 1-5, Regan SU 2012crwdne2935289:0

CPSU-REGAN-SU12S1G5

crwdns2931471:03crwdne2931471:0

crwdns2935297:010crwdne2935297:0

crwdns2944067:00crwdne2944067:0

crwdns2917038:0crwdne2917038:0

crwdns2936625:0crwdne2936625:0:

crwdns2936751:024crwdne2936751:0 0

crwdns2936753:07crwdne2936753:0 6

crwdns2936753:030crwdne2936753:0 12

crwdns2942667:0crwdne2942667:0 1,134