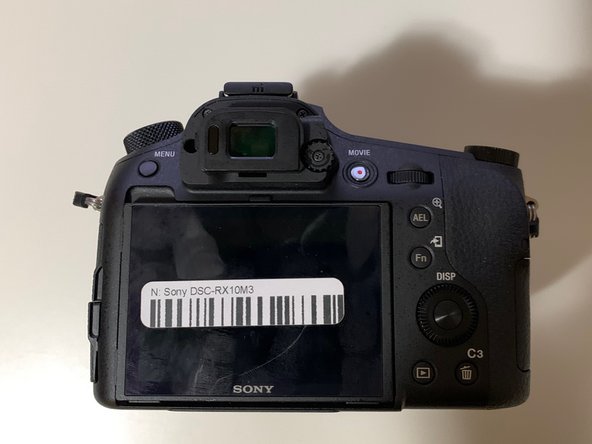
crwdns2915892:0crwdne2915892:0
This guide is an important pre-requisite that is required to replace the Sony DSC-RX10M3 LCD and viewfinder. You will find in this guide the important steps required to make sure that you properly remove the back casing which exposes the motherboard of the device.
crwdns2942213:0crwdne2942213:0
-
-
Turn off the Device by scrolling the tab to "OFF" indicated by the arrow.
-
-
-
Remove the battery located at the bottom of the device.
-
-
-
Remove the twelve 0.7mm Phillips #000 screws from the bottom case.
-
-
-
-
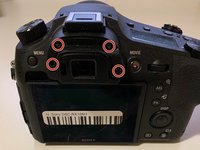
Remove the two 0.7mm screws that secure the right side of the camera.
-
Remove the two 0.7mm screws that secure the left side of the camera, near the Wi-Fi logo and charging port.
-
-
-
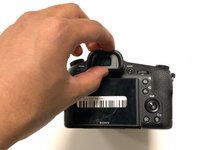
Gently pull off the plastic eye guard.
-
-
-
Use a Phillips #000 screwdriver to remove the four 0.4mm screws located under the rubber eye guard.
-
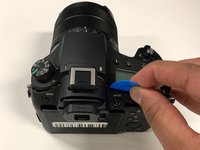
Use a plastic opening tool to detach the back panel of the camera.
-
-
crwdns2935267:0crwdne2935267:0Tweezers$4.99
-
Using tweezers, disconnect the ribbon cable connecting the LCD to the circuit board.
-
-
-
Use a plastic openeing tool to gently detach the right panel.
-


To reassemble your device, follow these instructions in reverse order.
To reassemble your device, follow these instructions in reverse order.
crwdns2935221:0crwdne2935221:0
crwdns2935229:03crwdne2935229:0

crwdns2915084:0crwdne2915084:0

York University, Team S4-G4, Woodhouse Winter 2020 crwdns2935289:0York University, Team S4-G4, Woodhouse Winter 2020crwdne2935289:0
YORK-WOODHOUSE-W20S4G4
crwdns2931471:03crwdne2931471:0
crwdns2935297:06crwdne2935297:0