crwdns2915892:0crwdne2915892:0
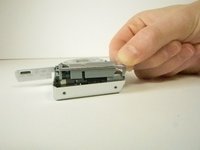
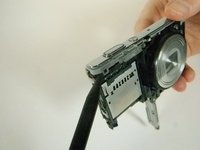
This is just a small step after taking the outer case off. This can be done with ease. Be careful with the ribbons though
crwdns2942213:0crwdne2942213:0
-
-
Open the battery/memory card door and remove the 6 screws (.35cm) with a Philips 000 screwdriver. There will be two screws on the left and right sides, and two on the bottom.
-
-
-
Take off the front part of the case with a plastic opening tool.
-
-
-
Pull off the two silver side pieces on the left and right sides.
-
-
-
-
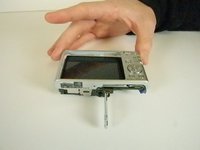
Remove the main back piece. It should easily lift off.
-
-
-
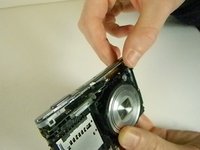
Unscrew the .45cm screw located on the upper right corner on the back of the camera. Once the screw is off, use the spudger and unclip the piece holding the top down on the upper left on the front of the camera. It should lift off with ease.
-
-
crwdns2935267:0crwdne2935267:0Tweezers$4.99
-
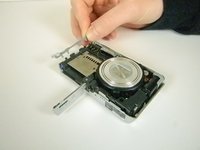
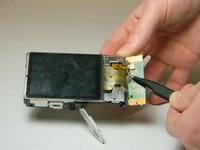
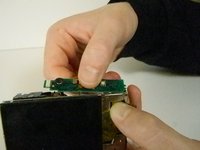
Flip over the control board then use tweezers to pull out the ribbon connecting the circuit board to the motherboard.
-
-
-
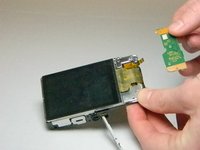
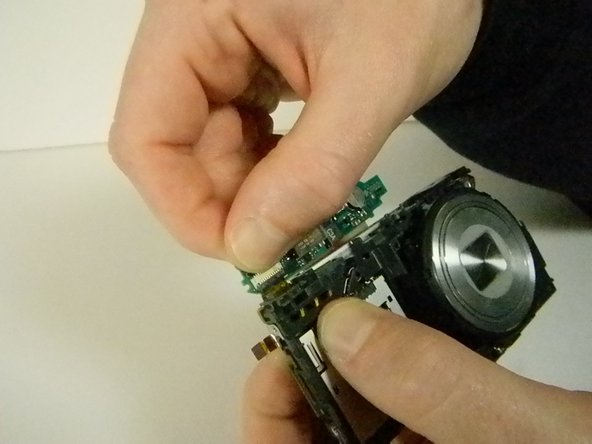
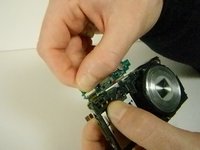
Once the case is off, hold down the ribbon near the LCD screen that connects the flash to the camera. While doing this, carefully lift the control board that contains the flash until the ribbon is no longer connected.
-
-
-
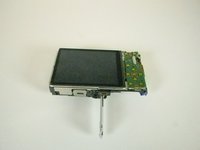
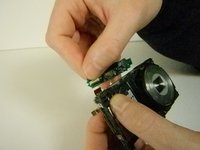
Once you have removed the piece this is what it will look like.
-


To reassemble your device, follow these instructions in reverse order.
To reassemble your device, follow these instructions in reverse order.
crwdns2915084:0crwdne2915084:0

USF Tampa, Team 9-4, Blackwell Winter 2015 crwdns2935289:0USF Tampa, Team 9-4, Blackwell Winter 2015crwdne2935289:0
USFT-BLACKWELL-W15S9G4
crwdns2931471:03crwdne2931471:0
crwdns2935297:012crwdne2935297:0