crwdns2915892:0crwdne2915892:0
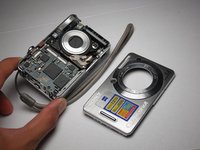
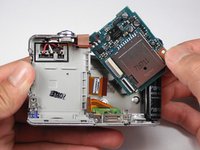
This repair guide will number and display the steps to remove the Motherboard for replacement.
crwdns2942213:0crwdne2942213:0
-
-
Slide the battery cover in the direction the arrow points.
-
Pull the battery cover towards you.
-
-
-
Flick the blue switch for the battery to pop out.
-
Remove the battery from the camera.
-
-
-
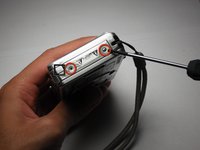
Using the Phillips #00 screwdriver, remove the two screws from the caution panel.
-
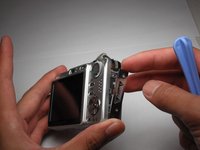
Remove that panel.
-
-
-
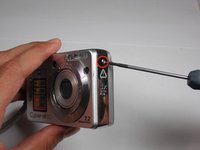
Remove the screw with a Phillips #00 screwdriver from the left side of the camera (with '3x optical zoom' engraved on the side panel).
-
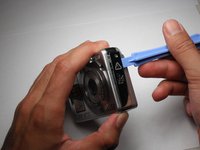
Remove the panel.
-
-
-
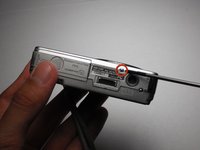
Remove the screw using the Phillips #00 screwdriver from the bottom of the camera, closest to the back cover.
-
-
-
-
Remove the screw using a Phillips #00 screwdriver on the right side (where the caution panel used to be).
-
-
-
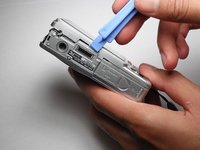
Remove the small screw using a Phillips #00 screwdriver on the bottom of the camera attached to the front cover.
-
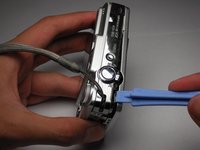
Gently remove the front cover.
-
-
crwdns2935267:0crwdne2935267:0Tweezers$4.99
-
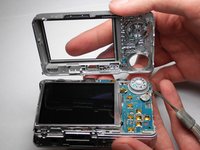
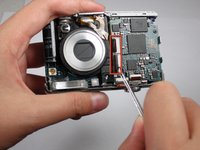
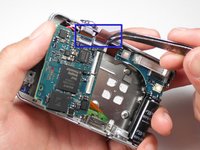
Flip the black secure locks off. Tweezers may be necessary.
-
Detach the two orange cables.
-
-
-
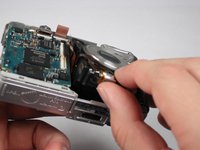
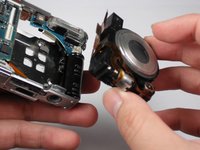
Gently pull the lens container out of the camera.
-
-
-
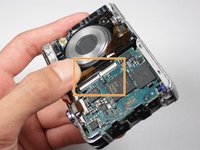
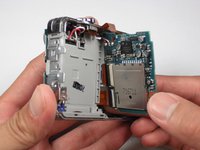
Remove the black screw using a Phillips #00 Screwdriver on the motherboard.
-
-
crwdns2935267:0crwdne2935267:0Tweezers$4.99
-
Remove the two orange cables on the top of the motherboard with tweezers.
-
Lift the motherboard out of its slot.
-
-
-
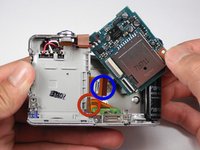
For the AV port, detach the bottom orange cable.
-
For the LCD screen, detach the top orange cable on the right side of the motherboard.
-
For the motherboard, detach all the orange cables.
-
To reassemble your device, follow these instructions in reverse order.
To reassemble your device, follow these instructions in reverse order.
crwdns2935221:0crwdne2935221:0
crwdns2935227:0crwdne2935227:0


