crwdns2915892:0crwdne2915892:0
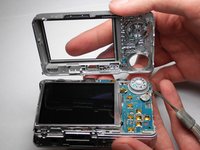
Disassembling the back cover of the camera so that we can repair components from the inside.
crwdns2942213:0crwdne2942213:0
-
-
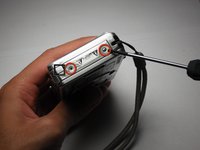
Slide the battery cover in the direction the arrow points.
-
Pull the battery cover towards you.
-
-
-
Flick the blue switch for the battery to pop out.
-
Remove the battery from the camera.
-
-
-
-
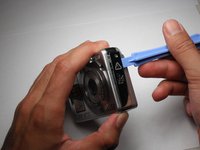
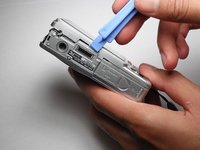
Using the Phillips #00 screwdriver, remove the two screws from the caution panel.
-
Remove that panel.
-
-
-
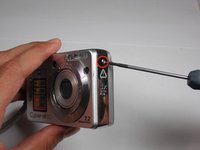
Remove the screw with a Phillips #00 screwdriver from the left side of the camera (with '3x optical zoom' engraved on the side panel).
-
Remove the panel.
-
-
-
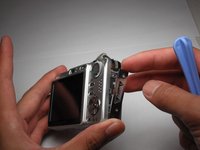
Remove the screw using the Phillips #00 screwdriver from the bottom of the camera, closest to the back cover.
-


To reassemble your device, follow these instructions in reverse order.
To reassemble your device, follow these instructions in reverse order.
crwdns2935221:0crwdne2935221:0
crwdns2935229:02crwdne2935229:0
crwdns2915084:0crwdne2915084:0

Cal Poly, Team 9-20, Regan Fall 2010 crwdns2935289:0Cal Poly, Team 9-20, Regan Fall 2010crwdne2935289:0
CPSU-REGAN-F10S9G20
crwdns2931471:05crwdne2931471:0
crwdns2935297:020crwdne2935297:0
crwdns2947410:01crwdne2947410:0
Gracias a toda la gente de Ifixit, muy util esta aplicacion y muy buena gente!!.