crwdns2915892:0crwdne2915892:0
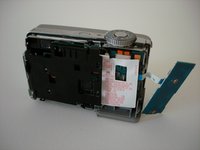
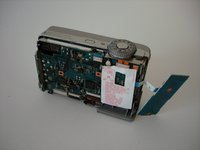
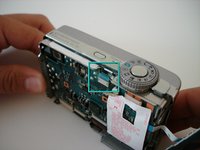
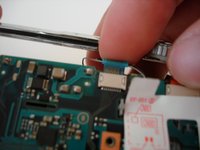
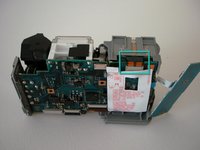
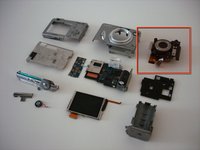
Replace motherboard.
crwdns2942213:0crwdne2942213:0
-
-
Remove Memory Stick Pro from the card reader slot on the bottom of the camera.
-
Remove both batteries.
-
-
-
Remove the single visible screw from both sides of the camera.
-
Remove the two screws that are adjacent to the warning label, which is on the underside of the camera.
-
-
-
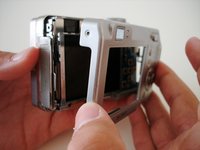
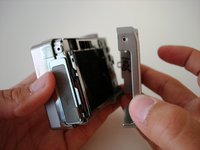
Gently remove the back cover from the camera.
-
-
-
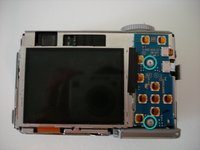
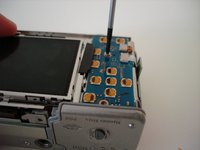
Remove the two screws holding the circuit board down.
-
-
-
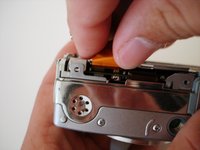
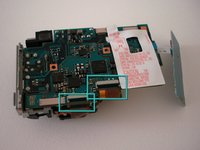
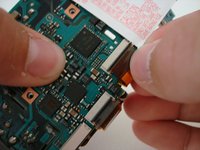
Detach the orange cable from the board.
-
-
-
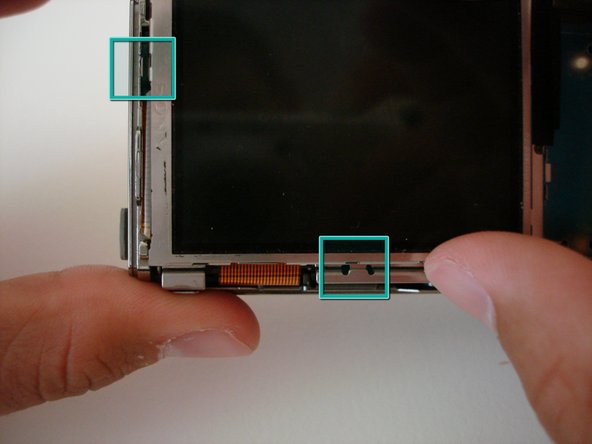
The LCD screen sits in two slots; one on the bottom, and one on the left edge.
-
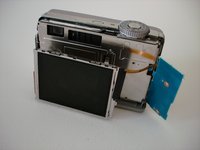
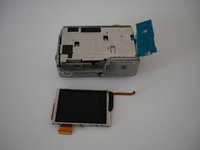
Slide LCD screen from the two slots.
-
-
-
-
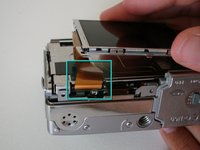
To remove the LCD screen, detach the orange cable from the board.
-
If needed, replace the LCD screen.
-
-
-
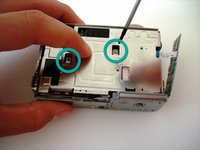
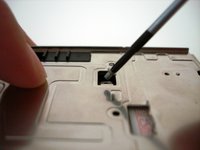
Remove the two screws holding down the steel back plate.
-
Remove steel back plate.
-
-
-
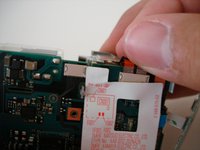
Now remove the plastic plate that covers the motherboard.
-
-
-
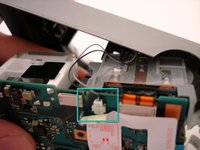
Disconnect the flash cable (black and white wires) before completely removing the front case.
-
Gently start to remove the case.
-
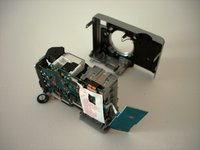
Once the cable is free, set aside the front case.
-
-
-
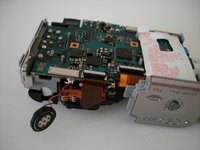
The speaker should now be clearly seen on the underside of the camera.
-
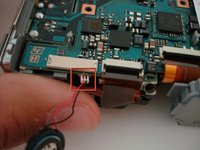
Gently unplug the speaker from the motherboard.
-
Replace the speaker.
-
-
-
Remove the orange cable connecting the battery terminal to the motherboard.
-
-
-
The battery terminal is now free from the board and can be slid out.
-
-
-
Detach two cables that go from the motherboard to the lens.
-
Remove lens.
-
-
-
After the lens is detached, you can replace the motherboard.
-
To reassemble your device, follow these instructions in reverse order.
To reassemble your device, follow these instructions in reverse order.
crwdns2935221:0crwdne2935221:0
crwdns2935229:03crwdne2935229:0
crwdns2947410:01crwdne2947410:0
Thank yo very much, Muy agradecido por la información. Good information fireman4792000@yahoo.com


