crwdns2915892:0crwdne2915892:0
Is the View Finder not working even after the LCD/Finder button has been pressed? Then the View Finder may need replacing.
crwdns2942213:0crwdne2942213:0
-
-
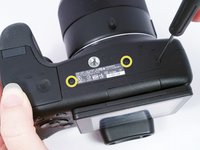
Turn the camera upside down. This is a view of the bottom of the camera.
-
-
-
Push battery cover away from the camera.
-
-
-
Push the blue tab that secures the battery. The battery will then spring out.
-
-
-
-
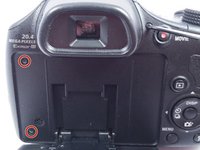
Remove the 3 (4 cm) Philips head screws holding the plastic camera housing together. They are located on the back of the camera.
-
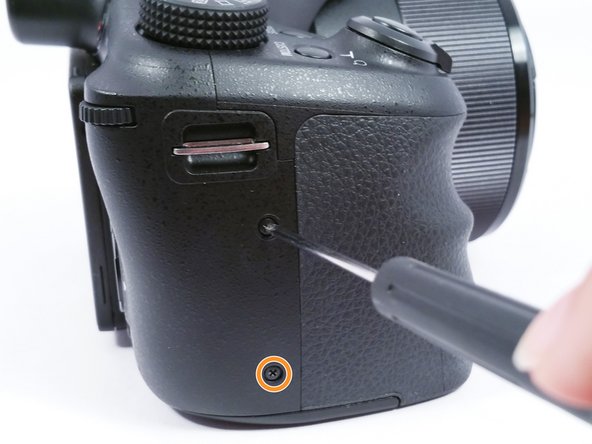
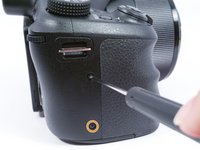
Remove the 2 (4 cm) Phillips head screws on the right side of the camera.
-
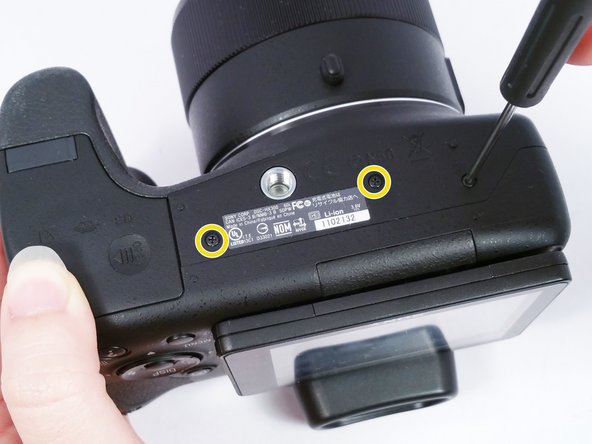
Turn the camera upside down and remove the remaining 3 (4 cm) Phillips head screws holding the plastic housing together.
-
-
-
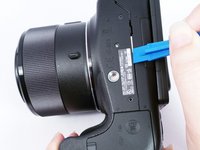
Using a plastic opening tool, separate the plastic camera housing.
-
-
-
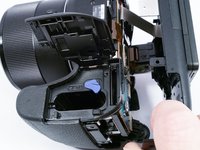
Disconnect the ribbon wire attaching the screen to the camera.
-
-
-
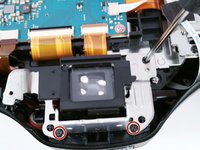
Remove the 1 (2 cm) Phillips head screw
-
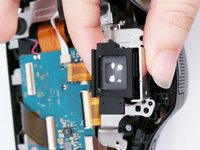
Remove the 2 (5 cm) Phillips head screws that mount the View Finder to the camera.
-
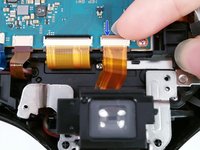
Carefully disconnect the ribbon wire that connects the View Finder to the Motherboard.
-
-
-
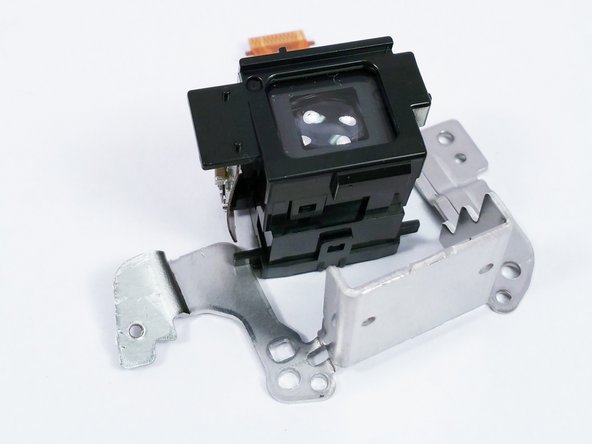
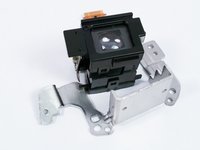
Gently pull the plastic View Finder off of the metal mounting bracket.
-
-
-
The replacement View Finder can now be installed.
-


To reassemble your device, follow these instructions in reverse order.
To reassemble your device, follow these instructions in reverse order.
crwdns2935221:0crwdne2935221:0
crwdns2935227:0crwdne2935227:0
crwdns2915084:0crwdne2915084:0

USF Tampa, Team 4-6, Meier Fall 2015 crwdns2935289:0USF Tampa, Team 4-6, Meier Fall 2015crwdne2935289:0
USFT-MEIER-F15S4G6
crwdns2931471:04crwdne2931471:0
crwdns2935297:018crwdne2935297:0