crwdns2915892:0crwdne2915892:0
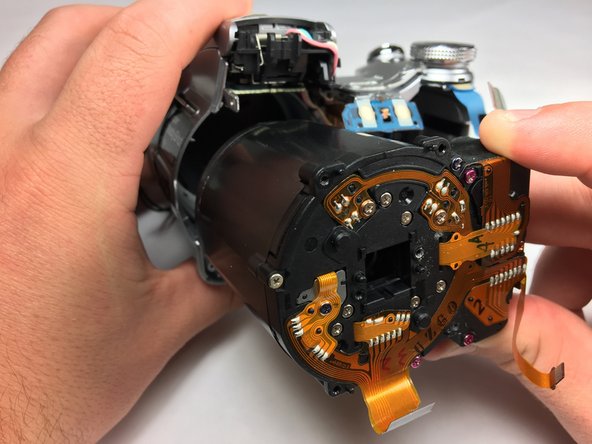
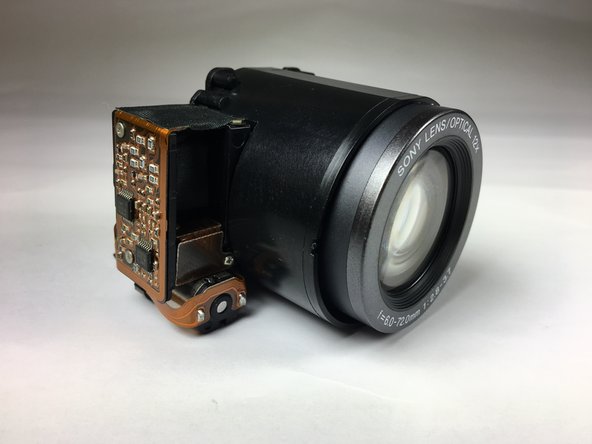
If the camera lens is unrepairable, you may just need to replace it with a brand new one. This is how you take it apart before you insert a new one.
crwdns2942213:0crwdne2942213:0
-
-
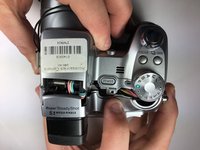
Power down the camera and remove the batteries.
-
-
-
Using a Phillips #0 screwdriver, remove all of the screws from the back panel casing.
-
-
-
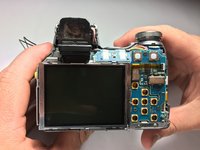
Take a hold of the right side of the LCD screen and lift it towards the left.
-
-
-
-
Unplug the large conductive tape attached to the screen.
-
Remove the LCD from the device.
-
-
-
Unscrew and remove the gray backing behind the LCD screen.
-
-
crwdns2935267:0crwdne2935267:0Tweezers$4.99
-
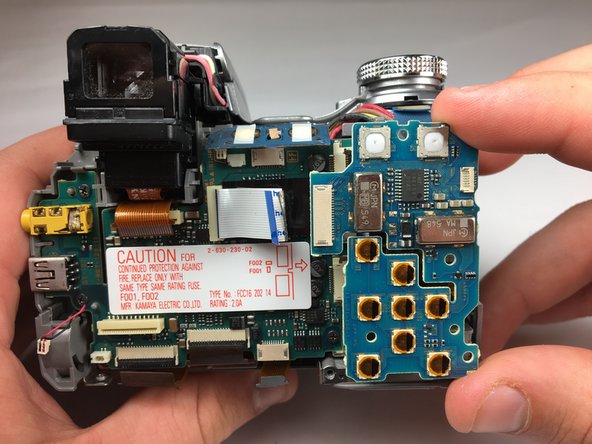
Using a Phillips #0 screwdriver, unscrew the four 4.24 mm black screws off the blue panel on the right side.
-
Disconnect the white conductive tape.
-
Remove the blue panel.
-
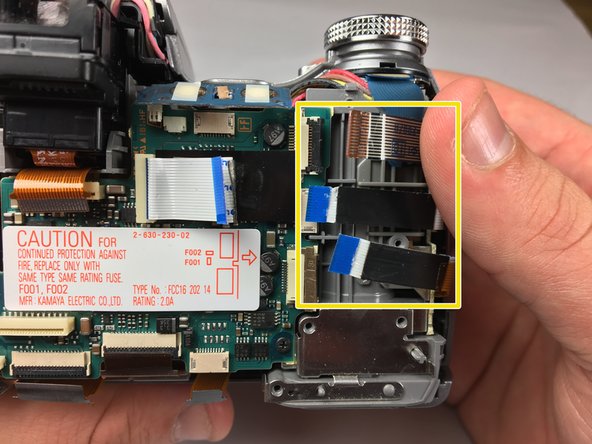
Use tweezers to remove the three conductive tape strips on the right side.
-
-
-
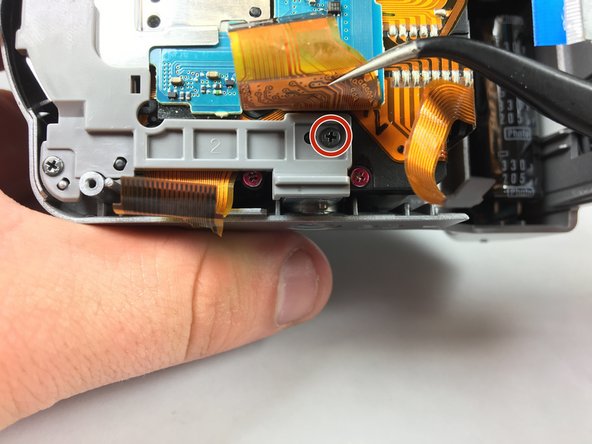
Use tweezers to remove the orange conductive tape located below the shutter.
-
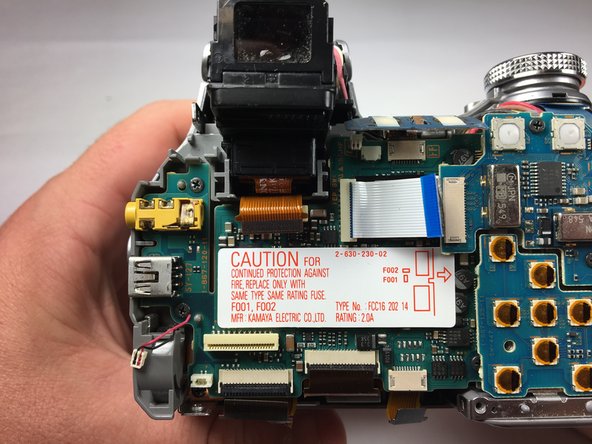
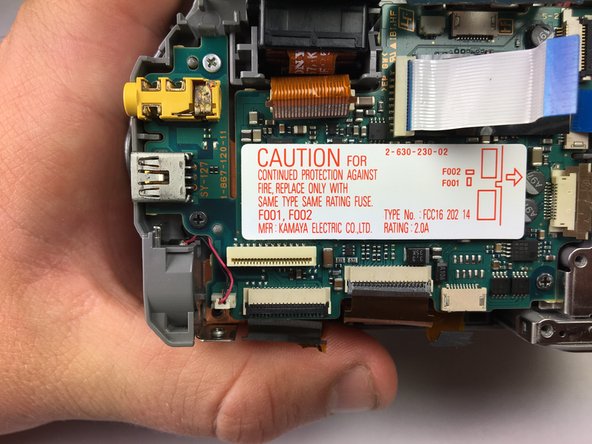
Unplug the three ZIF connectors from the motherboard.
-
-
-
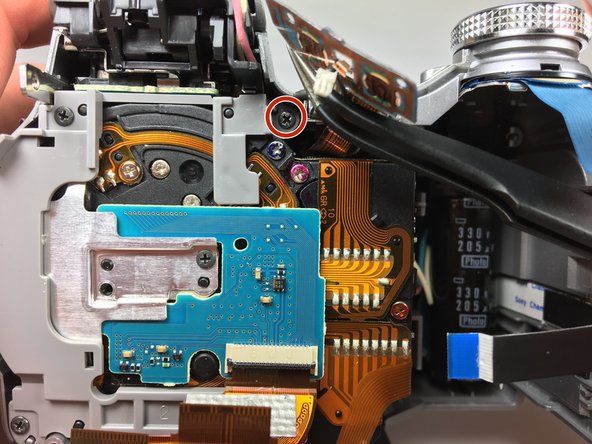
Flip up the blue overlapping board at the top.
-
Use tweezers to disconnect the remaining connectors.
-
-
-
Remove the motherboard and battery pack unit.
-
-
-
Use a screwdriver to remove 5 screws on plastic panel.
-
Remove the single screw on the silver panel in the center.
-
-
-
Use tweezers to remove the blue control panel.
-
Remove the lens from the camera.
-
To reassemble your device, follow these instructions in reverse order.
To reassemble your device, follow these instructions in reverse order.
crwdns2935221:0crwdne2935221:0
crwdns2935229:04crwdne2935229:0


