crwdns2915892:0crwdne2915892:0
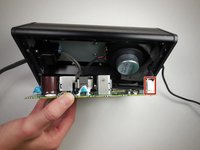
This guide shows you how to disassemble the subwoofer so you can access any interior parts for repair.
crwdns2942213:0crwdne2942213:0
-
-
Remove fourteen 8 mm Phillips #2 screws from the bottom of the subwoofer.
-
Once all of the screws are removed, the cover can be taken off using a metal spudger.
-
-
-
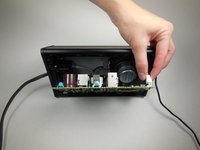
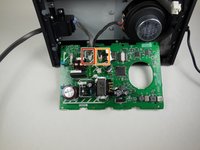
Remove eight 14 mm Phillips #2 screws holding the circuit board in place.
-
Using the plastic opening tool, carefully remove the circuit board.
-
-
-
-
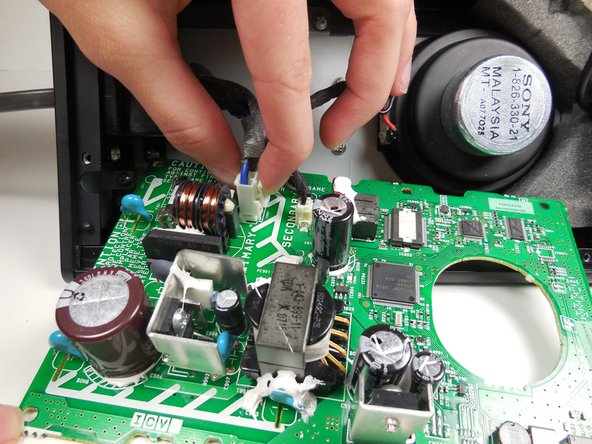
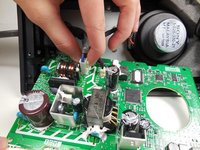
Remove the first of the three wires by squeezing the clip and pulling it out.
-
-
crwdns2935267:0crwdne2935267:0Tweezers$4.99
-
Remove the wire furthest to the left by squeezing the clip and pulling it out.
-
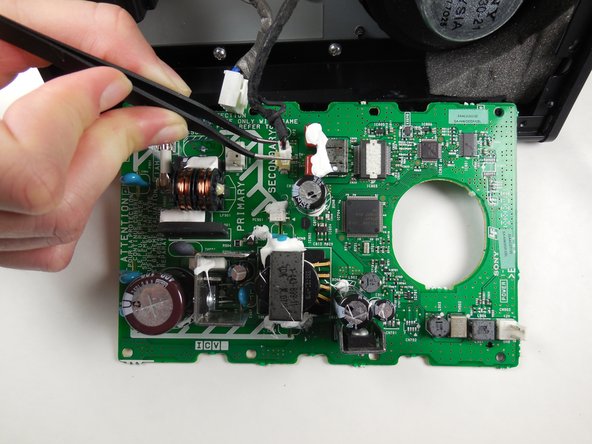
Detach the third wire by carefully using the tweezers.
-
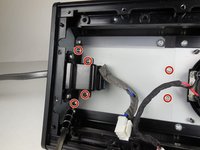
The circuit board is now completely detached and can be set aside.
-
-
-
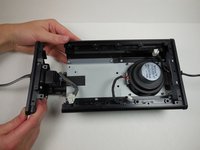
Remove six 8 mm Phillips #2 screws.
-
Slide the side panel with the power cord out from the housing.
-


To reassemble your device, follow these instructions in reverse order.
To reassemble your device, follow these instructions in reverse order.
crwdns2935221:0crwdne2935221:0
crwdns2935227:0crwdne2935227:0
crwdns2915084:0crwdne2915084:0

Cal Poly, Team 6-14, Maness Spring 2015 crwdns2935289:0Cal Poly, Team 6-14, Maness Spring 2015crwdne2935289:0
CPSU-MANESS-S15S6G14
crwdns2931471:04crwdne2931471:0
crwdns2935297:08crwdne2935297:0