crwdns2915892:0crwdne2915892:0
This guide will show how to replace a motherboard. The motherboard could be causing faulty display, not turning on, and bad sound quality on a continuous basis.
Before any repair work can be done, one must remove the device from the vehicle. To do so follow this link to see a vehicle general removal of a stereo system.
crwdns2942213:0crwdne2942213:0
-
-
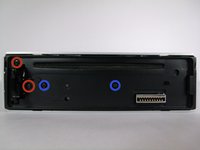
Locate face-plate eject button.
 crwdns2952109:0crwdne2952109:0
-
-
-
Press the eject button.
-
Remove the face-plate.
-
-
-
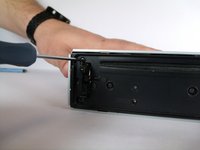
Remove two 4.9mm Phillips #00screws on the front of the device.
-
Remove two 7.5mm Phillips #00screws on the front of the device.
-
-
-
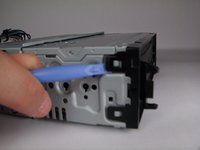
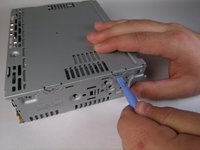
Rotate device 90 degrees to either side.
-
Use the plastic opening tool to pry open the top and bottom tab respectively.
-
Repeat on opposite side.
-
-
-
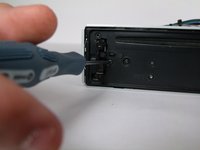
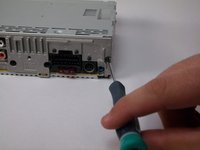
Locate the clip on the wiring harness.
-
-
-
Press down on the clip like you would an Ethernet cable.
-
Rock harness side to side, pulling gently towards you until harness detaches.
-
-
-
-
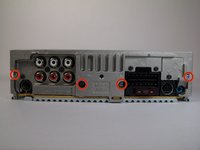
Remove four 11.5mm Phillips #00 (silver) screws from back panel.
-
-
-
Remove four 9.5mm Phillips #00 (black) screws from back panel.
-
Remove two 7.5mm Phillips #00 (black) screws from back panel.
-
-
-
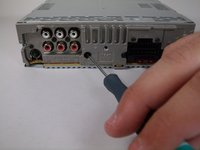
Remove one 9.5mm Phillips #00 screw.
-
Rotate device 180 degrees and repeat step.
-
-
-
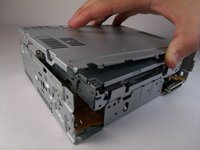
Using plastic opening tool, detach the tabs. There are two on either side.
-
-
-
Pull up CD drive slightly.
-
-
-
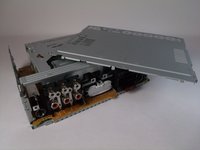
Disconnect motherboard connection.
-
-
-
Remove three 6.7mm Phillips 300 screws.
-
-
-
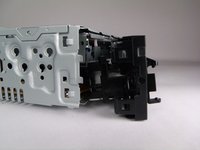
Pull motherboard up.
-


To reassemble your device, follow these instructions in reverse order.
crwdns2935221:0crwdne2935221:0
crwdns2935229:04crwdne2935229:0
crwdns2935287:0crwdne2935287:0

USF Tampa, Team 10-2, Brown Fall 2014 crwdns2935289:0USF Tampa, Team 10-2, Brown Fall 2014crwdne2935289:0
USFT-BROWN-F14S10G2
crwdns2931471:03crwdne2931471:0
crwdns2935297:07crwdne2935297:0
crwdns2947410:01crwdne2947410:0
Card reader light bling but not on my car audio
Deepak Kumar - crwdns2934203:0crwdne2934203:0 crwdns2950251:0crwdne2950251:0