crwdns2915892:0crwdne2915892:0
This guide will take you through the replacement of a speaker unit in the Sony AZ1VR camcorder. This camcorder is designed to record both video and audio, and provide playback. Speaker issues can be caused by problems with the connection, assembly, or the unit itself. Solving this may require repair or replacement, and details the steps of both.
crwdns2942213:0crwdne2942213:0
-
-
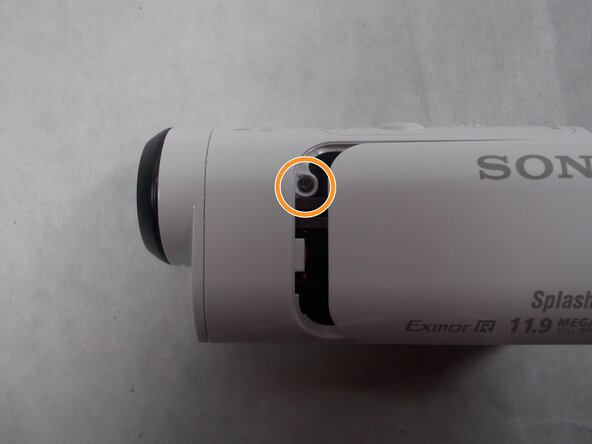
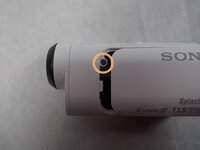
Start by removing the two screws on the bottom of the device using your small screwdriver, which should reveal the battery room.
-
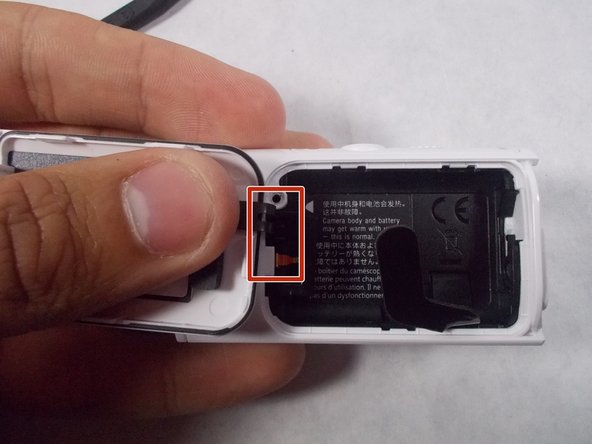
Remove the screw inside the battery room.
-
Save these screws for later so they can be used to reassemble.
 crwdns2952109:0crwdne2952109:0
-
-
-
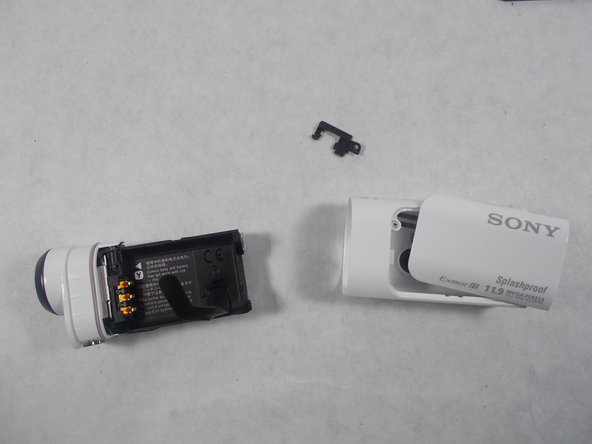
Once these are removed, slide the door out in the direction away from the screw holes.
-
Slide out the small piece of plastic with the door.
-
-
-
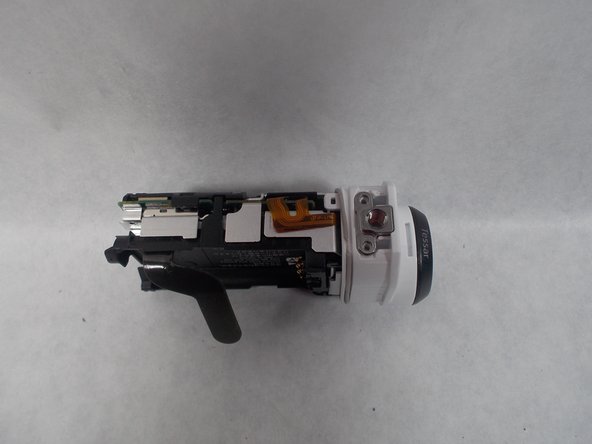
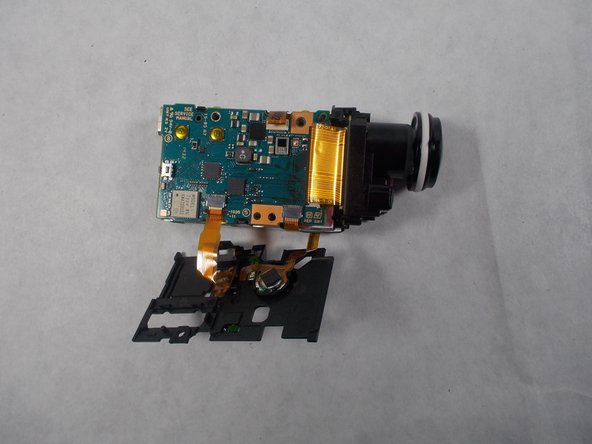
Now, locate the lens, the large domed piece in the front.
-
Grab the lens and pull the body gently out of the plastic. This will reveal the insides of the device.
-
-
-
-
You'll see a screw on the top of the lens casing, in the white plastic towards the front. Remove this screw.
-
-
-
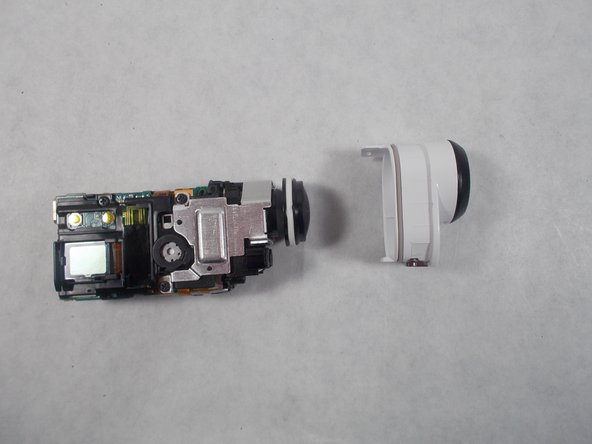
Next pull the tabs on the bottom and top of the lens, and pull outward, this will remove the lens housing from the body.
-
Once removed, flip the device onto its side, leaving the LCD display facing up. This will be the side with the silver metal panel and rectangular screen.
-
-
-
Carefully remove the screws connected to the silver metal plate.
-
Once done, remove the plate by pulling gently up on the back of the plate (the back end of the lens unit) and pushing it towards the front (the lens). It should slide out without too much resistance.
-
-
-
Now remove the screw directly above the LCD display, the thin rectangle near the rear of the lens unit. This will loosen the black plastic casing over the internal circuitry.
-
-
-
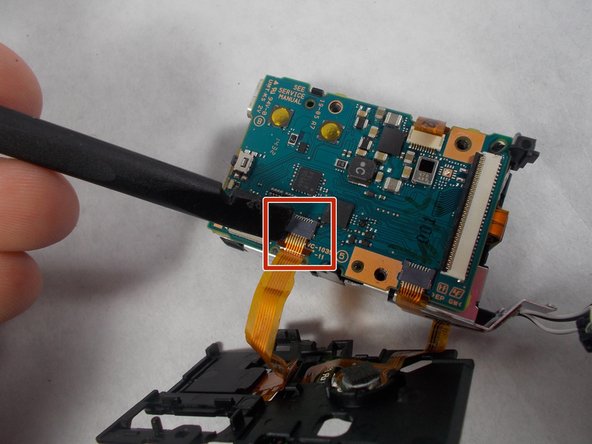
Use the spudger or other nondamaging tool to disconnect the speaker from the unit. This is done at the connection between the yellow cord/ribbon and the motherboard.
-
Remove the speaker from the plastic housing.
-


To reassemble your device, follow these instructions in reverse order. New speaker should be installed and connected in the same connection point as the previous speaker.
crwdns2935287:0crwdne2935287:0

UMass Dartmouth, Team S3-G5, Botvin Spring 2017 crwdns2935289:0UMass Dartmouth, Team S3-G5, Botvin Spring 2017crwdne2935289:0
UMASSD-BOTVIN-S17S3G5
crwdns2931471:03crwdne2931471:0
crwdns2935297:010crwdne2935297:0