crwdns2915892:0crwdne2915892:0
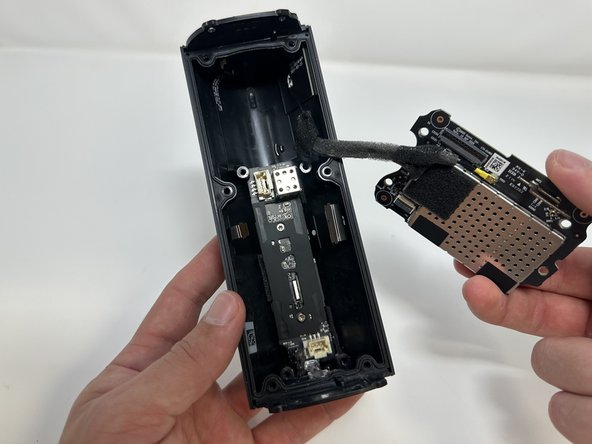
If your Sonos Roam is unresponsive then try this guide to replace the large ribbon.
The large ribbon connects the inner and outer circuit boards. This allows for it to transmit energy and information throughout the device that allows for it to function properly.
Before using this guide, try rebooting your Sonos Roam.
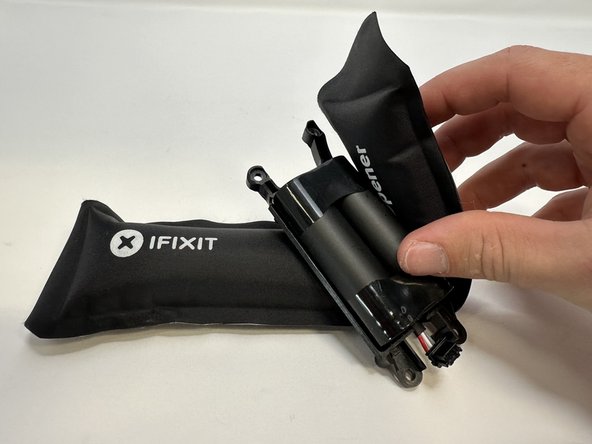
There are steps that recommend (not require) the use of the iOpener. This will help with carefully removing the adhesive used to keep this device together. Refer to this link on how to properly use the iOpener.
crwdns2942213:0crwdne2942213:0
-
-
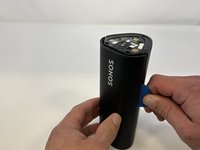
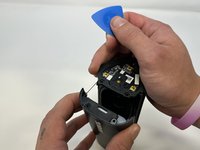
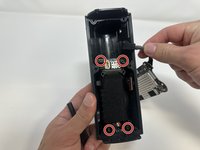
Use the metal spudger to pry the end cap with the buttons.
-
Pry from all sides to loosen the adhesive.
-
-
-
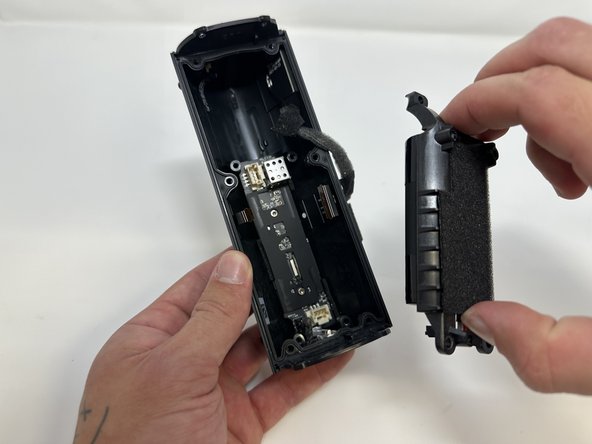
Flip the device to the other end cap.
-
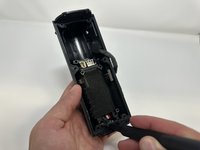
Use the metal spudger to loosen the adhesive.
-
-
-
Flip the device so that the Sonos logo is on the top.
-
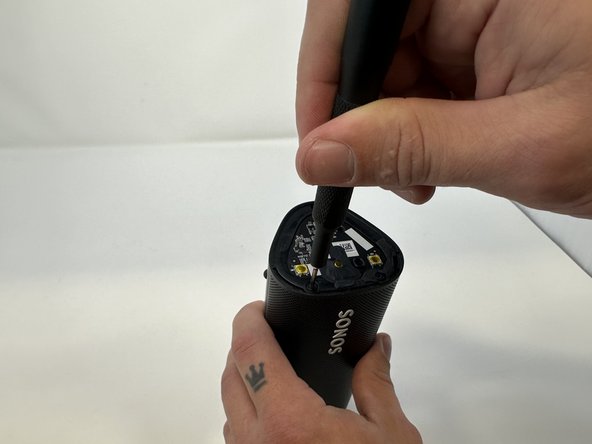
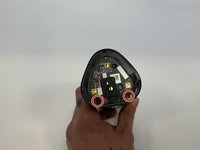
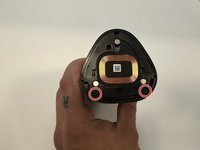
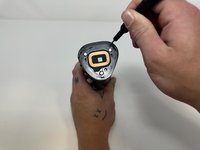
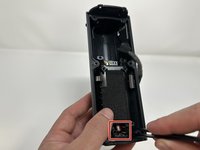
Use the Torx T6 screwdriver to remove the two 6 mm screws.
-
-
-
Flip the device.
-
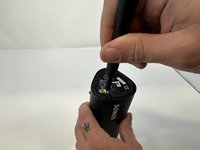
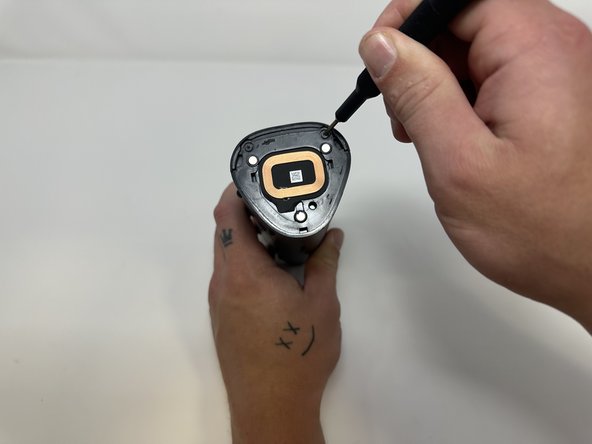
Use the Torx T6 screwdriver to remove the two 6 mm screws.
-
-
-
Flip the device so the Sonos logo is on the top.
-
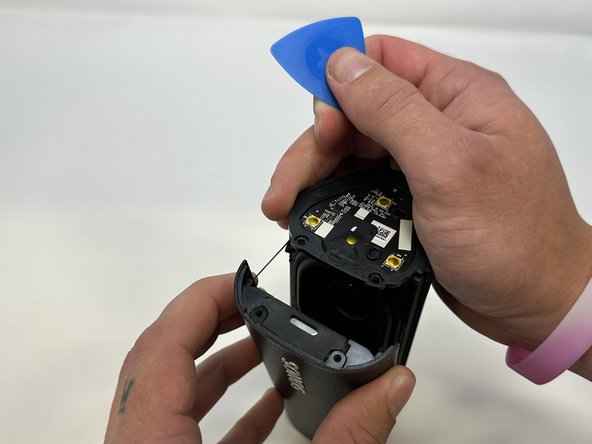
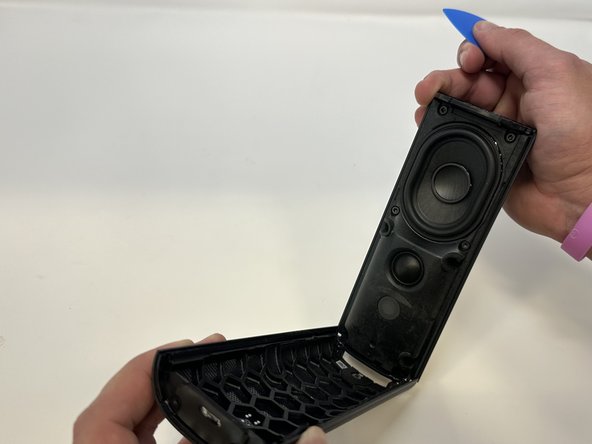
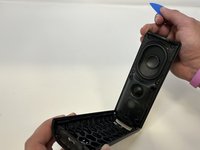
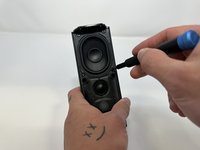
Use the iFixit opening picks to wedge between the split of the grille and the back of the speaker to pry the grille apart.
-
-
-
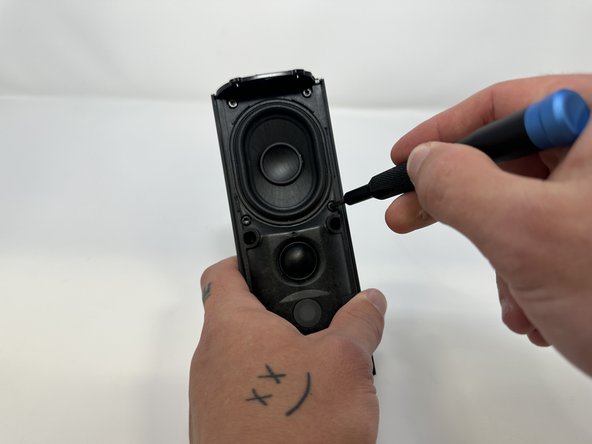
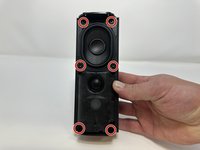
Use the TR10 Torx screwdriver to remove the six 7 mm screws.
-
-
-
crwdns2935267:0crwdne2935267:0Tweezers$4.99
-
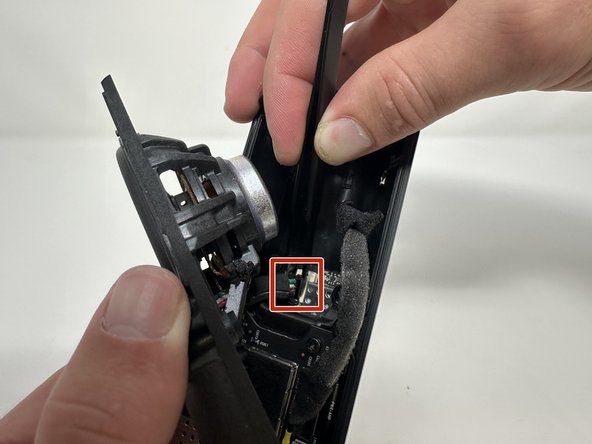
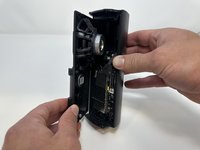
Begin to carefully separate the speaker module from the device.
-
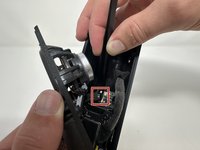
Firmly squeeze the middle of the plug using the tweezers to pull it out of the socket.
-
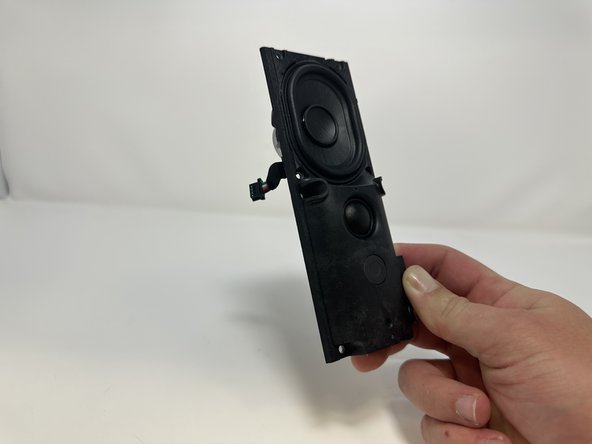
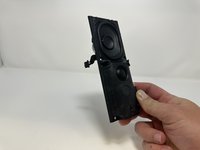
Separate the speaker module from the device.
-
-
-
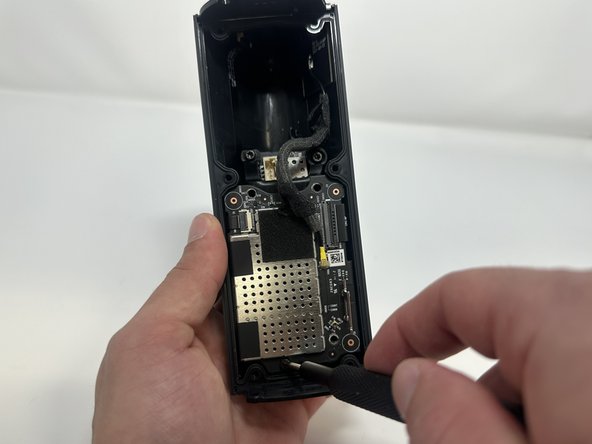
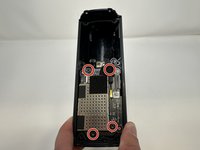
Use the TR10 Torx screwdriver to remove the four 7 mm screws.
-
-
crwdns2935267:0crwdne2935267:0Tweezers$4.99
-
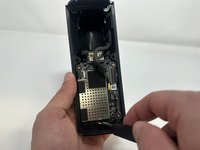
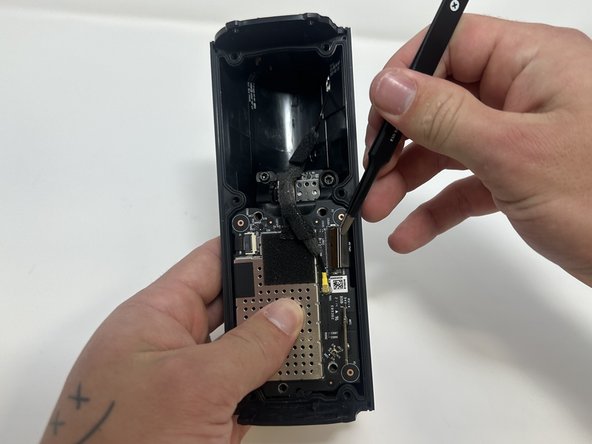
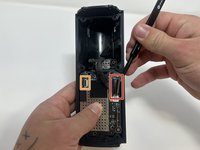
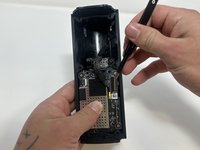
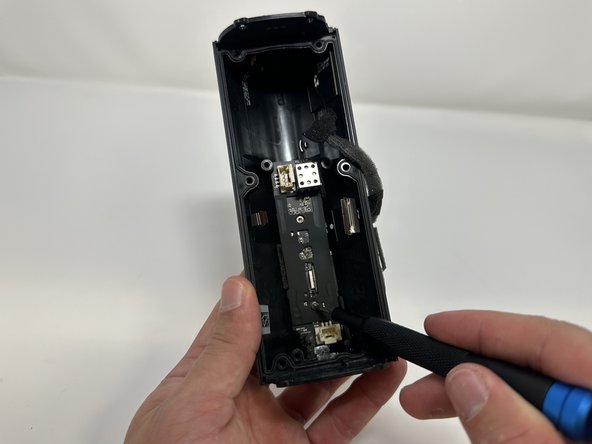
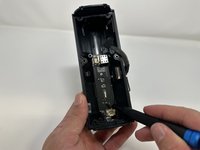
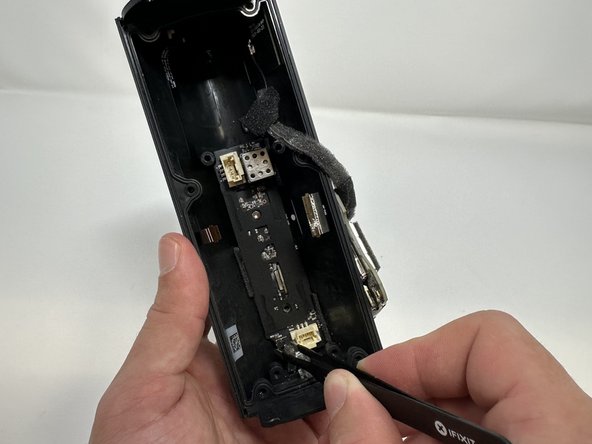
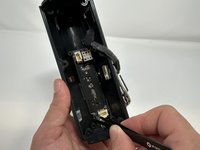
Use the tweezers to flip the latch holding the large ribbon in place.
-
Grab the large ribbon with the tweezers and pull upwards to remove it.
-
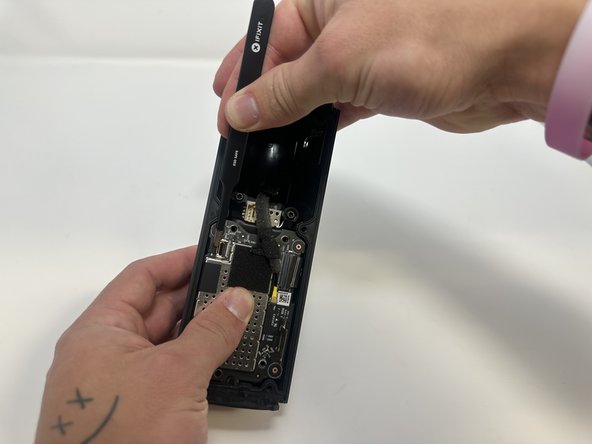
Use the tweezers to flip the latch holding the small ribbon in place.
-
Grab the small ribbon with the tweezers and pull upwards to remove it.
-
-
-
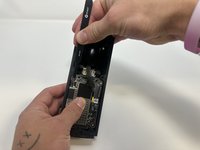
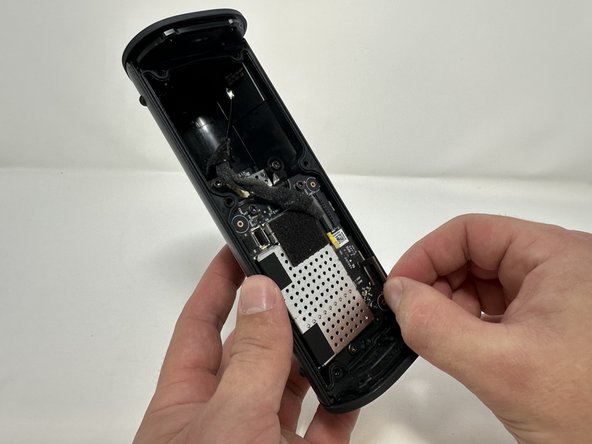
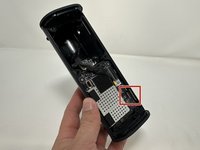
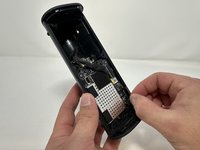
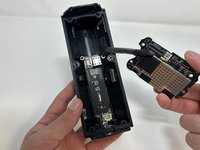
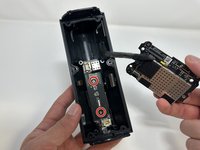
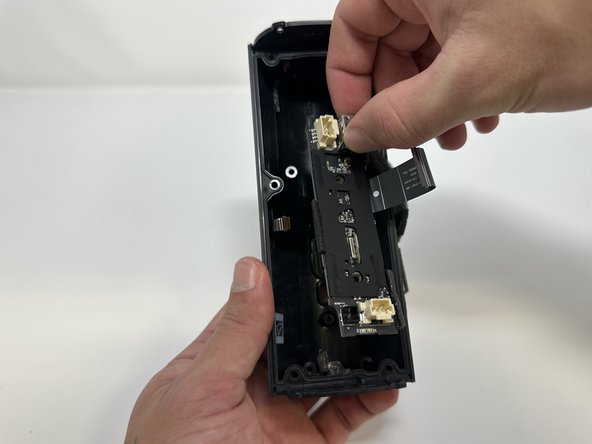
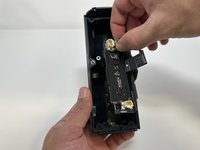
Grab the metal piece sticking out of the outer circuit board.
-
Pull upwards to remove the outer circuit board.
-
-
-
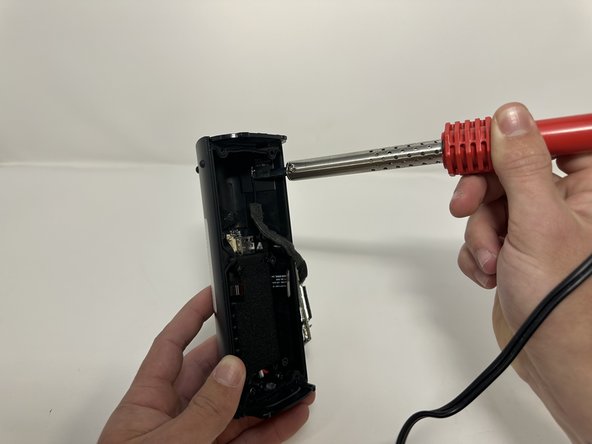
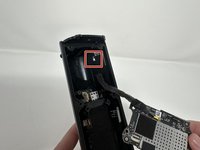
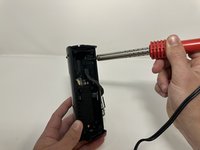
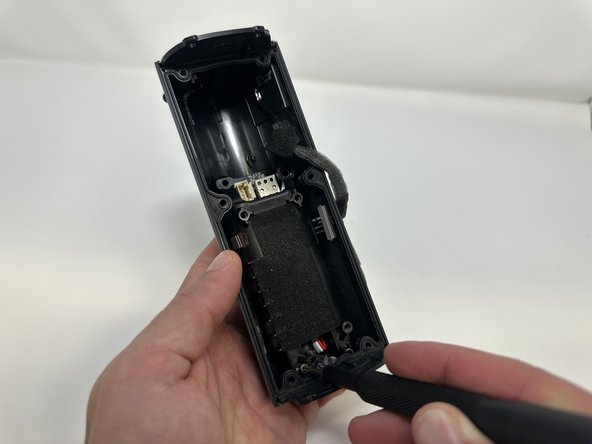
Use a soldering iron to desolder the outer circuit board from the speaker casing.
-
-
-
Use the TR10 Torx screwdriver to remove the four 7 mm screws.
-
-
crwdns2935267:0crwdne2935267:0Tweezers$4.99
-
Use the tweezers to firmly squeeze the middle of the plug.
-
Pull the plug out to remove it from its socket.
-
Remove the battery from the device.
-
-
-
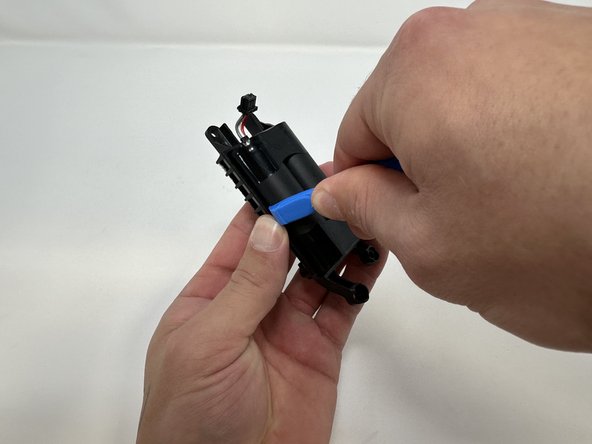
Use the iFixit opening tool to pry the battery out of its casing.
-
-
-
Use the TR9 Torx screwdriver to remove the two 5 mm screws.
-
-
crwdns2935267:0crwdne2935267:0Tweezers$4.99
-
Use the tweezers to firmly squeeze the center of the plug.
-
Pull the plug out to remove it from its socket.
-
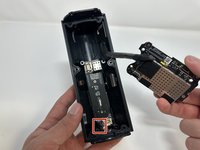
Grab the metal box to remove the inner circuit board.
-
-
crwdns2935267:0crwdne2935267:0Tweezers$4.99
-
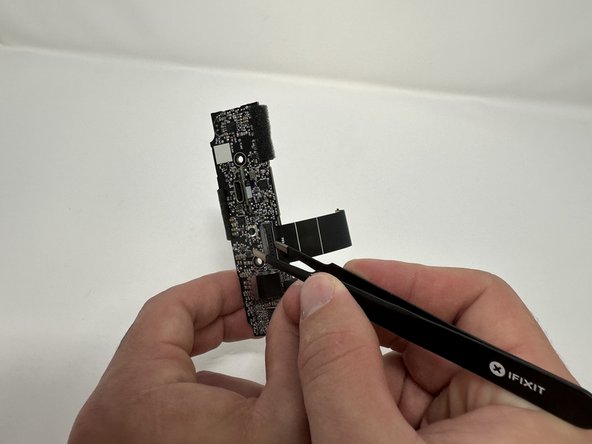
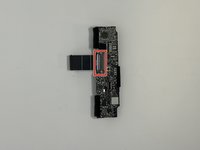
Flip the inner circuit board around so the button and USB-C port are facing upward.
-
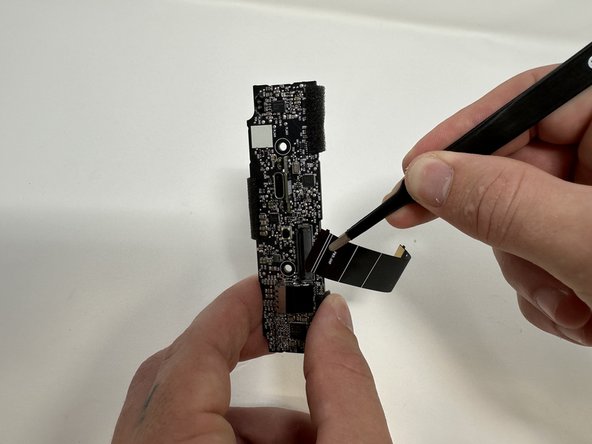
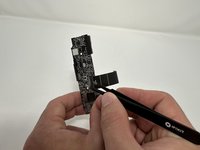
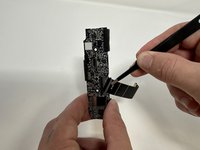
Use the tweezers to flip the large ribbon latch up.
-
Pull the large ribbon away from the inner circuit board to remove it.
-
To reassemble your device, follow these instructions in reverse order.
crwdns2947412:02crwdne2947412:0
Replace the ribbon or reposition it?
So where do we purchase the Sonos Roam Large Ribbon to replace it?!


