crwdns2915892:0crwdne2915892:0
This guide shows how to replace a speaker from the main array of a Sonos Playbase.
crwdns2942213:0crwdne2942213:0
-
crwdns2935267:0crwdne2935267:0Pro Tech Toolkit$74.95
-
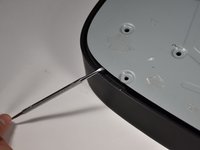
Turn the Playbase upside down so that the "Sonos Playbase" imprint is face up.
-
Remove the bottom panel with an Opening Tool by inserting underneath and prying upwards.
-
-
crwdns2935267:0crwdne2935267:0Pro Tech Toolkit$74.95
-
crwdns2935267:0crwdne2935267:0Pro Tech Toolkit$74.95
-
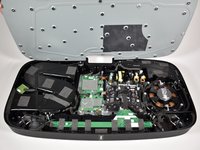
Remove the metal plate with a Opening Tool by inserting underneath and prying upwards.
-
-
-
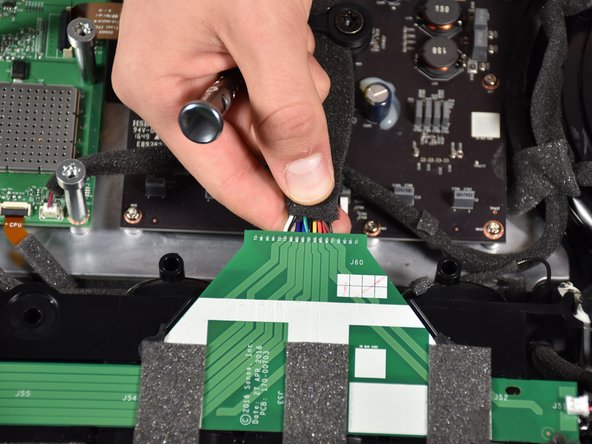
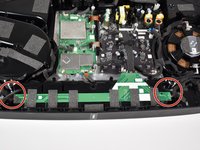
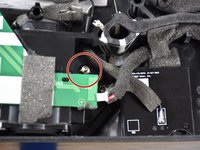
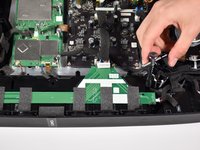
Disconnect the main speaker array from the main board, by pinching and and pulling the tab out.
-
-
-
-
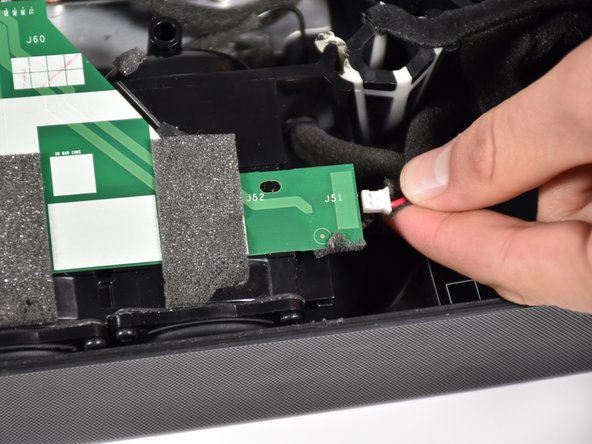
Remove the side speakers from the green printed circuit board (PCB) running along the top of the main speaker array by pinching and pulling out the connector.
-
-
crwdns2935267:0crwdne2935267:0Pro Tech Toolkit$74.95
-
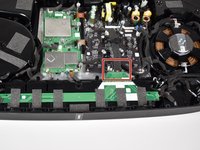
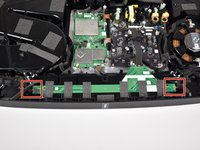
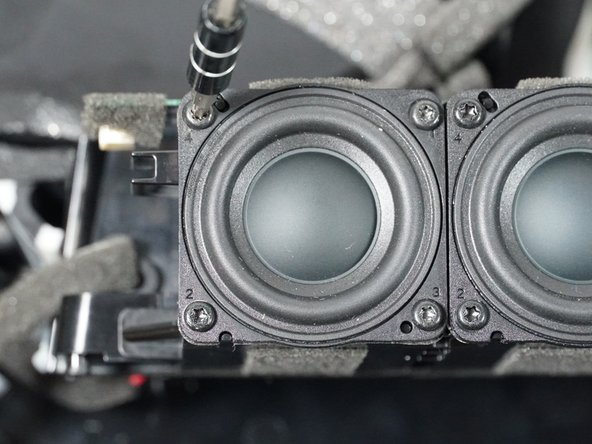
Remove the two 16mm T-20 screws located on both sides of the main speaker array by turning counter-clockwise.
-
-
-
Remove the main speaker array by gripping it on both sides and pulling it out.
-
-
-
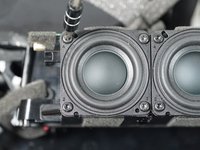
Prop the removed main speaker array up on top of the main circuit board.
-
-
crwdns2935267:0crwdne2935267:0Pro Tech Toolkit$74.95
-
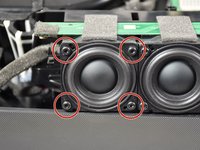
Remove the four 11mm T-10 screws from the individual speaker that needs replacement, by turning the screws counterclockwise.
-
-
-
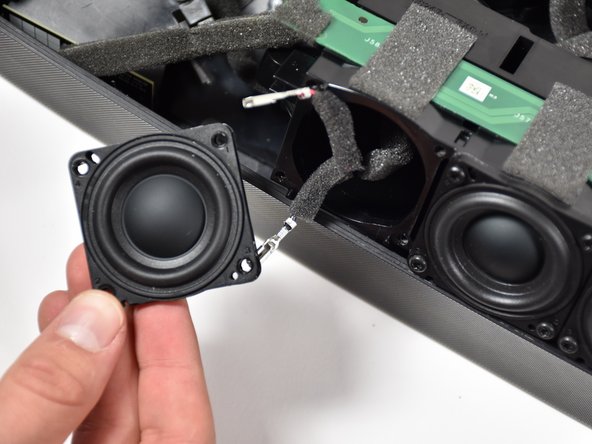
Remove the damaged speaker from the array socket, by grasping the speaker with one hand, the array with your other and pulling outward.
-
-
-
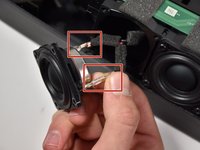
Remove the red and black clips by pinching and pulling on each tab.
-


To reassemble your device, follow these instructions in reverse order.

crwdns2935287:0crwdne2935287:0

Cal Poly, Team S17-G2, White Fall 2018 crwdns2935289:0Cal Poly, Team S17-G2, White Fall 2018crwdne2935289:0
CPSU-WHITE-F18S17G2
crwdns2931471:04crwdne2931471:0
crwdns2935297:08crwdne2935297:0