crwdns2915892:0crwdne2915892:0
This guide is for the replacement of the woofer diaphragm for the Sonos One.
Important: Accessing the internals of the Sonos One will void the factory warranty and make the unit rejected for factory repair, even if warranty is expired.
crwdns2942213:0crwdne2942213:0
-
-
Disconnect all power cords.
-
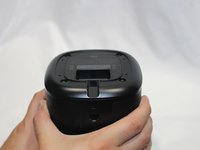
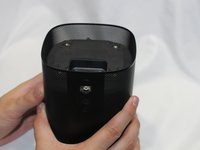
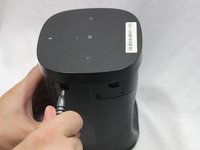
Remove the rubber foot and plastic screw guard on the bottom of the device using a plastic opening tool.
-
Note: the rubber foot and plastic screw guard can be removed as one piece to make reassembly easier
-
-
-
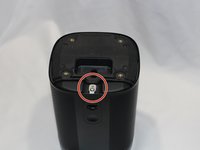
Remove the four 10mm Torx T10 screws from the bottom of the speaker.
More specifics on the four 10mm Torx T10 screws at the bottom, step 2.
ex: M3
Thanks
-
-
-
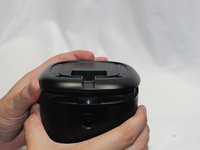
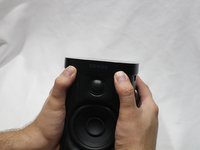
Remove the bottom cover by squeezing the protective cover slightly while pushing up with your fingers.
-
-
-
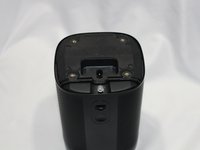
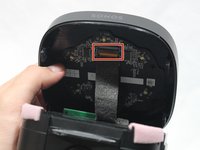
Remove the single 8mm Torx T10 screw and protective cover clip.
-
-
-
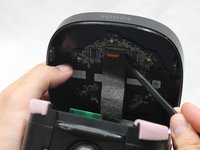
Slide the protective cover upwards to remove.
-
-
-
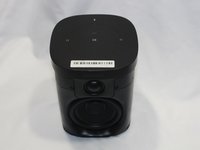
Remove the four 9mm Torx T8 screws from around the perimeter of the control panel.
-
-
-
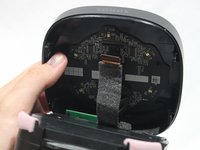
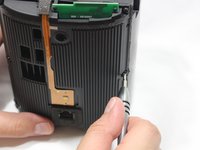
With the front of the unit facing you, lift the control panel up using your thumbs.
-
-
-
-
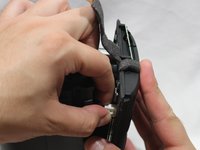
Use a spudger to flip up the retaining flap on the control panel ribbon cable ZIF socket.
-
Pull the control panel ribbon cable out of its socket.
-
-
-
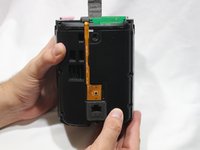
Pull the control panel away from the speaker to separate.
-
-
-
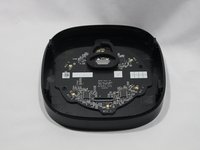
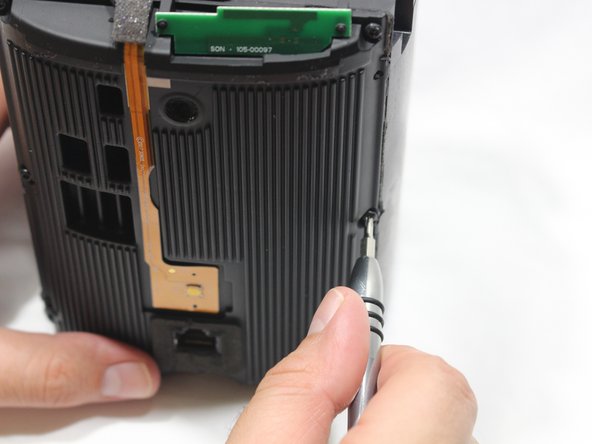
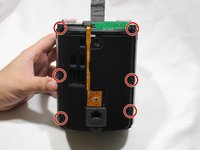
Remove the six 9mm Torx T8 screws from the motherboard panel.
-
-
-
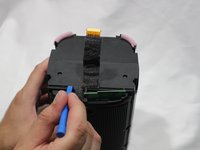
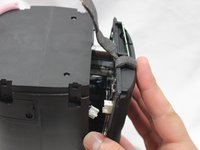
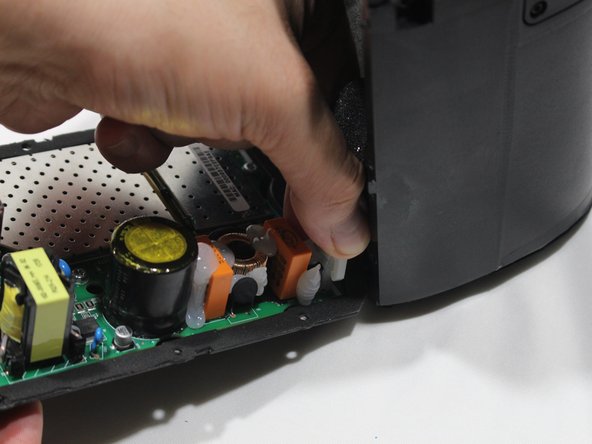
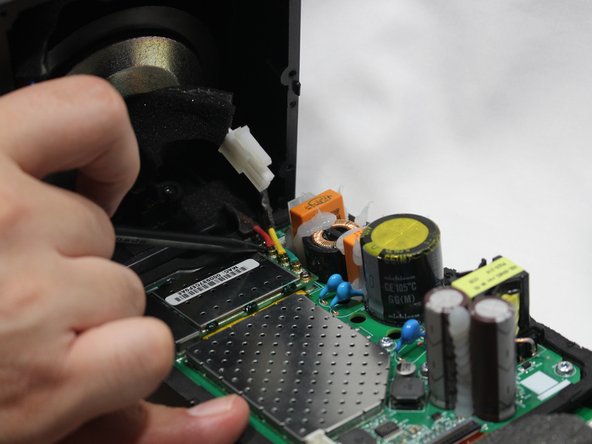
Using a plastic opening tool, separate the motherboard from the speaker.
-
-
-
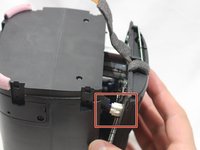
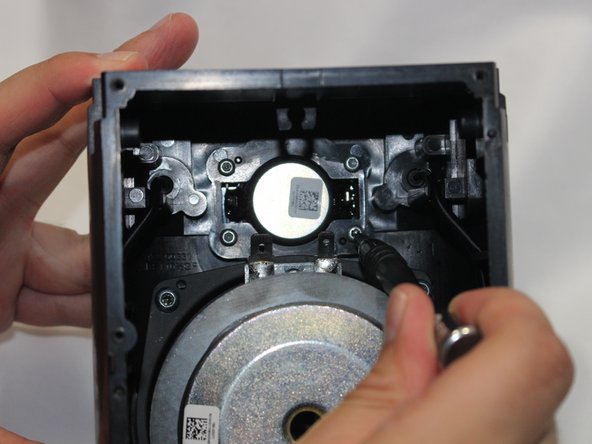
Using your thumb, disconnect the speaker cable from the motherboard.
-
-
-
Disconnect the power adapter plug from the motherboard using your thumb.
-
-
-
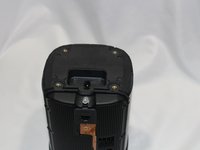
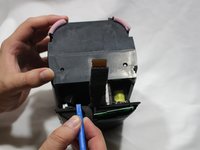
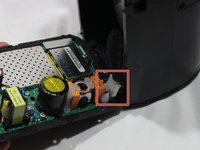
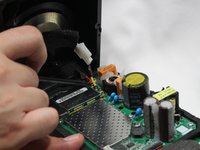
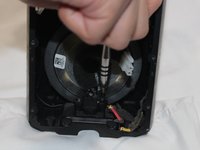
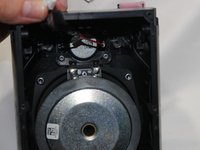
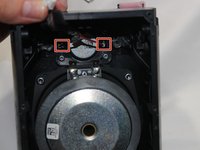
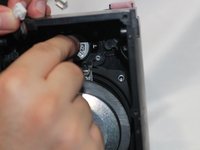
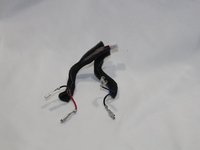
Using the pointed end of the spudger, disconnect the red, green, and yellow cables connecting the WiFi transmitter/receiver.
These terminals were covered with a big glob of wax on my motherboard, so I managed to remove the woofer without detaching the motherboard from the speaker housing. So, this step is optional, and really isn’t necessary.
The red and green need to be swapped around when reassembling it. Don't go off the picture above.
-
-
-
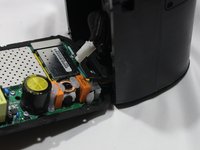
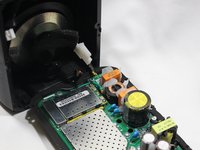
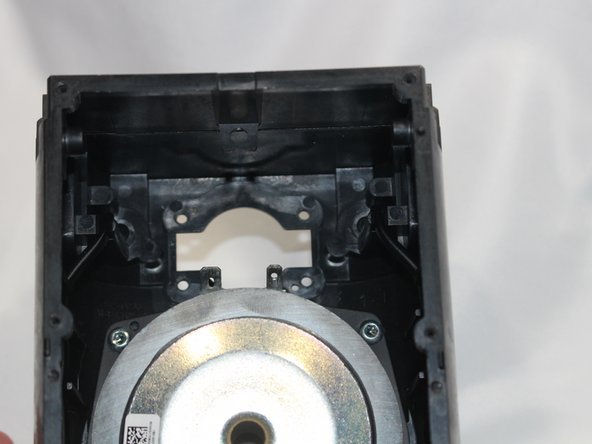
Remove the motherboard panel from the speaker housing.
-
-
-
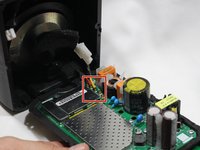
Remove the two 9mm Torx T8 screws from the power adapter plug.
-
Remove the power adapter receptacle from its housing slot.
Brilliant, incredibly helpful. Somehow the adapter had come out of its slot. All working now. Thanks!
-
-
-
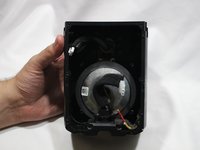
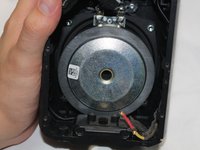
Disconnect the woofer cables.
-
-
-
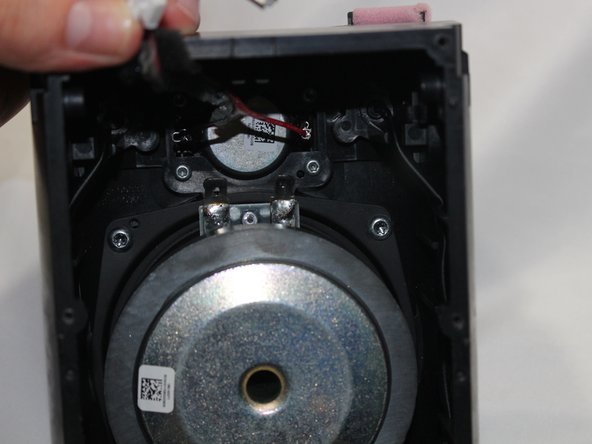
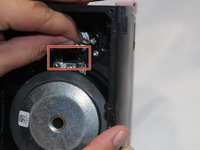
Disconnect the cables from the tweeter.
This step is unnecessary unless you intend to remove the tweeter.
-
-
-
Remove the four 10mm Torx T10 screws from the tweeter.
-
Remove the tweeter from the speaker housing.
Likewise, this step is also unnecessary if you just want to remove the woofer.
-
-
-
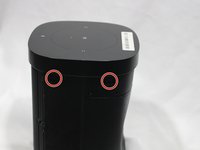
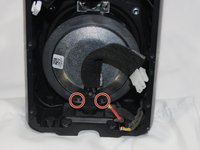
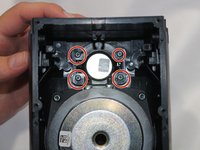
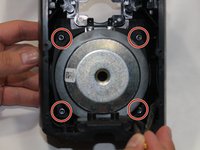
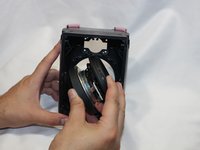
Remove the four 10mm Torx T10 screws from the woofer.
-
-
-
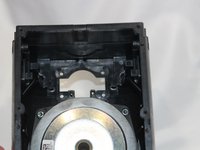
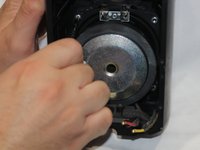
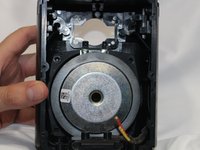
Remove the woofer from the speaker housing.
-


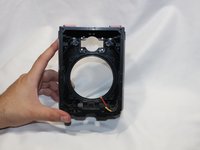
To reassemble your device, follow these instructions in reverse order.
To reassemble your device, follow these instructions in reverse order.
crwdns2935221:0crwdne2935221:0
crwdns2935227:0crwdne2935227:0
crwdns2915084:0crwdne2915084:0

USF Tampa, Team S2-G1, Nance Spring 2018 crwdns2935289:0USF Tampa, Team S2-G1, Nance Spring 2018crwdne2935289:0
USFT-NANCE-S18S2G1
crwdns2931471:03crwdne2931471:0
crwdns2935297:011crwdne2935297:0
crwdns2947412:05crwdne2947412:0
Any suggestion on where to buy these woofers (in Europe/Belgium)?
@mglowa Any idea where to buy a replacement woofer pictured above? Or what to look for, an equivalent perhaps?
This is the link to the replacement woofer that I used to repair my Sonos One in August 2024: https://www.aliexpress.com/item/10050071...
"SOTAMIA 1Pcs 3.5 Inch Midrange Woofer Speaker 4 Ohm 35W Bass Loudspeaker Aluminum Basin Hifi Music Sound Speaker Audio For SONOS"
56mm high,
75mm distance between adjacent screw holes
105mm diagonal distance between non-adjacent screw holes
97mm width of outer casing
Great guide - replaced the subwoofer using the part above. A few things to note:
Step 13: my unit didn't have an power adapter plug; wires soldered onto board
Step 14:my unit had hardened glue spread on the yellow/red/green cables making removal impossible.
There was no need to remove the tweeter to replace the woofer (steps 18/19).