crwdns2915892:0crwdne2915892:0
This guide is for the replacement of the woofer diaphragm for the Sonos One.
Important: Accessing the internals of the Sonos One will void the factory warranty and make the unit rejected for factory repair, even if warranty is expired.
crwdns2942213:0crwdne2942213:0
-
-
Disconnect all power cords.
-
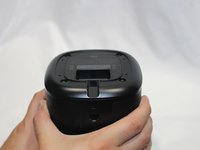
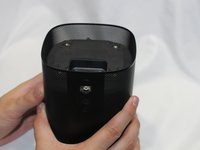
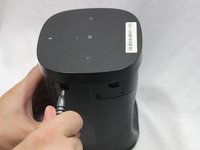
Remove the rubber foot and plastic screw guard on the bottom of the device using a plastic opening tool.
-
Note: the rubber foot and plastic screw guard can be removed as one piece to make reassembly easier
-
-
-
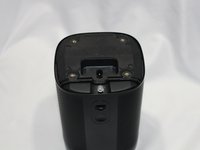
Remove the four 10mm Torx T10 screws from the bottom of the speaker.
-
-
-
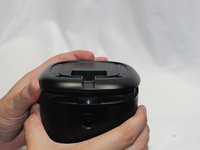
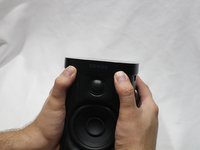
Remove the bottom cover by squeezing the protective cover slightly while pushing up with your fingers.
-
-
-
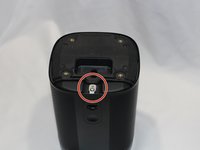
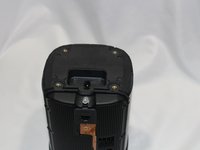
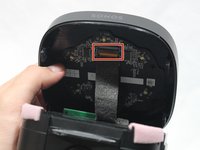
Remove the single 8mm Torx T10 screw and protective cover clip.
-
-
-
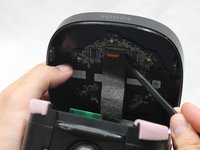
Slide the protective cover upwards to remove.
-
-
-
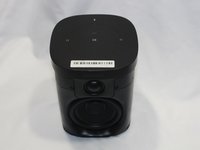
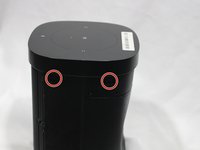
Remove the four 9mm Torx T8 screws from around the perimeter of the control panel.
-
-
-
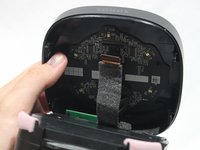
With the front of the unit facing you, lift the control panel up using your thumbs.
-
-
-
-
Use a spudger to flip up the retaining flap on the control panel ribbon cable ZIF socket.
-
Pull the control panel ribbon cable out of its socket.
-
-
-
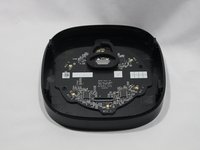
Pull the control panel away from the speaker to separate.
-
-
-
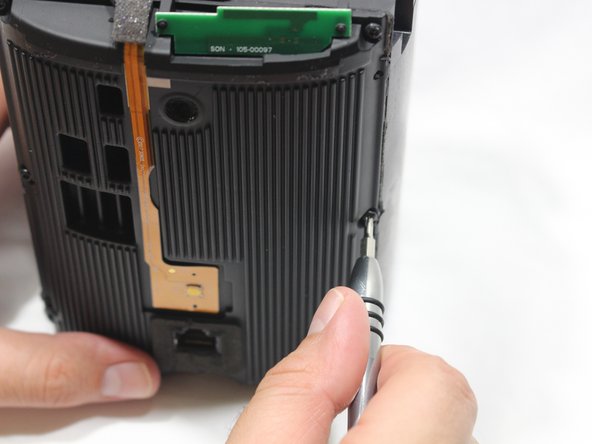
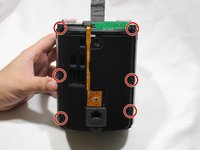
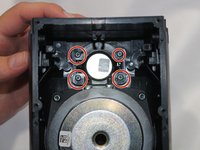
Remove the six 9mm Torx T8 screws from the motherboard panel.
-
-
-
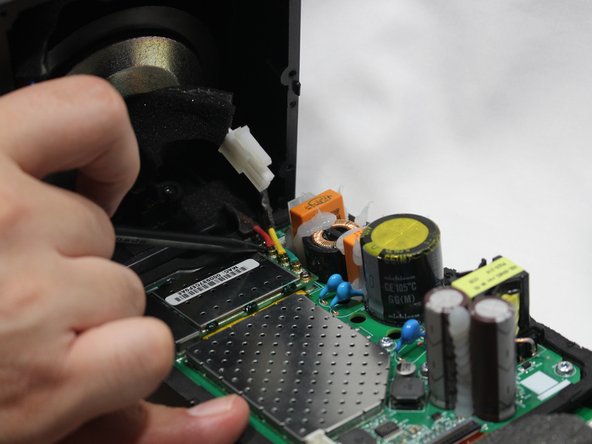
Using a plastic opening tool, separate the motherboard from the speaker.
-
-
-
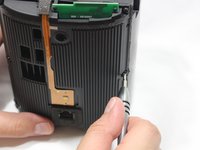
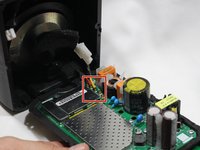
Using your thumb, disconnect the speaker cable from the motherboard.
-
-
-
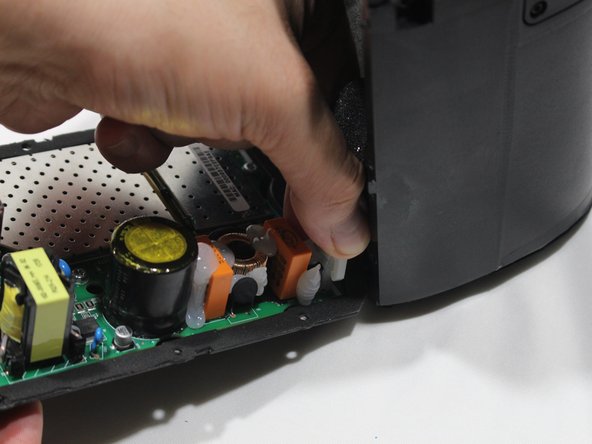
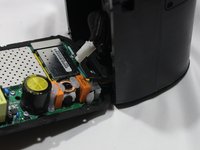
Disconnect the power adapter plug from the motherboard using your thumb.
-
-
-
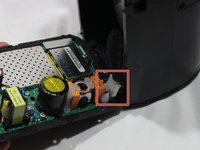
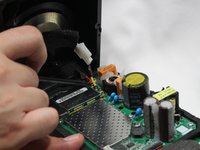
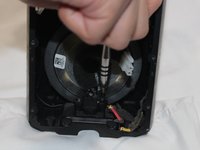
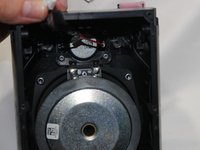
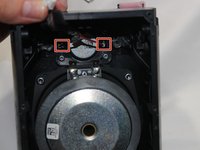
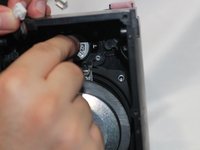
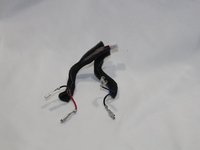
Using the pointed end of the spudger, disconnect the red, green, and yellow cables connecting the WiFi transmitter/receiver.
-
-
-
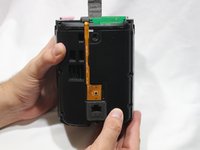
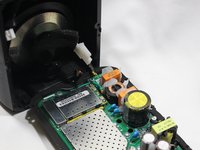
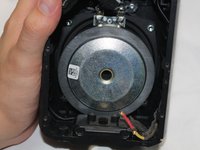
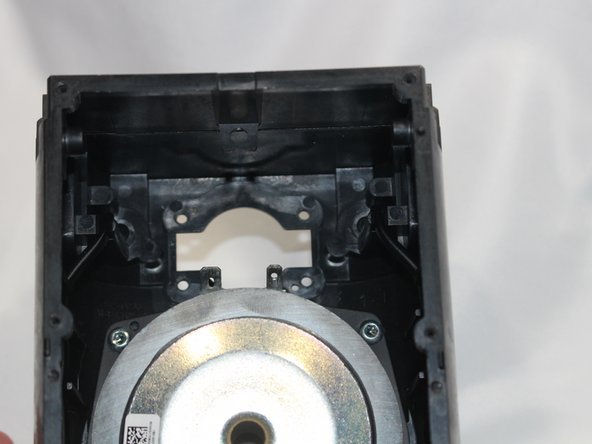
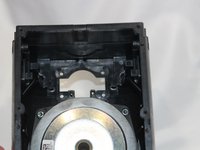
Remove the motherboard panel from the speaker housing.
-
-
-
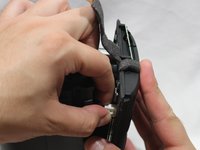
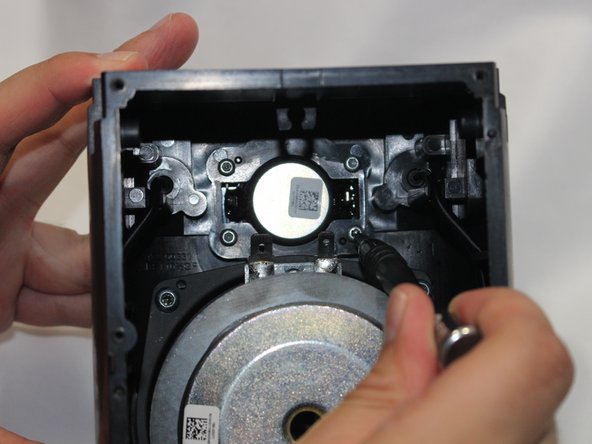
Remove the two 9mm Torx T8 screws from the power adapter plug.
-
Remove the power adapter receptacle from its housing slot.
-
-
-
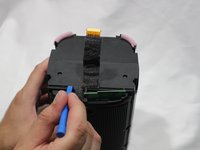
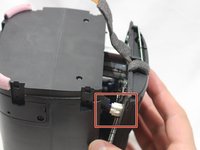
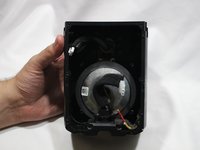
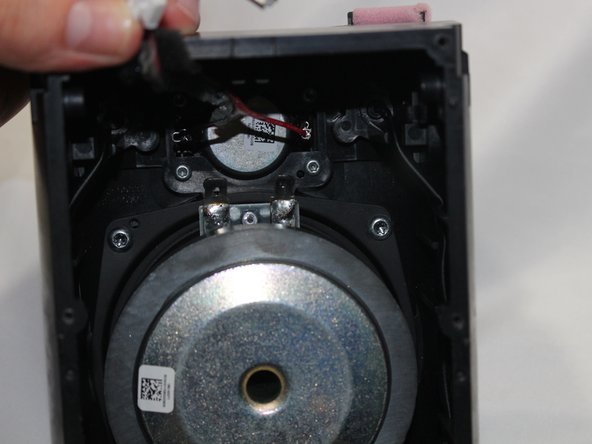
Disconnect the woofer cables.
-
-
-
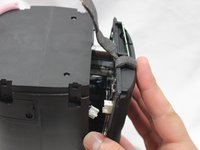
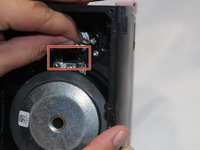
Disconnect the cables from the tweeter.
-
-
-
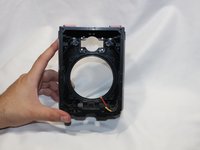
Remove the four 10mm Torx T10 screws from the tweeter.
-
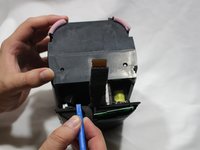
Remove the tweeter from the speaker housing.
-
-
-
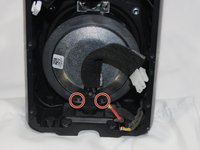
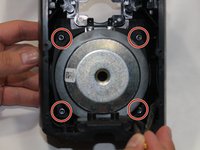
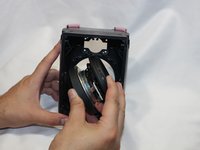
Remove the four 10mm Torx T10 screws from the woofer.
-
-
-
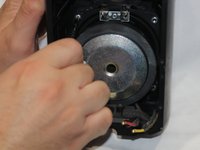
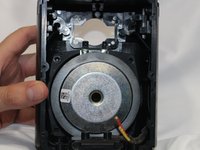
Remove the woofer from the speaker housing.
-


To reassemble your device, follow these instructions in reverse order.
crwdns2935221:0crwdne2935221:0
crwdns2935229:02crwdne2935229:0
crwdns2935287:0crwdne2935287:0

USF Tampa, Team S2-G1, Nance Spring 2018 crwdns2935289:0USF Tampa, Team S2-G1, Nance Spring 2018crwdne2935289:0
USFT-NANCE-S18S2G1
crwdns2931471:03crwdne2931471:0
crwdns2935297:014crwdne2935297:0
crwdns2947412:05crwdne2947412:0
Any suggestion on where to buy these woofers (in Europe/Belgium)?
@mglowa Any idea where to buy a replacement woofer pictured above? Or what to look for, an equivalent perhaps?
This is the link to the replacement woofer that I used to repair my Sonos One in August 2024: https://www.aliexpress.com/item/10050071...
"SOTAMIA 1Pcs 3.5 Inch Midrange Woofer Speaker 4 Ohm 35W Bass Loudspeaker Aluminum Basin Hifi Music Sound Speaker Audio For SONOS"
56mm high,
75mm distance between adjacent screw holes
105mm diagonal distance between non-adjacent screw holes
97mm width of outer casing
Great guide - replaced the subwoofer using the part above. A few things to note:
Step 13: my unit didn't have an power adapter plug; wires soldered onto board
Step 14:my unit had hardened glue spread on the yellow/red/green cables making removal impossible.
There was no need to remove the tweeter to replace the woofer (steps 18/19).