crwdns2915892:0crwdne2915892:0
This repair should be fairly simple given the correct tools and experience soldering. If you do not have any soldering experience, it is recommended to practice prior to attempting to replace any parts in the Sonos Bridge. Taking apart the Bridge is quick and should not do any permanent damage to the device. This repair might be necessary if the device is powering on, but does not connect to the internet. Another sign of needing this repair would be if the Ethernet cable feels loose when plugged into the port.
crwdns2942213:0crwdne2942213:0
-
-
The rubber bottom is glued on, meaning it can be easily pried off using the metal spudger.
-
You may have to pry from multiple locations.
-
-
-
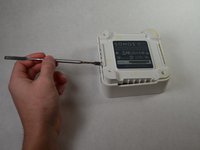
There is one screw in each corner of the base for a total of four screws.
-
Remove each screw using the Phillips 1 screwdriver.
-
The four screws are each 0.9 cm long.
-
-
-
-
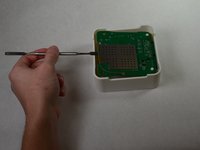
Use the metal spudger to pry out the plastic bottom.
-
-
-
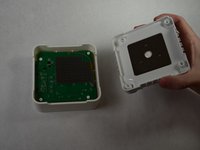
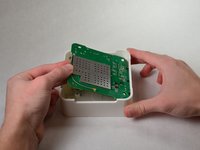
Pry out the circuit board.
-
Place the metal spudger under the board on the side opposite the two ports.
-
The board can then be easily wiggled out of the casing.
-
-
-
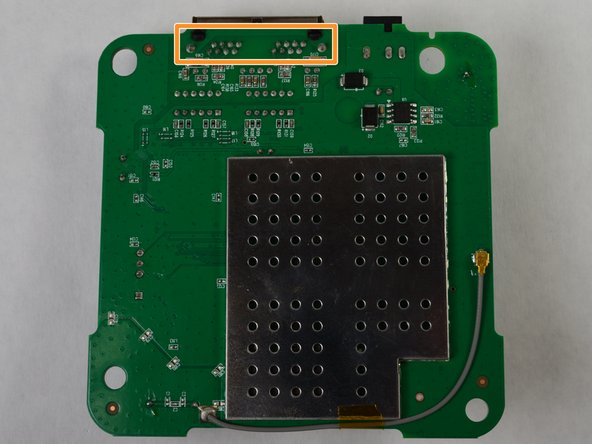
Locate the Ethernet port on the circuit board, shown with the red box in the first image.
-
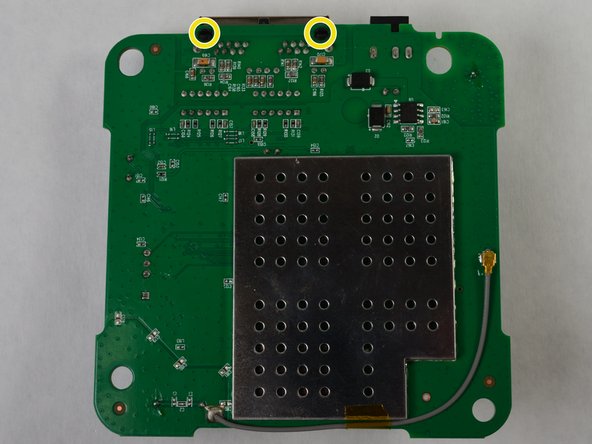
Locate the solders attached to the Ethernet port.
-
Use the soldering iron to undo the solders.
-
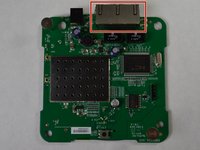
Carefully remove the Ethernet port by using the metal spudger and squeezing the black clips.
-


To reassemble your device, follow these instructions in reverse order.
To reassemble your device, follow these instructions in reverse order.
crwdns2915084:0crwdne2915084:0

IUPUI, Team S3-G4, Harley Fall 2017 crwdns2935289:0IUPUI, Team S3-G4, Harley Fall 2017crwdne2935289:0
IUPUI-HARLEY-F17S3G4
crwdns2931471:03crwdne2931471:0
crwdns2935297:02crwdne2935297:0
crwdns2947410:01crwdne2947410:0
Hi could you tell me how to fix sonos zp100 bridge player internet port also where to get parts thanks