crwdns2915892:0crwdne2915892:0
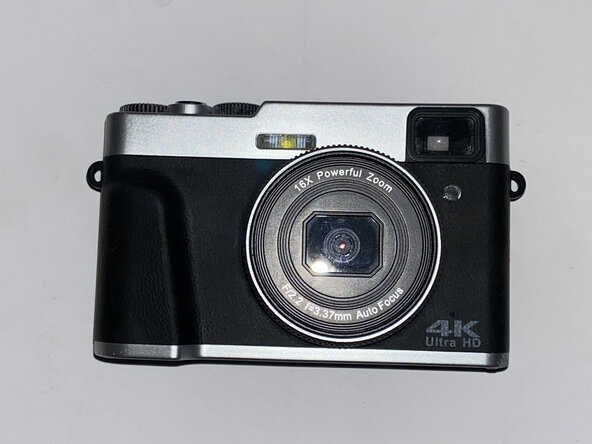
This particular camera stopped working for me, so I decided to take it apart.
crwdns2942213:0crwdne2942213:0
-
-
Here, I've got my hands on a camera that no longer works.
-
Seeing that I can't use it for anything useful, I decided to take it apart, because why not?
-
-
-
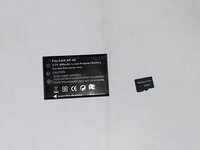
This camera came with two 3.7V 800mAh NP-60 li-pos and a generic 32GB microSD card.
-
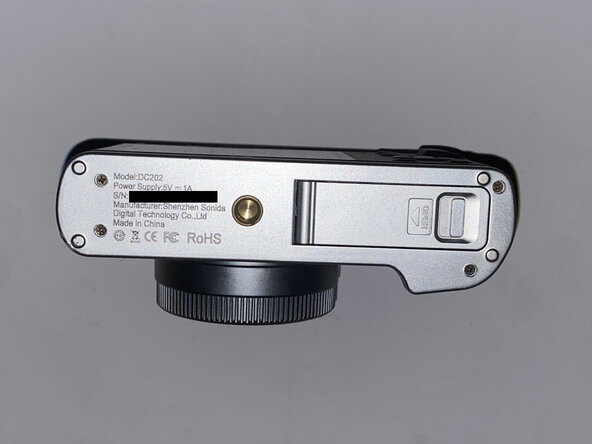
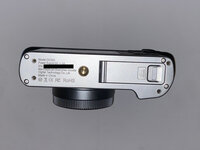
The camera has a model number of DC202 and is manufactured by Shenzhen Sonida Digital Technology Co., Ltd.
-
-
-
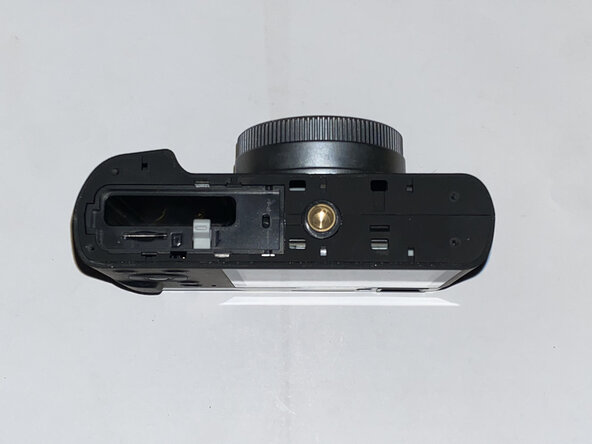
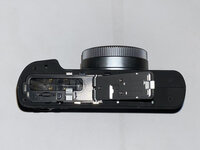
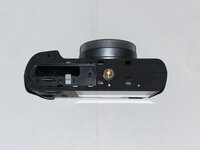
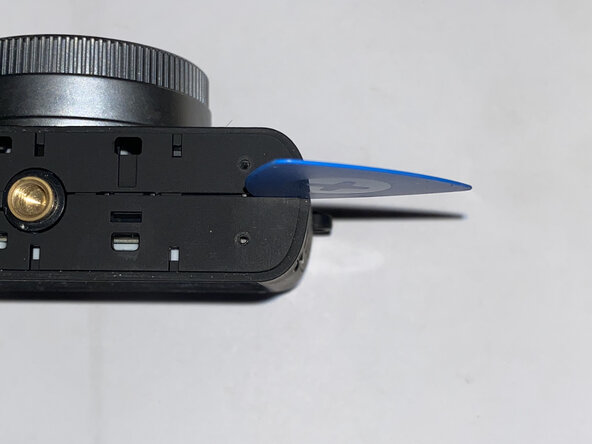
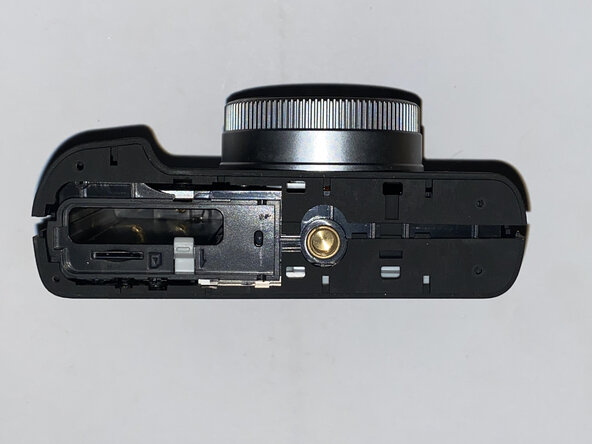
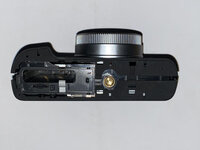
Time to start the teardown! Let's start by removing the bottom cover.
-
This revealed almost nothing about the insides of the camera, but did reveal that the rest the case (minus the silver plastic top cover) is split into two halves.
-
-
-
I spot screws! Disassembling the battery door revealed some springs, but that's just about it.
-
-
-
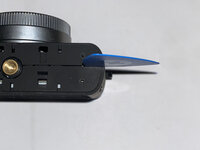
I stalled trying to figure out what to do next. I undid the two screws on the top cover, which didn't appear to do anything, so I tried separating the halves of the main part of the case. They separated all right, but they were still caught at the top.
-
-
-
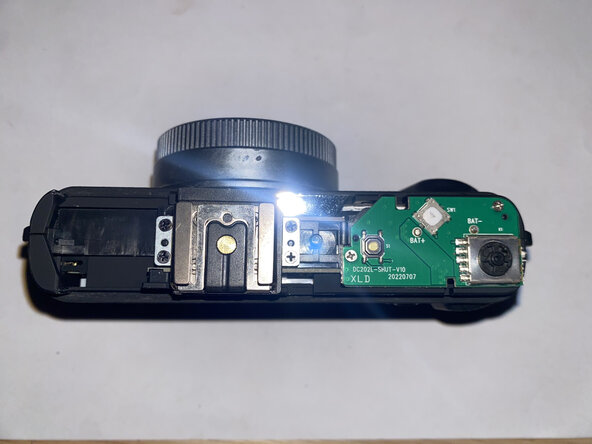
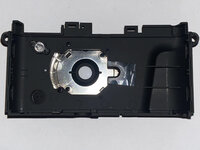
Breakthrough! I discovered that the top cover pops off almost as easily as the bottom cover (held on by just a few clips once the screws were removed).
-
-
-
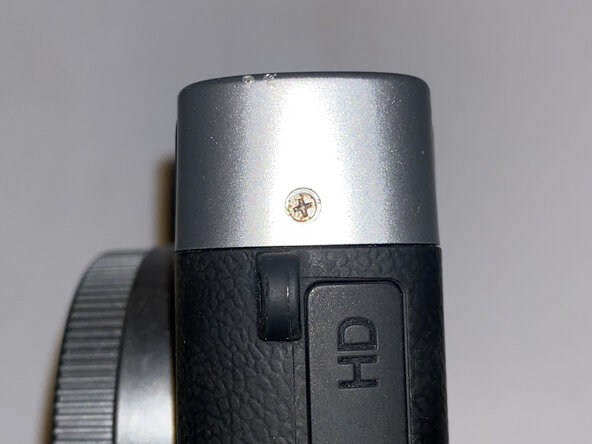
Inside the top cover, I found that the viewfinder and the ring around the power button were screwed in from the underside.
-
-
-
-
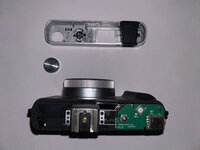
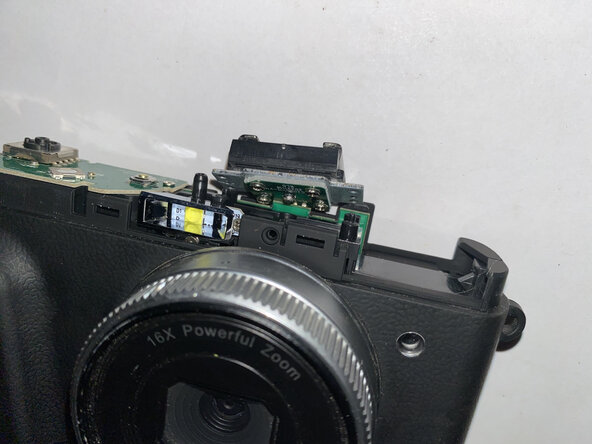
The top cover revealed some circuitry, but removing the screws only allowed be to look underneath: both boards visible are soldered to the logic board.
-
-
-
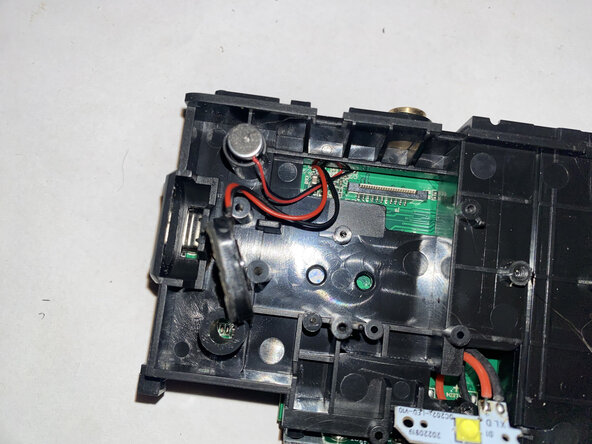
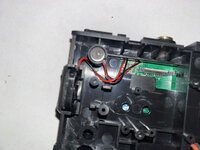
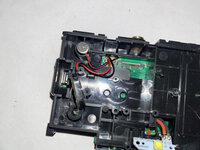
The back case simply popped out of place, revealing several components inside.
-
-
-
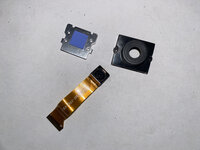
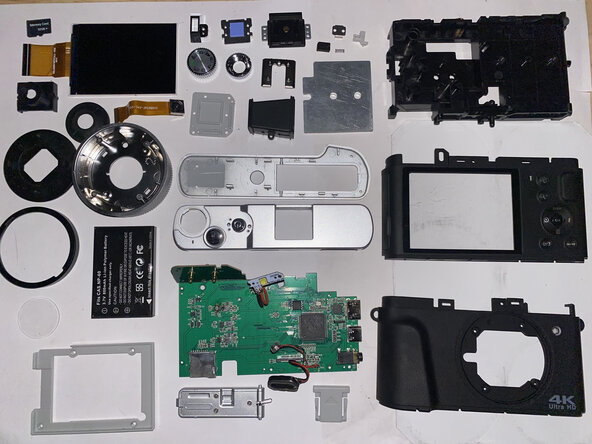
Camera, you're first! Removing and disassembling the camera module revealed that the component itself is tiny compared to the rest of the device.
-
The camera, labelled OV8865AF-FPC-V10-LF, is capable of taking photos at 3264 x 2448 (8 megapixels) at 30FPS. It can also record video at 1080p at 30FPS or half the resolution for double the FPS.
-
-
-
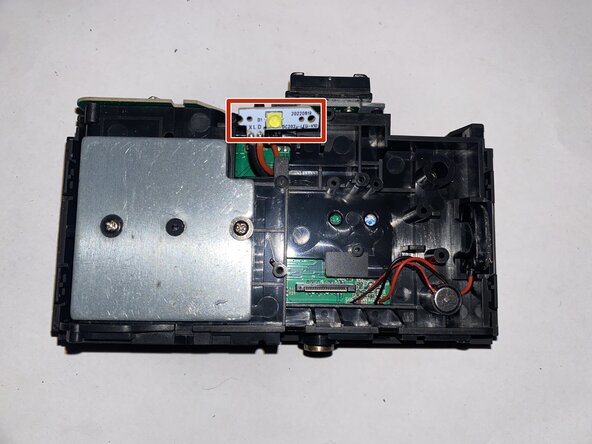
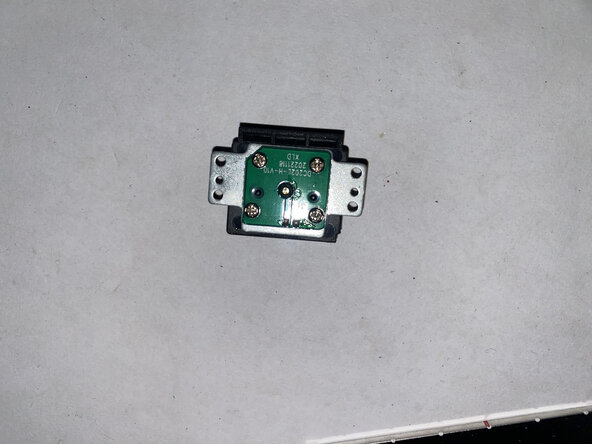
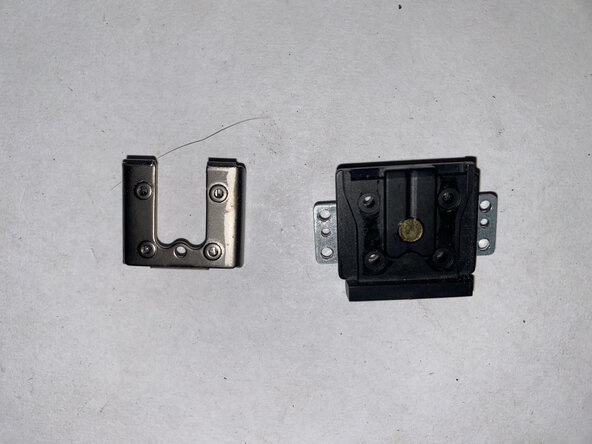
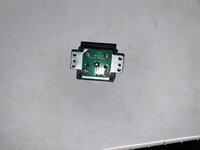
Removing the flash cover revealed more screws to remove the flash module, which is soldered to the logic board with two wires.
-
-
-
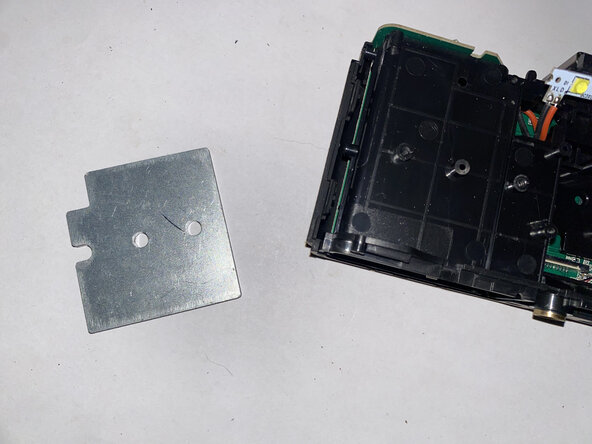
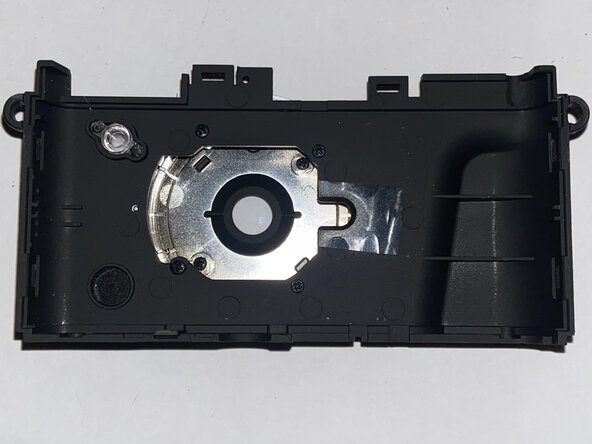
I was disappointed to learn that removing this metal plate, which turned out to be a weight, didn't reveal any screws or components.
-
-
-
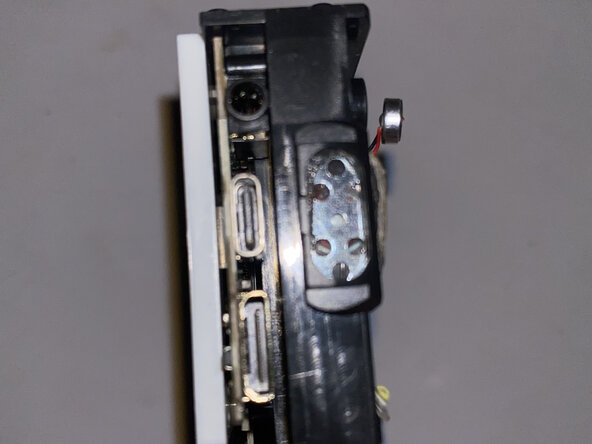
The microphone popped out with ease, but the speaker is glued in with a gasket of adhesive. While the adhesive is light, the speaker's positioning makes it more difficult to remove than it would've been if it could've been pried straight out.
-
-
-
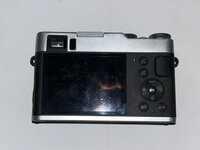
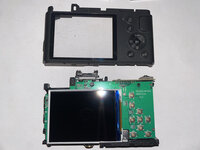
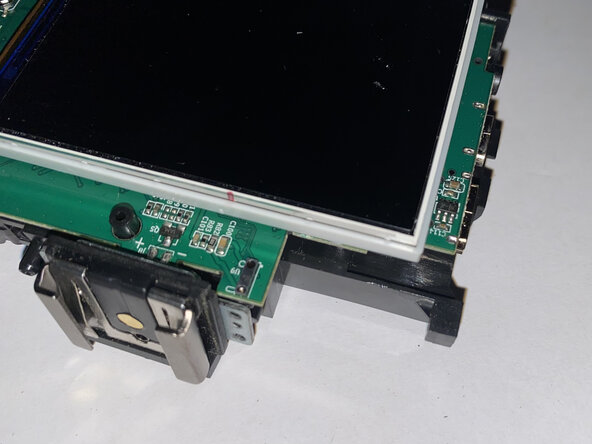
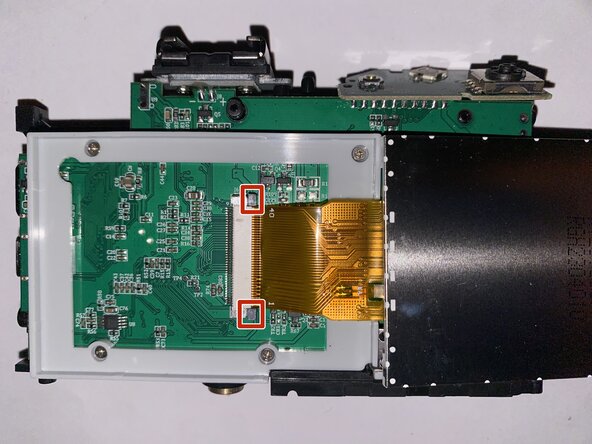
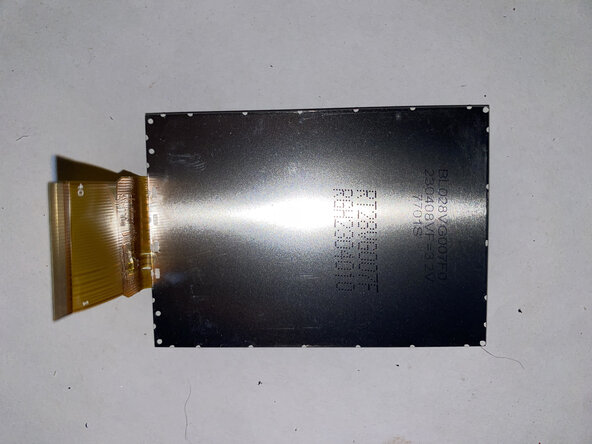
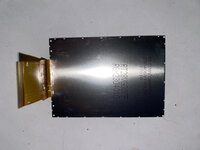
Time to remove the front cover! This revealed several buttons along with the screen.
-
I removed a screw near the bottom-left of the display that seemed to only hold down a small metal cover.
-
-
-
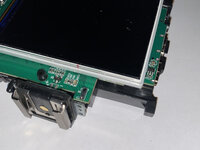
Unplugging the display cable requires the black tabs to be pulled out pulling out the cable.
-
Removing the screws around the display frame let the logic board free.
-
-
-
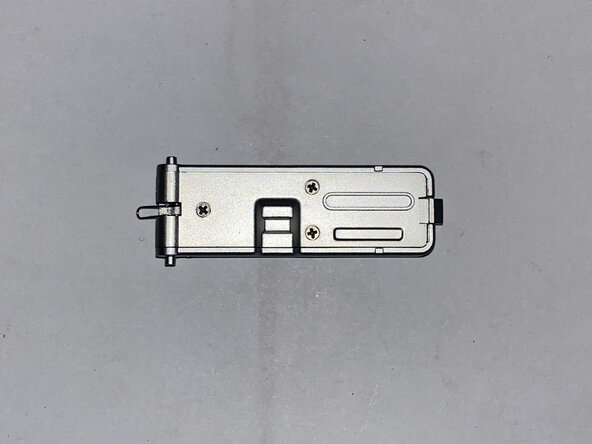
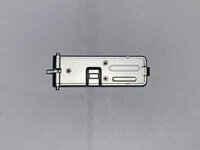
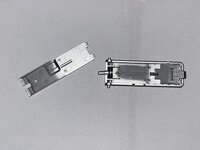
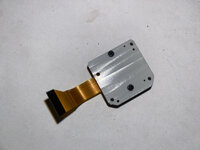
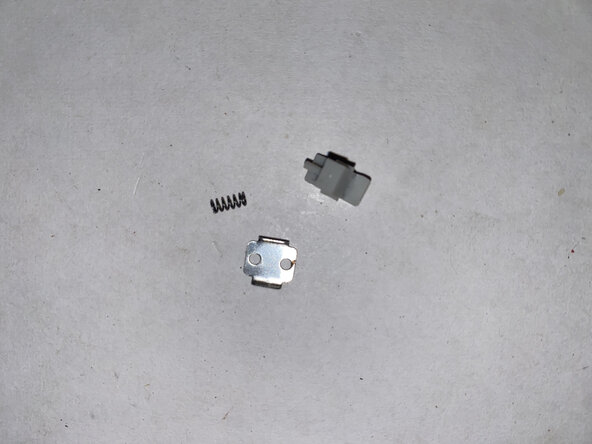
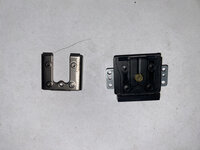
Some parts fell off while I was disassembling the device. The first picture shows the tiny metal cover and the battery locking mechanism, and the second and third show a part that broke off. (Whatever it is, it was seriously overbuilt. That thing had eight screws to undo!)
-
-
-
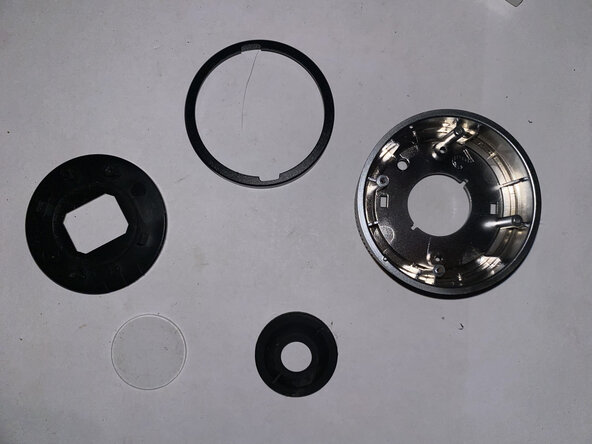
Taking apart the back case separates some plastic bits from a gasket and the glass. (Yes, it's real glass.)
-
-
-
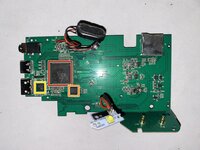
Finally! The logic board!
-
On the front:
-
2301 LUL083 PM230102 or 2301-EUL083 PM230102- probably an SoC or microcontroller.
-
PZS032SH 2KITA20 made by PLM
-
JL5001A 2101-BXA A1769G
-
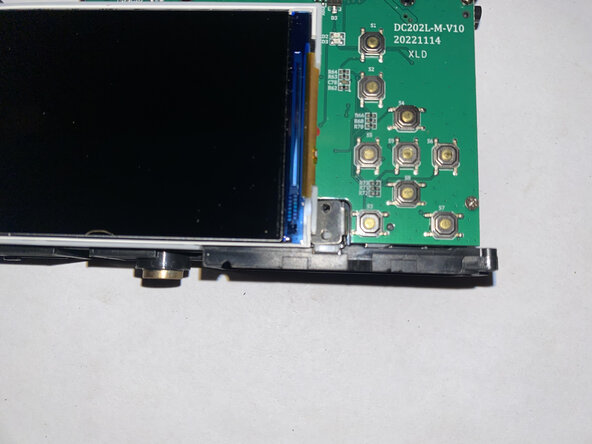
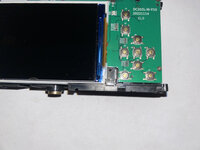
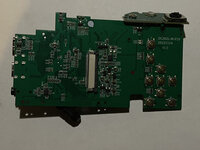
On the back:
-
Not much! The board is labeled DC202L-M-V10 20221114 XLD. Searching for it on Google didn't show any results, so I'm guessing this is just for part identification within Sonida.
-
-
-
And that's it! The teardown is complete.
-