crwdns2933423:0crwdne2933423:0

Smart Soldering Iron USB-C Connection

crwdns2862623:0crwdne2862623:0
crwdns2942641:0crwdne2942641:0
  1. Smart Soldering Iron USB-C Connection, Connect the USB-C cable: crwdns2935265:01crwdnd2935265:01crwdnd2935265:02crwdne2935265:0 Smart Soldering Iron USB-C Connection, Connect the USB-C cable: crwdns2935265:01crwdnd2935265:02crwdnd2935265:02crwdne2935265:0
    • Make sure the soldering iron's power switch is in the blue OFF position.

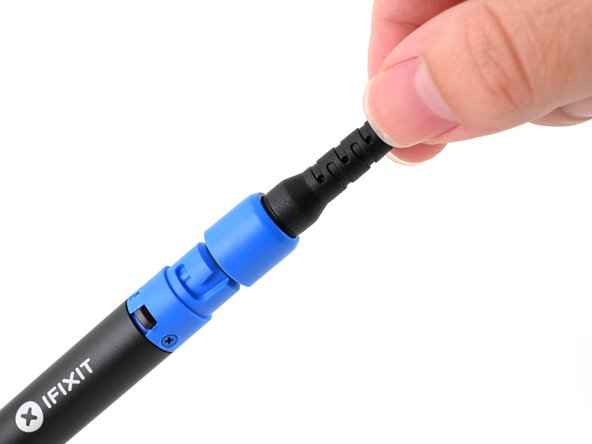
    • Match the end of the USB-C cable with the blue locking collar to the blue USB-C port on the soldering iron, and push to connect.

  2. Smart Soldering Iron USB-C Connection, Secure the locking collar: crwdns2935265:02crwdnd2935265:01crwdnd2935265:03crwdne2935265:0 Smart Soldering Iron USB-C Connection, Secure the locking collar: crwdns2935265:02crwdnd2935265:02crwdnd2935265:03crwdne2935265:0 Smart Soldering Iron USB-C Connection, Secure the locking collar: crwdns2935265:02crwdnd2935265:03crwdnd2935265:03crwdne2935265:0
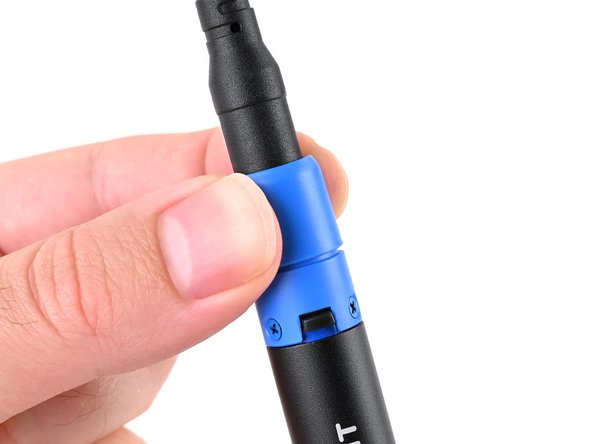
    • Align the nubs in the collar with the slots on the soldering iron.

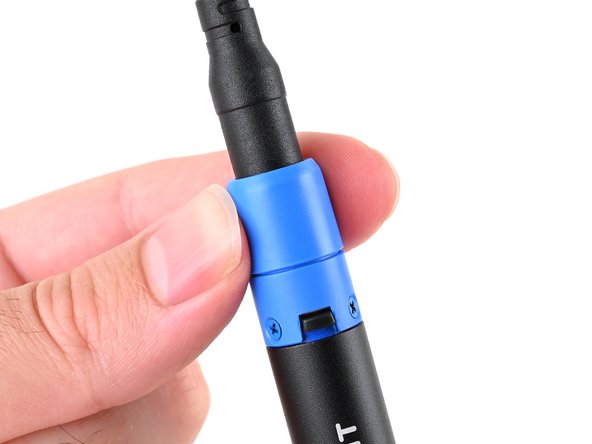
    • Push the collar snug against the soldering iron, then twist clockwise to lock it in place.

crwdns2915888:0crwdne2915888:0

To reassemble your device, follow these instructions in reverse order.

Carsten Frauenheim

crwdns2935283:003/10/20crwdne2935283:0

138,244 crwdns2915208:0crwdne2915208:0

crwdns2935297:0379crwdne2935297:0

crwdns2915084:0crwdne2915084:0

iFixit crwdns2935289:0iFixitcrwdne2935289:0

Staff

crwdns2931471:0121crwdne2931471:0

crwdns2935297:019,763crwdne2935297:0

crwdns2947412:00crwdne2947412:0

crwdns2917038:0crwdne2917038:0

crwdns2936625:0crwdne2936625:0:

crwdns2936751:024crwdne2936751:0 0

crwdns2936753:07crwdne2936753:0 1

crwdns2936753:030crwdne2936753:0 5

crwdns2942667:0crwdne2942667:0 14