crwdns2915892:0crwdne2915892:0
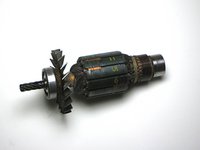
Has your motor stopped running? This guide will help you to do a quick replacement to get it working once again. What is a Skill 88 Motor? It is a drill that uses a motor in order to convert electrical currents in order to power the drill. It is used to drill through tough objects due to the fact it is power using a motor. If the motor were to become faulty then the drill would not be able to be used at all as that's its power source. This fix should be easy for any person, even if they have no repair experience, as these steps are simple and straightforward with some safety tips to make sure that you have no hassle when doing the replacement.
crwdns2942213:0crwdne2942213:0
-
-
On the front of the drill, remove the three 2" flathead screws connecting the front housing to the rear housing.
-
-
-
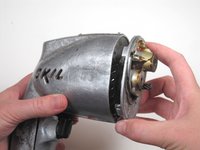
Pull the front housing apart from the rear.
-
-
-
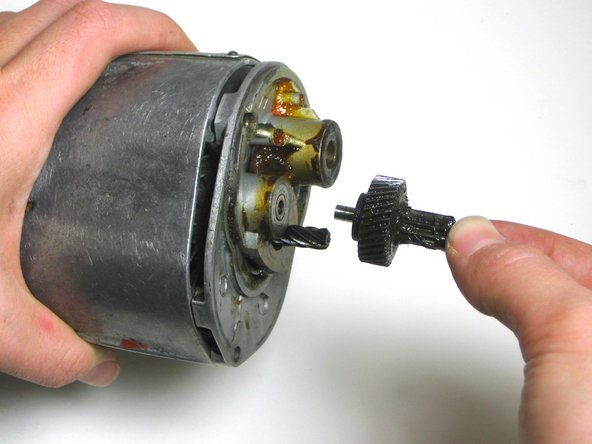
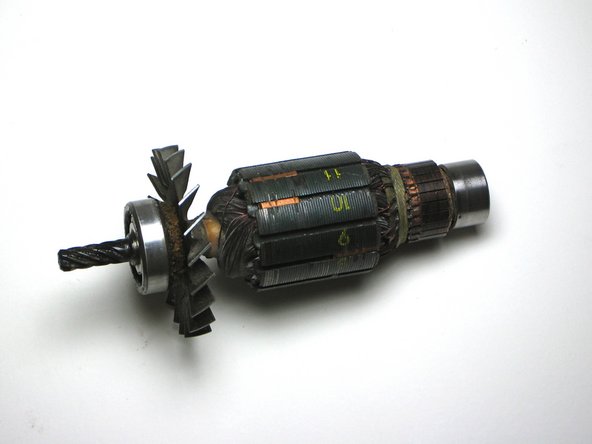
Remove the gear that is threaded onto the divider.
-
-
-
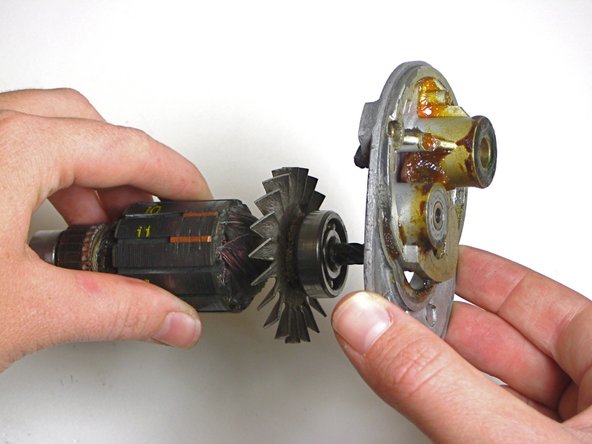
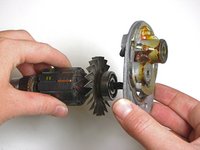
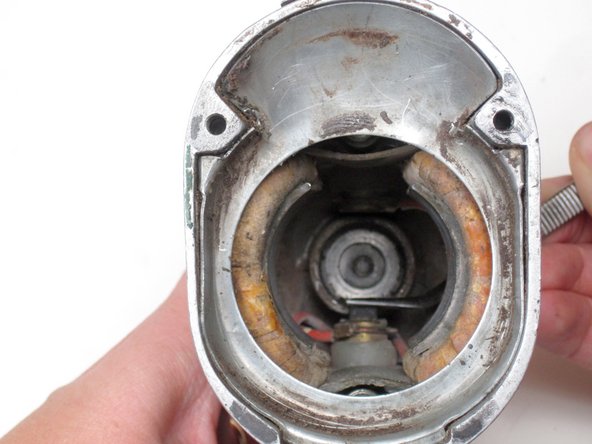
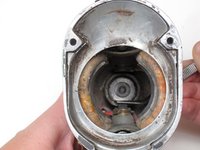
Remove the divider from the rear housing.
-
-
crwdns2935267:0crwdne2935267:0Tweezers$4.99
-
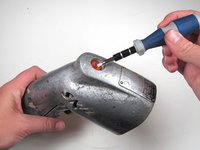
For reassembly, remove the orange cap on top using your flathead screwdriver. A bushing should come out with it.
-
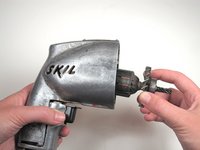
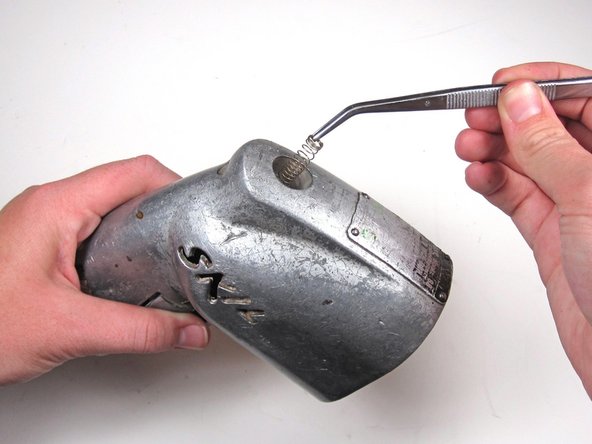
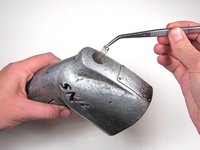
Depress the bushing on bottom using the tweezers. To reach the bushing you will have to put the tweezers through the "Skil" lettering. Insert the motor as it is depressed.
-
Using the tweezers, place the other bushing back in through the hole in the top. Screw the orange cap back on.
-
To continue reassembly, simply follow the guide backwards starting at step 2.


