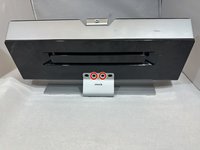
crwdns2915892:0crwdne2915892:0
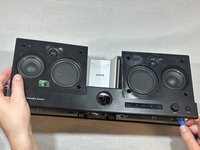
The bulk of the work for this guide is removing the front plate. Sirius put in some serious effort to keep it from ever coming and off..
The headphone port will likely be the point of damage or failure due to plugging and unplugging an aux jack repeatedly over the lifespan of the device.
crwdns2942213:0crwdne2942213:0
-
-
Pry the speaker covers up gently from their sides by pulling up on the four corner posts that hold the cover in place.
-
-
-
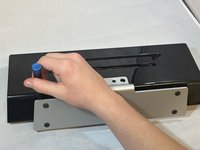
Remove the eight 11 mm screws from the front plate using a Phillips #1 screwdriver.
-
-
-
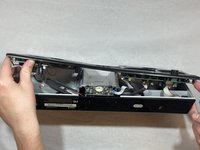
Turn the device so its back is facing you.
-
Remove the two 11 mm screws using a Phillips #1 screwdriver.
-
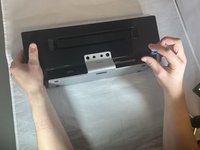
Separate the stand from the device.
-
-
-
-
Remove the two 9 mm screws with a Phillips #1 screwdriver.
-
-
-
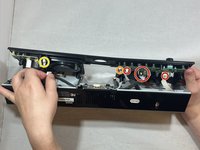
Turn the device so that its front is visible.
-
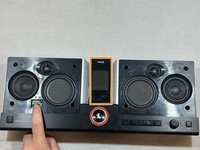
Remove the channel dial by pulling up on the dial firmly.
-
Remove the S50 by pulling it up and off of its connecting posts.
-
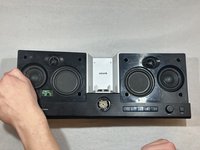
Use an iFixit opening tool to pull up both sides of the speaker plate. They should come up easily. Pull firmly on the center to break the adhesive.
-
-
-
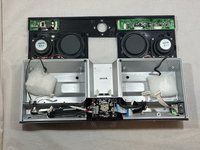
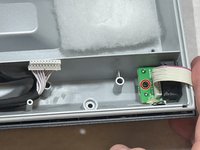
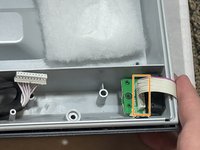
Remove the three bundled-cable wires.
-
Remove the ribbon cable connector.
-
Remove the power connector cable.
-
-
-
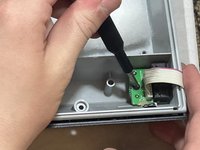
Remove the single 8 mm screw using a Phillips #00 screwdriver.
-
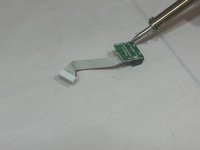
Disconnect the bundled cable connecter from the board.
-
-
-
Turn the aux board over to expose the solder.
-
Desolder around the base of each pin attaching the port to the board.
-
Remove the port by wiggling its pins free.
-


To reassemble your device, follow these instructions in reverse order.
To reassemble your device, follow these instructions in reverse order.
crwdns2915084:0crwdne2915084:0

Eastern Washington University, Team 1-3, Carnegie Fall 2023 crwdns2935289:0Eastern Washington University, Team 1-3, Carnegie Fall 2023crwdne2935289:0
EWU-CARNEGIE-F23S1G3
crwdns2931471:04crwdne2931471:0
crwdns2935297:06crwdne2935297:0