crwdns2933423:0crwdne2933423:0

Sidi Bike Shoe Cleat and Heel Plate Replacement

crwdns2942213:0crwdne2942213:0

  1. Sidi Bike Shoe Cleat and Heel Plate Replacement, Cleat and Heel plate: crwdns2935265:01crwdnd2935265:01crwdnd2935265:03crwdne2935265:0 Sidi Bike Shoe Cleat and Heel Plate Replacement, Cleat and Heel plate: crwdns2935265:01crwdnd2935265:02crwdnd2935265:03crwdne2935265:0 Sidi Bike Shoe Cleat and Heel Plate Replacement, Cleat and Heel plate: crwdns2935265:01crwdnd2935265:03crwdnd2935265:03crwdne2935265:0
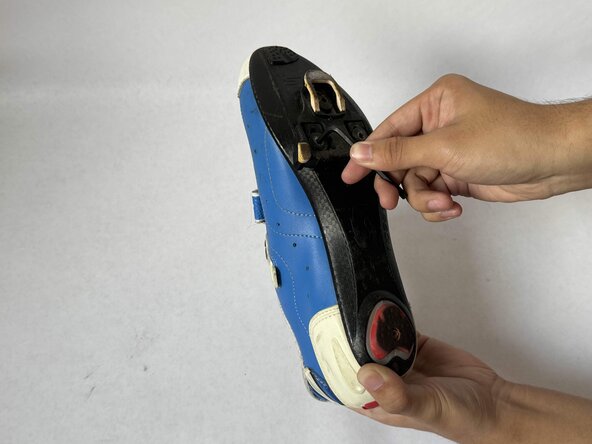
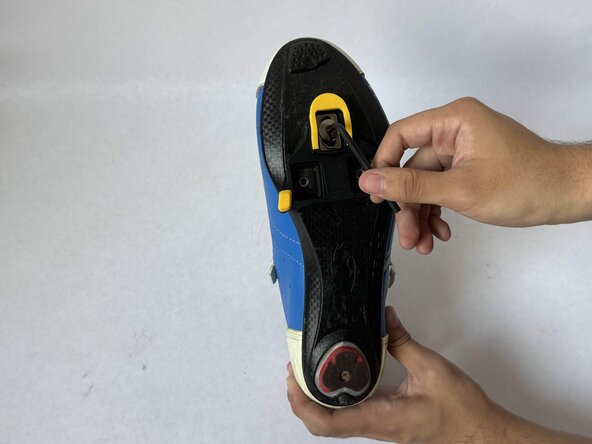
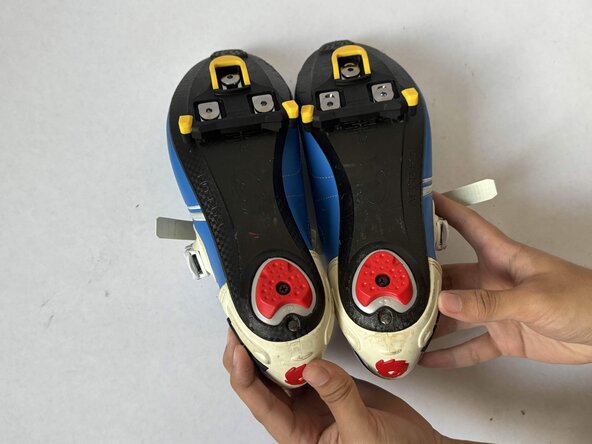
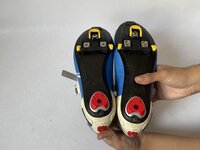
    • Flip the shoe over so the bottom is facing up.
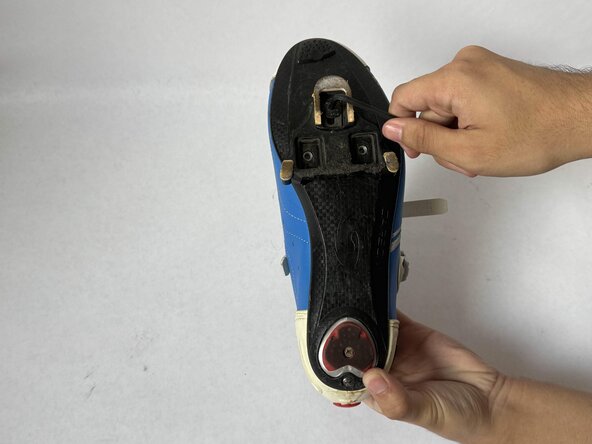
    • Use a 3 mm Hex wrench to remove the screws from the cleats.
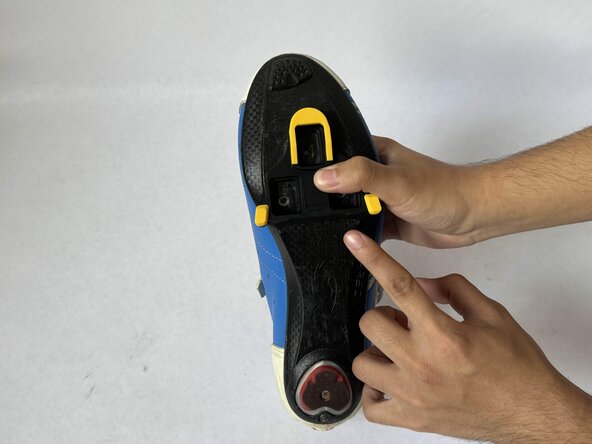
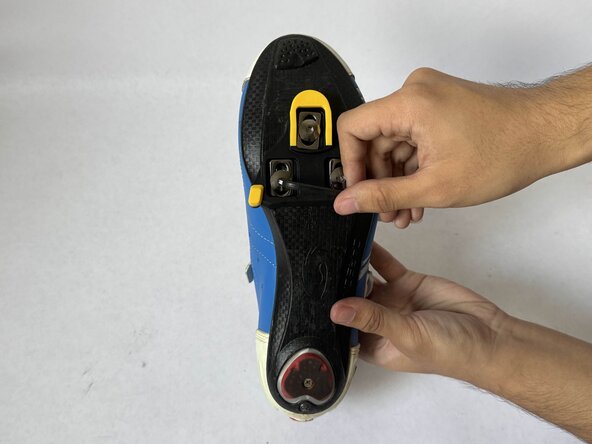
    • Keep the screws in case you need them for the new cleats.

  2. Sidi Bike Shoe Cleat and Heel Plate Replacement: crwdns2935265:02crwdnd2935265:01crwdnd2935265:03crwdne2935265:0 Sidi Bike Shoe Cleat and Heel Plate Replacement: crwdns2935265:02crwdnd2935265:02crwdnd2935265:03crwdne2935265:0 Sidi Bike Shoe Cleat and Heel Plate Replacement: crwdns2935265:02crwdnd2935265:03crwdnd2935265:03crwdne2935265:0
    • Removing the old cleat and align the new one

    • After the Screws are undone you can remove the old cleat by pulling it away from the shoe.

    • Align the new cleat with the holes of where the screws are supposed to be and hold it firmly.

  3. Sidi Bike Shoe Cleat and Heel Plate Replacement: crwdns2935265:03crwdnd2935265:01crwdnd2935265:02crwdne2935265:0 Sidi Bike Shoe Cleat and Heel Plate Replacement: crwdns2935265:03crwdnd2935265:02crwdnd2935265:02crwdne2935265:0
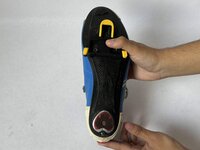
    • Securing the new cleat

    • Insert all screws and lightly screw in and test the cleat for comfort. Once done testing tighten the screw until the cleat does not move.

    • (Warning - Do not over tighten the screw as you risk damaging the threads of the screw)

  4. Sidi Bike Shoe Cleat and Heel Plate Replacement: crwdns2935265:04crwdnd2935265:01crwdnd2935265:02crwdne2935265:0 Sidi Bike Shoe Cleat and Heel Plate Replacement: crwdns2935265:04crwdnd2935265:02crwdnd2935265:02crwdne2935265:0
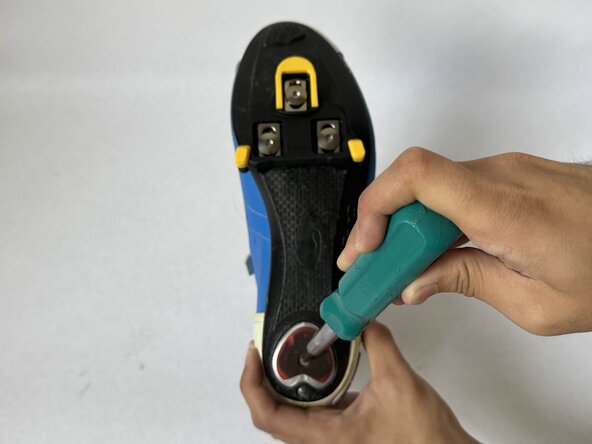
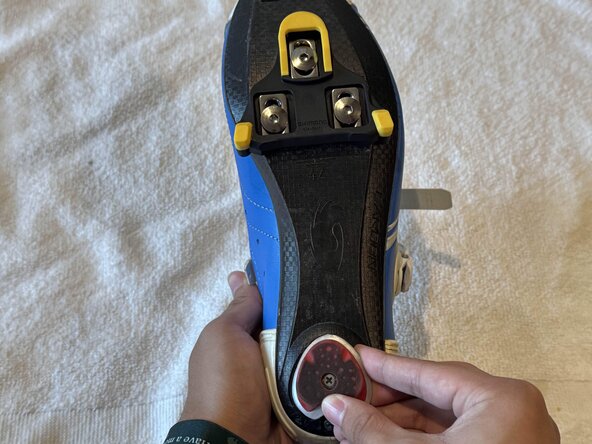
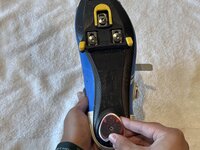
    • Taking off the old heel plate

    • Unscrew the heel plate with a Phillips #1 screwdriver, apply firm pressure and turn the screwdriver counterclockwise.

  5. Sidi Bike Shoe Cleat and Heel Plate Replacement: crwdns2935265:05crwdnd2935265:01crwdnd2935265:02crwdne2935265:0 Sidi Bike Shoe Cleat and Heel Plate Replacement: crwdns2935265:05crwdnd2935265:02crwdnd2935265:02crwdne2935265:0
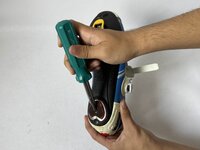
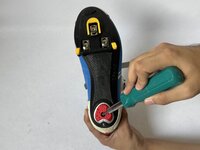
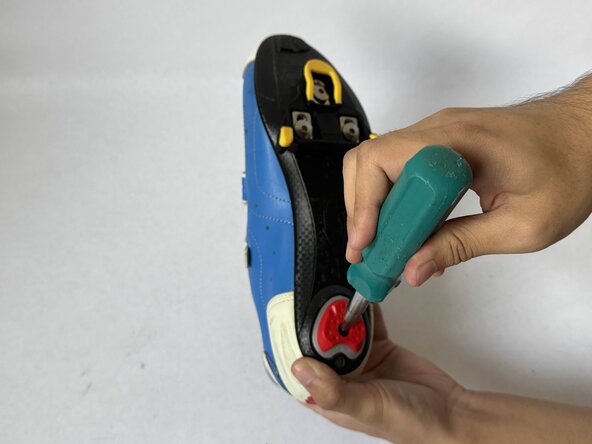
    • Removing the old heel plate

    • Remove old heel plate by unscrewing the screw and pulling the plate away from the shoe.

    • Place the new one aligning it with the hole for the screw, holding it in place.

  6. Sidi Bike Shoe Cleat and Heel Plate Replacement: crwdns2935265:06crwdnd2935265:01crwdnd2935265:01crwdne2935265:0
    • Securing the heel plate

    • Insert screw and use the screwdriver to secure the heel plate. Screw until the heel plate does not move.

    • (Warning - do not over tighten the screw as you risk damaging the thread)

  7. Sidi Bike Shoe Cleat and Heel Plate Replacement: crwdns2935265:07crwdnd2935265:01crwdnd2935265:02crwdne2935265:0 Sidi Bike Shoe Cleat and Heel Plate Replacement: crwdns2935265:07crwdnd2935265:02crwdnd2935265:02crwdne2935265:0
    • Done! Make sure to put on your shoe and test for comfortability and repeat each step for the other shoe.

crwdns2915888:0crwdne2915888:0

To reassemble your device, follow these instructions in reverse order.

Alberto Sanchez

crwdns2935283:004/09/25crwdne2935283:0

145 crwdns2915208:0crwdne2915208:0

crwdns2935295:0crwdne2935295:0

crwdns2915084:0crwdne2915084:0

CSU Los Angeles, Team 5-28, Harris Spring 2025 crwdns2935289:0CSU Los Angeles, Team 5-28, Harris Spring 2025crwdne2935289:0

CSULA-HARRIS-S25S5G28

crwdns2931471:02crwdne2931471:0

crwdns2935303:01crwdne2935303:0

crwdns2947412:00crwdne2947412:0

crwdns2917038:0crwdne2917038:0

crwdns2936625:0crwdne2936625:0:

crwdns2936751:024crwdne2936751:0 1

crwdns2936753:07crwdne2936753:0 5

crwdns2936753:030crwdne2936753:0 32

crwdns2942667:0crwdne2942667:0 72