crwdns2915892:0crwdne2915892:0
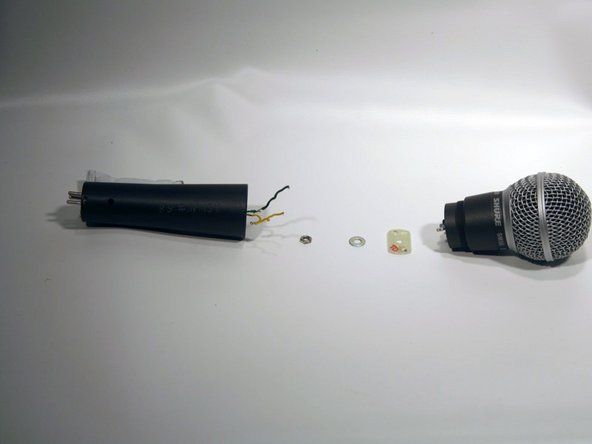
The microphone capsule is the main part that makes the microphone work. It is essential that this part is functioning properly.
crwdns2942213:0crwdne2942213:0
-
-
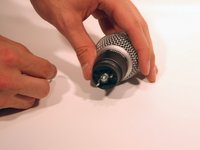
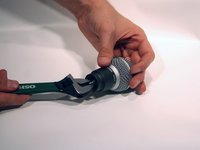
Grab the microphone base with one hand. With the other hand, grab just below the grille (the collar). Twist the collar clockwise to loosen it.
-
-
-
Remove the yellow and green wires from the face plate.
Why should I replace the plate?
This guide was done as part of the capsule replacement—I don’t think there is any reason to solely replace the plate unless there was corrosion on it.
Does the green wire go to the positive pole?
-
-
-
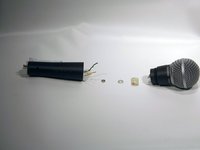
Using an adjustable crescent wrench, remove the nut and washer from the face plate by twisting the nut counterclockwise.
-
-
-
-
Slide the face plate over the connector.
-
-
-
Using an adjustable wrench, remove the nut and the washer behind the face plate by twisting the nut counterclockwise.
-
-
-
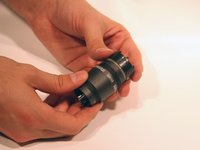
Hold the body of the microphone, right below the grille, in one hand. Using your other hand, rotate the grille clockwise.
Step 6 is incorrect. The grill screws off counter clockwise.
-
-
-
Slide the grille off the top of the microphone once it is all the way loosened.
-
-
-
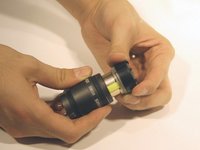
Hold the black plastic piece under the grille in one hand. In the other hand, hold the microphone collar.
-
Slowly, pull upward while twisting the black plastic piece clockwise.
-
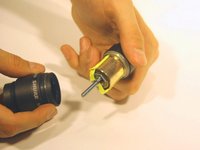
Never open the microphone capsule. Attempting to repair the capsule will result in permanent damage.
Can you replace the yellow tape/cable if broken? (seen in last pic)
Honestly, I’m not sure. If I was in your position, I would assume a similarly sized piece of electrical tape should be fine, but if you’re not sure you may want to contact a repairman.
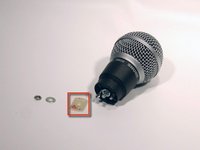
ALERT - Step 5 above will seriously damage the capsule. That nut holds the terminal block to the capsule. If you loosen it, you will break the fine wires connecting the capsule to the terminal block. When the grill has been removed, the capsule complete with terminal block attached can be pulled/pushed (carefully) through the rubber membrane without undoing the nut. It is a tight fit in the rubber membrane and a rubber shock ring close to the upper end. You then need to realise that the fine wires that connect the voice coil to the terminal block run between two layers of yellow tape (i.e. the tape protects them). If you break the fine wires, you will need to scrape the enamel from the broken end then attach extension wires to reconnect to the terminals. Tape the joined wires to the capsule body with mylar tape.
-
Once installed, reassemble the microphone following the steps in reverse.
Once installed, reassemble the microphone following the steps in reverse.
crwdns2935221:0crwdne2935221:0
crwdns2935229:09crwdne2935229:0
crwdns2947412:05crwdne2947412:0
Thanks for that,
Can i just replace the capsule as seen in the last picture?
Has it to be resoldered? Where do those very fine copper wires go?
It's been a few years since I made the guide and no longer have any microphones nearby to examen, but if I remember correctly, there is no soldering between the capsule and the housing. I believe the housing is soldered to the rest of the body with the silver leads at the bottom left of the picture.
Somehow the grill got really stuck and I want to replace it. It it screwed or is it as you've said - slidable?
You can unscrew just the grill.
Hi, a bit unrelated but I accidentally twisted the black plastic piece slightly while everything was still intact. I turned it back though, did I damage the SM58 in any way?


