crwdns2915892:0crwdne2915892:0
This guide will show you how to replace the white outer shell of the speaker system. Minimal disassembly is needed.
crwdns2942213:0crwdne2942213:0
-
-
Gently position the device so that the buttons and speakers lie face down.
-
Unplug the power cord from the "DC Input."
-
-
-
-
Remove the four 12mm phillips head #2 screws located along the outer edge of the white case.
-
Once you remove the screws, pick the device up so that the grey label on the bottom of the device faces toward you.
-
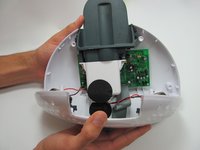
With your thumbs on either side of the grey label, slowly push with both thumbs until the case pops open.
-
-
-
Grip both sides of the top round part of the case and carefully open it like a clam. The bottom of the two halves are connected by the speaker wire. Do not separate by more than 1 centimeter.
-
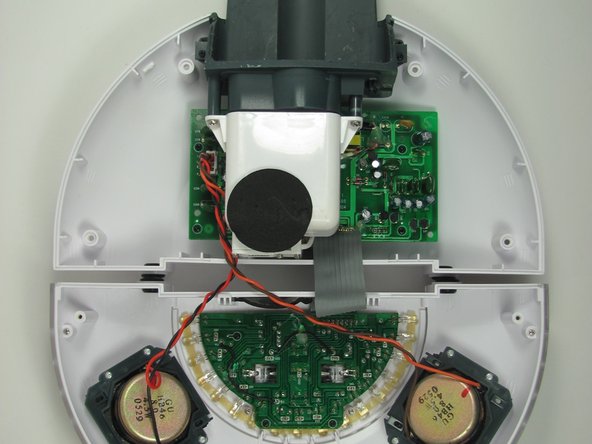
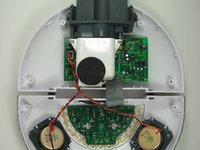
Grip either side of the top round part of the case and carefully open the device to reveal all the hidden treasures inside!
-
Lay the device down, so that all the internal components are facing upwards.
-


To reassemble your device, follow these instructions in reverse order.
To reassemble your device, follow these instructions in reverse order.
crwdns2915084:0crwdne2915084:0

Cal Poly, Team 11-33, Amido Fall 2013 crwdns2935289:0Cal Poly, Team 11-33, Amido Fall 2013crwdne2935289:0
CPSU-AMIDO-F13S11G33
crwdns2931471:04crwdne2931471:0
crwdns2935297:08crwdne2935297:0