crwdns2933423:0crwdne2933423:0

Shark UltraCyclone CH951 U4 Casing Replacement

crwdns2942213:0crwdne2942213:0

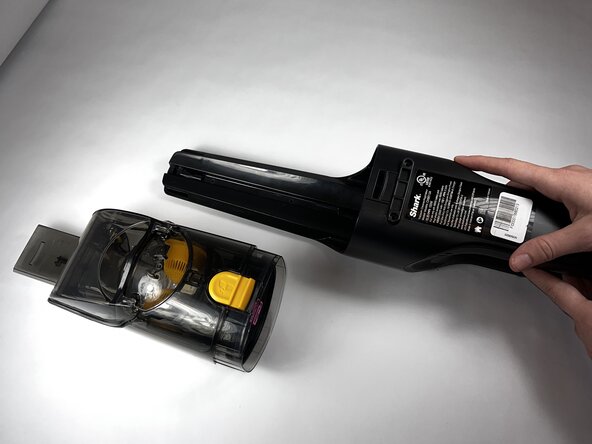
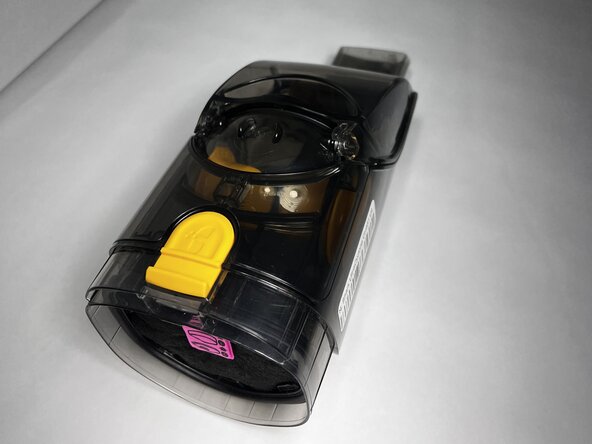
  1. Shark UltraCyclone CH951 U4 Casing Replacement, Dust Cup: crwdns2935265:01crwdnd2935265:01crwdnd2935265:03crwdne2935265:0 Shark UltraCyclone CH951 U4 Casing Replacement, Dust Cup: crwdns2935265:01crwdnd2935265:02crwdnd2935265:03crwdne2935265:0 Shark UltraCyclone CH951 U4 Casing Replacement, Dust Cup: crwdns2935265:01crwdnd2935265:03crwdnd2935265:03crwdne2935265:0
    • Press the dust cup release button and gently pull the dust cup away from the body of the vacuum.

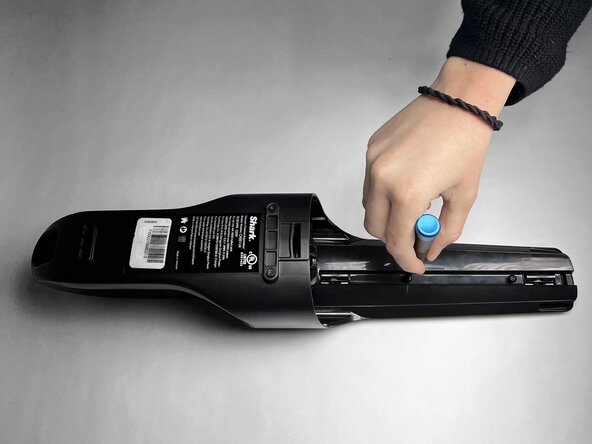
  2. Shark UltraCyclone CH951 U4 Casing Replacement, Casing: crwdns2935265:02crwdnd2935265:01crwdnd2935265:02crwdne2935265:0 Shark UltraCyclone CH951 U4 Casing Replacement, Casing: crwdns2935265:02crwdnd2935265:02crwdnd2935265:02crwdne2935265:0
    • Use a TR9 Torx screwdriver to remove the two 8.7 mm screws previously behind the dust cup.

  3. Shark UltraCyclone CH951 U4 Casing Replacement: crwdns2935265:03crwdnd2935265:01crwdnd2935265:01crwdne2935265:0
    • Remove the two 12.2 mm screws underneath the dust cup button using a TR9 Torx screwdriver.

  4. Shark UltraCyclone CH951 U4 Casing Replacement: crwdns2935265:04crwdnd2935265:01crwdnd2935265:01crwdne2935265:0
    • Remove the 13.9 mm screw beneath the charging port using a TR9 Torx screwdriver.

  5. Shark UltraCyclone CH951 U4 Casing Replacement: crwdns2935265:05crwdnd2935265:01crwdnd2935265:01crwdne2935265:0
    • Use the TR9 Torx screwdriver to remove two 11.6 mm screws that hold the exterior motor in place.

    • They are located underneath where the dust cup previously was and above the exterior motor.

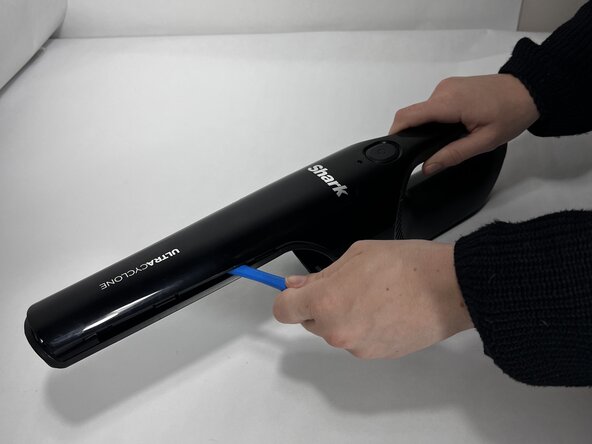
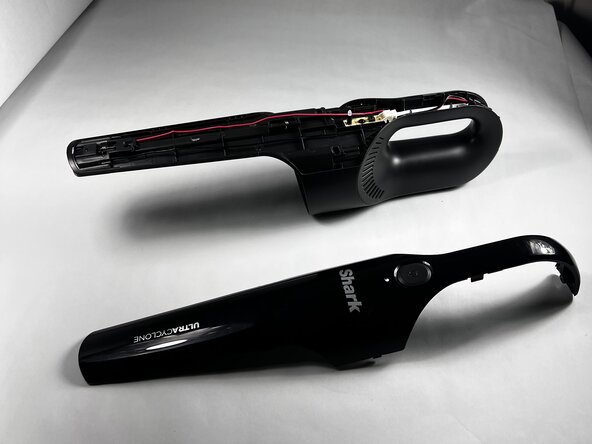
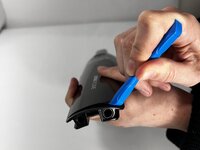
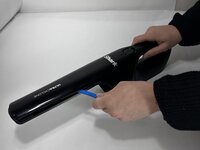
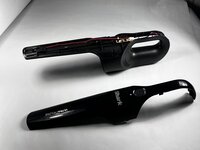
  6. Shark UltraCyclone CH951 U4 Casing Replacement: crwdns2935265:06crwdnd2935265:01crwdnd2935265:03crwdne2935265:0 Shark UltraCyclone CH951 U4 Casing Replacement: crwdns2935265:06crwdnd2935265:02crwdnd2935265:03crwdne2935265:0 Shark UltraCyclone CH951 U4 Casing Replacement: crwdns2935265:06crwdnd2935265:03crwdnd2935265:03crwdne2935265:0
    • Run an iFixit Opening Tool under the casing along the vacuum body until the shell is removed starting around the attachment port, and sliding down towards the charging port.

    • If necessary, apply gentle force.

crwdns2915888:0crwdne2915888:0

To reassemble your device, follow these instructions in reverse order.

crwdns2935227:0crwdne2935227:0

Samuel Seitz

crwdns2935283:001/24/25crwdne2935283:0

172 crwdns2915208:0crwdne2915208:0

crwdns2935295:0crwdne2935295:0

crwdns2915084:0crwdne2915084:0

Colorado Mesa University, Team 1-3, Kinney Spring 2025 crwdns2935289:0Colorado Mesa University, Team 1-3, Kinney Spring 2025crwdne2935289:0

CMU-KINNEY-S25S1G3

crwdns2931471:03crwdne2931471:0

crwdns2935297:06crwdne2935297:0

crwdns2947412:00crwdne2947412:0

crwdns2917038:0crwdne2917038:0

crwdns2936625:0crwdne2936625:0:

crwdns2936751:024crwdne2936751:0 0

crwdns2936753:07crwdne2936753:0 1

crwdns2936753:030crwdne2936753:0 18

crwdns2942667:0crwdne2942667:0 34