crwdns2915892:0crwdne2915892:0
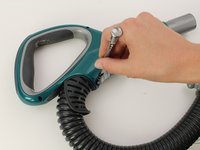
A damaged hose will not allow the vacuum to function properly. This guide will assist in the replacement process. The hose is electrically attached to the other components of the vacuum. Removal of the hose will require electrical components.
crwdns2942213:0crwdne2942213:0
-
-
Press down on the hose release button and pull away from the vacuum
-
-
-
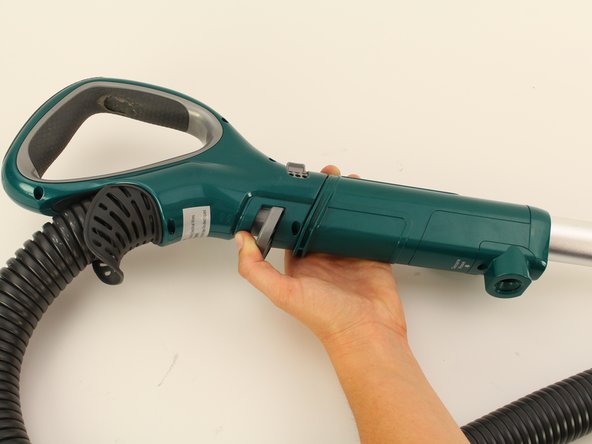
Press down on the wand release button and remove the wand from the vacuum.
-
-
-
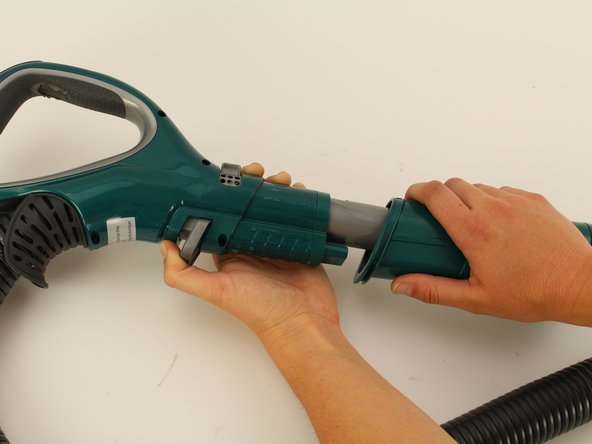
Press down on the handle release button and pull the wand away from the vacuum.
-
-
-
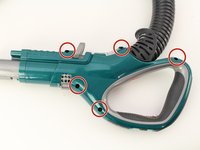
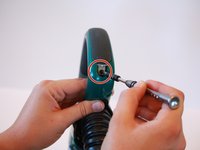
Remove five 13.4 mm screws from the handle with a T20 Torx bit.
-
-
-
-
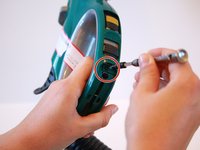
Using a T20 Torx bit, remove the two 13.4 mm screws from the front of the nozzle.
-
-
-
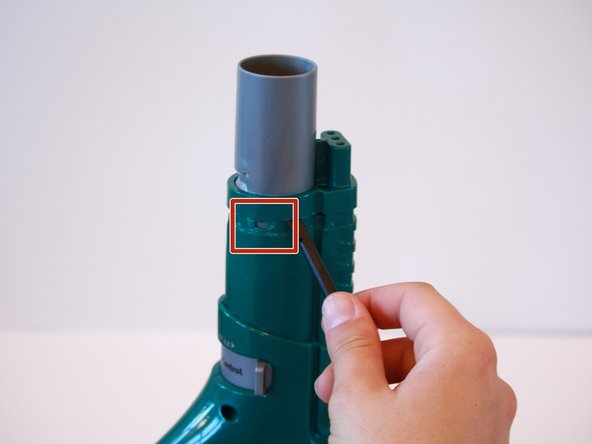
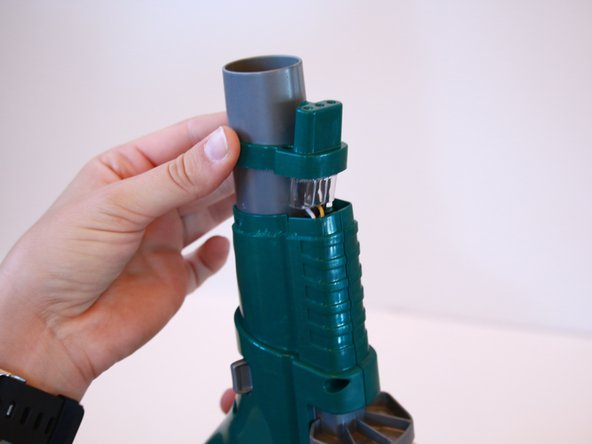
Remove the neck ring by placing a spudger under the brace and lifting outwards.
-
-
-
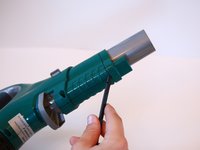
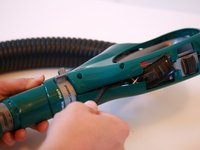
Run the spudger along the center seam of the handle, pulling it apart as you go.
-
-
-
Remove the single 13.4 mm screw at the bottom of the handle grip and then lift the grip with a spudger.
-
-
-
Remove the single 13.4 mm screw from underneath the handle grip. You are then able to open the handle using a spudger and pulling the pieces apart.
-
-
-
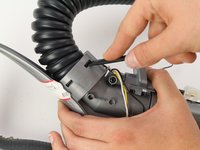
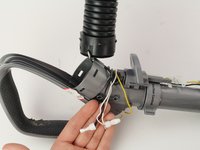
Using two spudgers, unclip the hose from the handle.
-
-
-
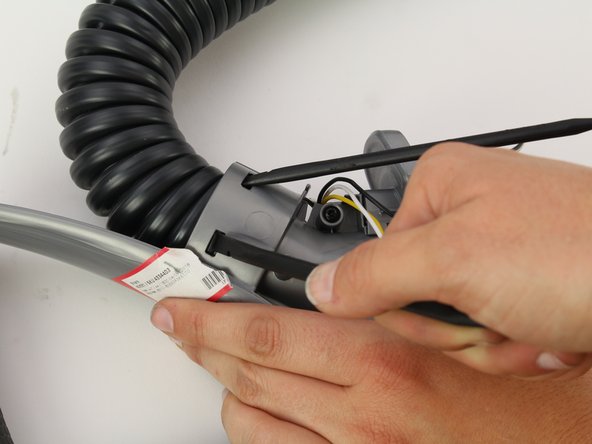
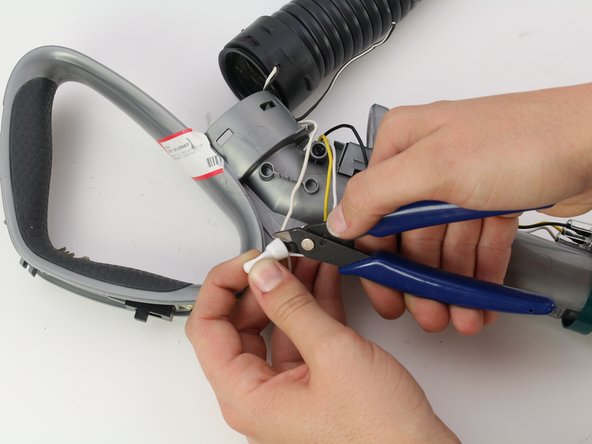
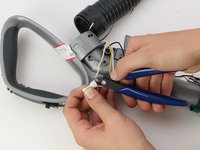
Use wire cutters to clip the white and black wire that connect the hose to the handle.
-


To reassemble your device, follow these instructions in reverse order.
To reassemble your device, follow these instructions in reverse order.
crwdns2935221:0crwdne2935221:0
crwdns2935229:03crwdne2935229:0
crwdns2915084:0crwdne2915084:0

Cal Poly, Team S4-G6, White Fall 2018 crwdns2935289:0Cal Poly, Team S4-G6, White Fall 2018crwdne2935289:0
CPSU-WHITE-F18S4G6
crwdns2931471:04crwdne2931471:0
crwdns2935297:012crwdne2935297:0
crwdns2947412:03crwdne2947412:0
Very helpful! I got a sock super stuck. I tried all the conventional methods to get it out but ended up needing to take the hose apart. Excellent instructions that got the job done with no lasting damage.
My Shark Vertex looks suspiciously like this unit. Maybe I should return it before I have problems that require me to do all this!
My first Shark lasted almost 20 years without a hitch. It was finally taken down by a plastic part inside the unit that I have been unable to locate. It would be quite an easy repair save the plastic part securing the handled hose to the body.
Yikes!
Where can you buy just the replacement hose to replace the existing hose and keep the handle and end parts??