crwdns2915892:0crwdne2915892:0
The motor is the powerhouse behind your brush head rotation which could either increase or decrease your vacuum's cleaning power. This guide will take you through the necessary steps to properly replace your motor.
crwdns2942213:0crwdne2942213:0
-
-
Detach the hose connected on the bottom of the vacuum by pulling it out of the casing.
-
-
-
Lay the vacuum on its side.
-
Press in the black, rubberish button located on the back of the vacuum to detach the vacuum head from the body.
-
-
-
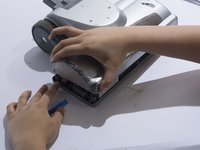
Flip over the vacuum head so the brush head is facing up.
-
-
-
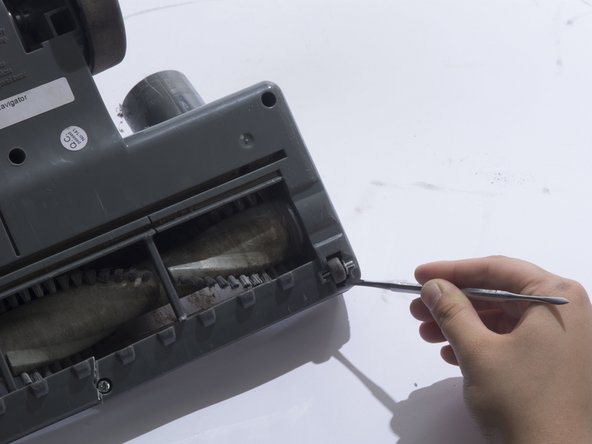
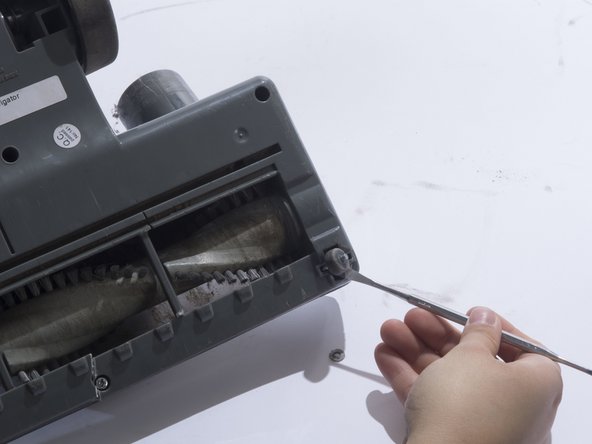
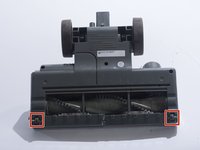
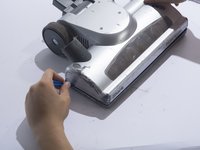
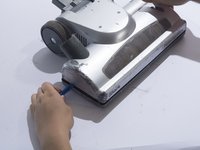
Remove the small front wheels with a metal spudger by inserting the metal spudger in front of the wheel and slowly prying up. This will free the wheel and reveal the screw beneath it.
-
Repeat this for the other wheel.
-
-
-
-
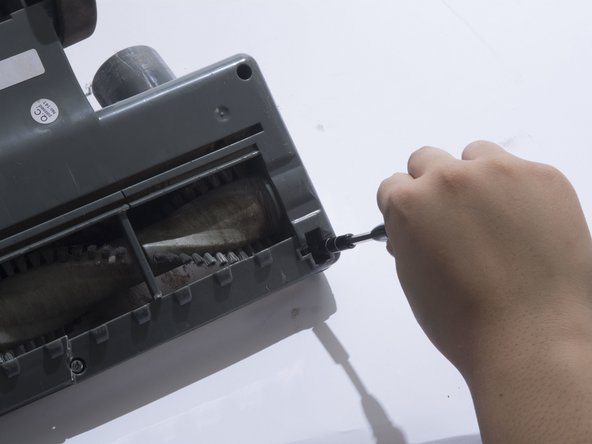
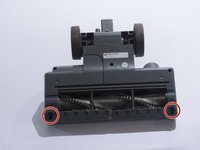
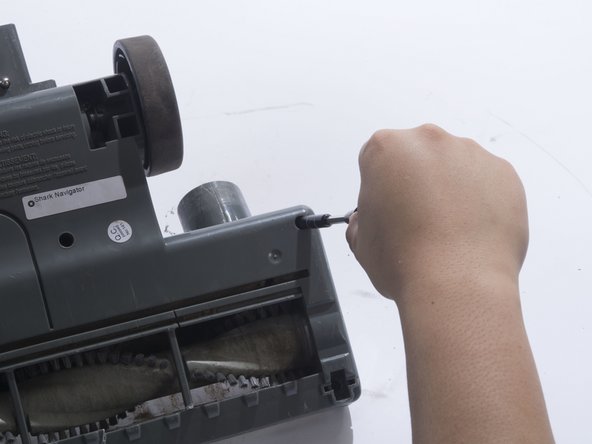
Remove the two 18mm screws with a JIS 1 screwdriver.
-
-
-
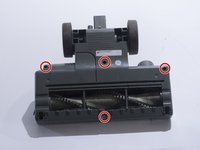
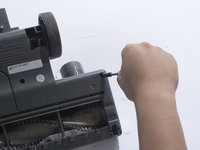
Remove the four 18mm screws located on the top corners and the bottom/middle of the vacuum head using a JIS 1 screwdriver.
-
-
-
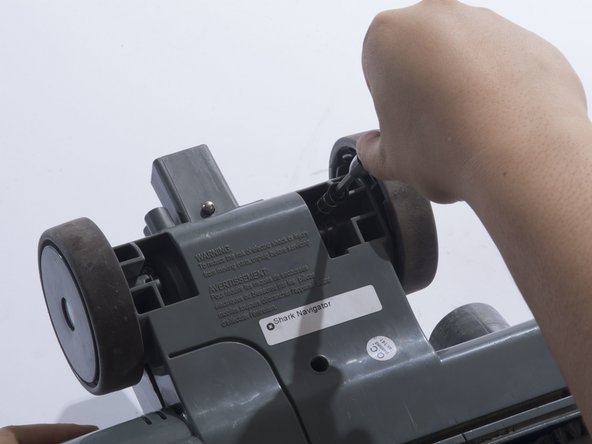
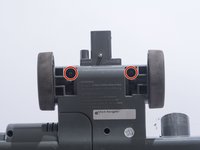
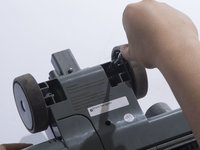
Remove the two 18mm screws located on the inside of the large wheels using a JIS 1 screwdriver.
-
-
-
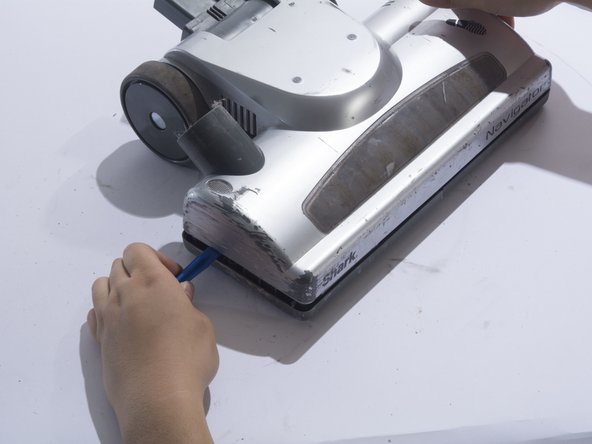
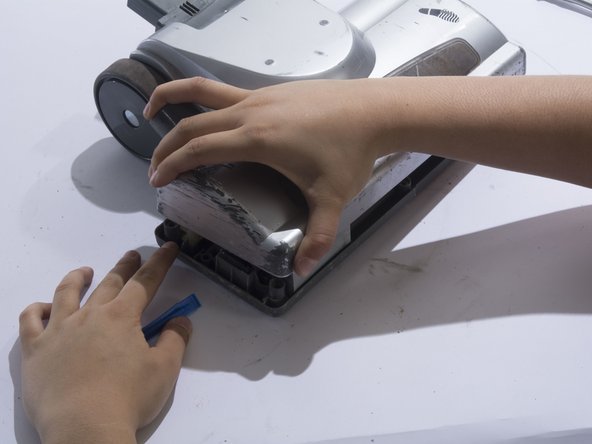
Remove the plastic cover by prying the plastic cover up using a plastic opening tool.
-
-
-
Locate the motor on the top right corner of the vacuum head shell.
-
-
-
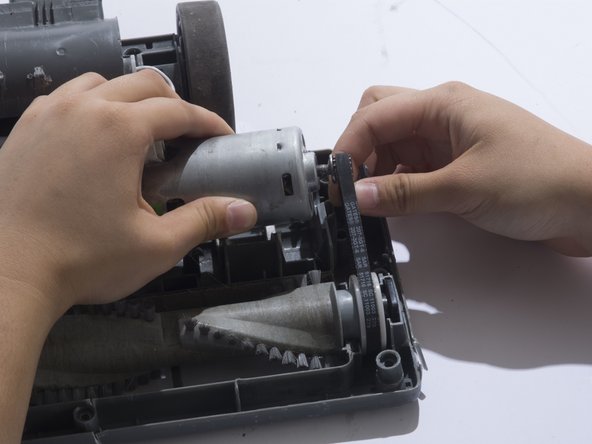
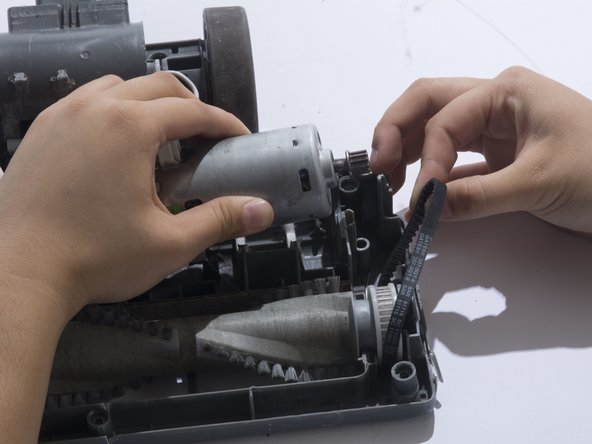
Remove the belt from the motor gear by sliding the belt to the right.
-
-
-
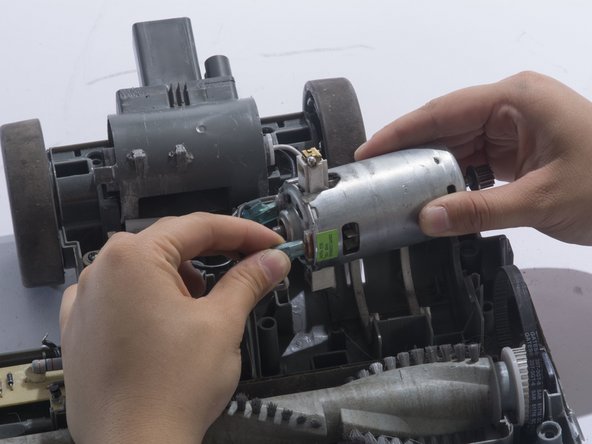
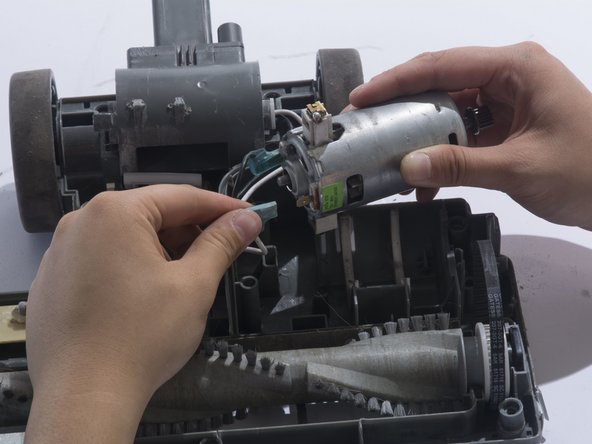
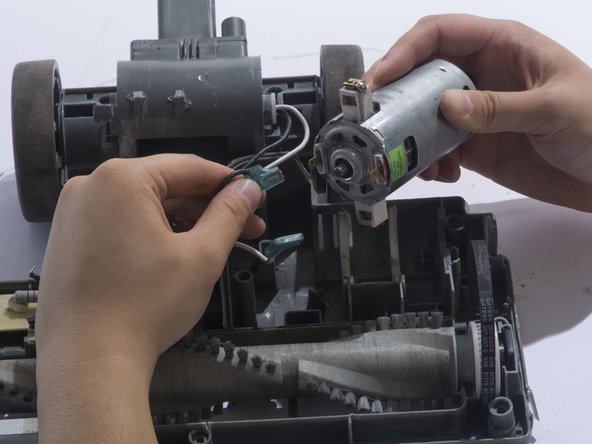
Remove the white metal wire connector from the motor.
-
-
-
Remove the black metal wire connector from the motor.
-
To reassemble your device, follow these instructions in reverse order.
crwdns2935221:0crwdne2935221:0
crwdns2935229:04crwdne2935229:0
crwdns2947412:02crwdne2947412:0
Where does one buy the replacement motor?
Where can I get spares??
ck


