crwdns2915892:0crwdne2915892:0
This guide will go over how to remove and replace the two main rear wheels on the Shark AV993. This repair might be needed in case your two main rear wheels are clogged with dust and debris. This guide is also helpful for when your wheels start to crack and break and need to be replaced with new ones.
crwdns2942213:0crwdne2942213:0
-
-
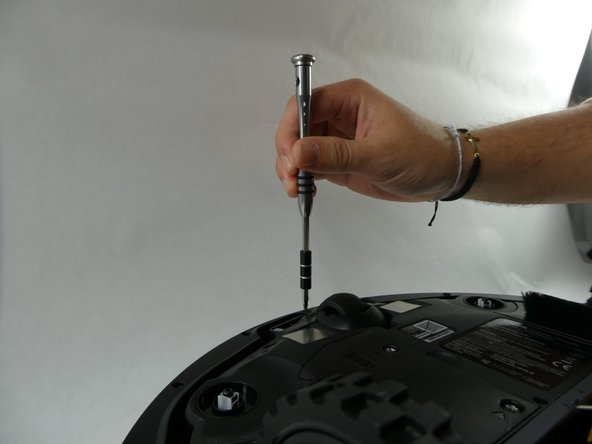
Unscrew the two 14 mm screws on the battery panel using a Phillips #1 screwdriver.
-
-
-
Gently pull the white tabs on the battery straight upward.
-
There is a clip inserted into a plastic housing via wiring. Disconnect the battery by pressing in the clip.
-
Remove the battery from the device.
-
-
-
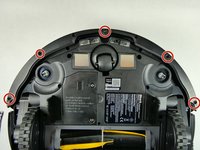
Remove the five 10 mm screws from the bottom of the device using a T15 Torx screwdriver.
-
-
-
-
Pry both ends of the black piece to snap it out of place.
-
-
-
Use both hands to lift the device.
-
The front bumper that is seated on the device will fall off.
-
-
-
Flip over the vacuum so that the bottom is facing upwards.
-
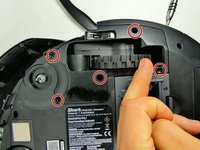
Remove the five 14 mm screws using a T20 Torx screwdriver.
-
-
-
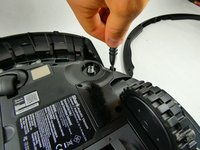
Pull upward on the wheel to remove the wheel housing.
-
Press the tab on the clip and slide the wires out of the housing.
-


To reassemble your device, follow these instructions in reverse order.
crwdns2935221:0crwdne2935221:0
crwdns2935227:0crwdne2935227:0

crwdns2935287:0crwdne2935287:0

UMass Dartmouth, Team 3-3, Botvin Fall 2022 crwdns2935289:0UMass Dartmouth, Team 3-3, Botvin Fall 2022crwdne2935289:0
UMASSD-BOTVIN-F22S3G3
crwdns2931471:03crwdne2931471:0
crwdns2935297:06crwdne2935297:0