crwdns2915892:0crwdne2915892:0
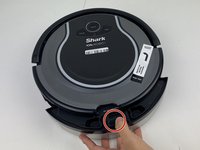
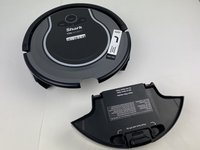
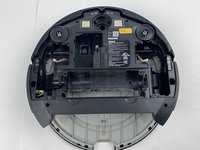
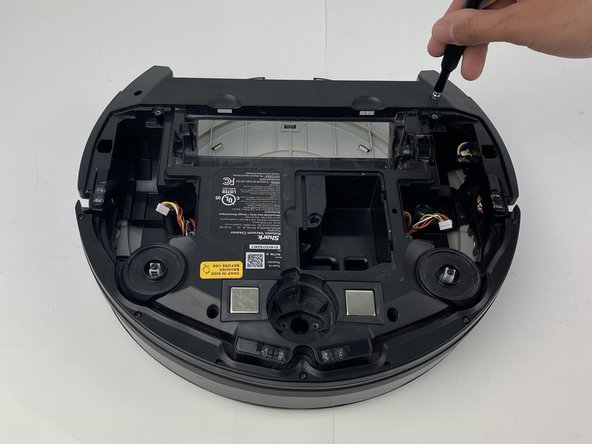
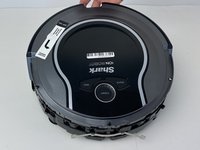
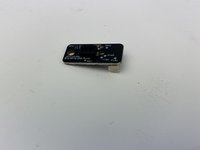
Your robot navigates through a combination of random movements and sensors to guide it around a room. This guide will show you how to access two of these senors in the event that they fail and need to be replaced. Faulty senors will result in sporadic robot movement, more frequent collisions, and the robot eventually flashing error codes.
Remember to periodically clean all sensors with a dry microfiber cloth to keep your R75 performing properly.
crwdns2942213:0crwdne2942213:0
-
-
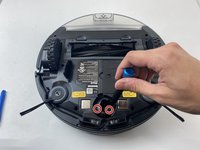
Flip the R75 over so that the underside is facing up.
-
Using a Phillips #1 screwdriver, remove the 4mm screw in the battery cover.
-
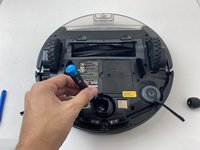
Remove the battery cover.
-
-
-
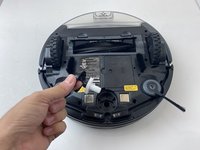
Slowly pull the white tabs outward to remove the battery.
-
-
crwdns2935267:0crwdne2935267:0Tweezers$4.99
-
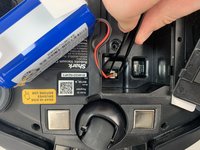
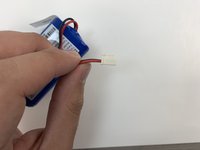
Push down on the tab of the battery connector using a set of tweezers and pull the connector away from the robot to free the wire.
-
Remove the battery from the device.
-
-
-
Push on the two tabs on the edge of the main brush cover and pull up to remove the cover.
-
-
-
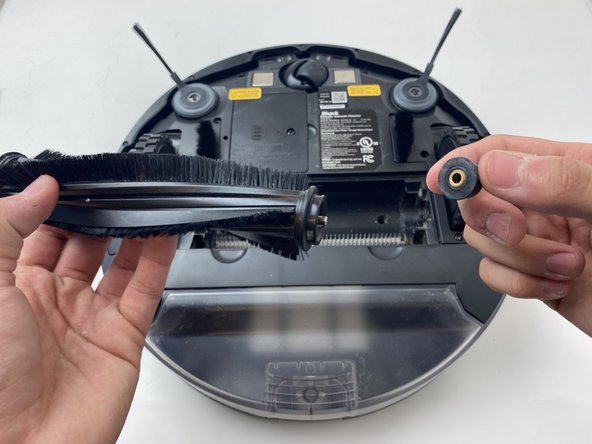
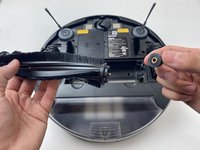
Pull the main brush slightly to the right to remove it from the compartment.
-
-
-
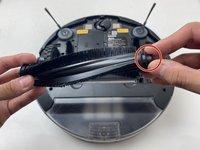
Remove the rubber end cap indicated by the red circle.
-
-
-
Grab the side brushes by the plastic tab at the base of the bristles, and gently lift up.
-
-
-
-
Flip the R75 to its underside.
-
Make sure the R75 is shut off.
-
-
-
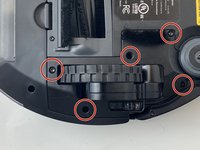
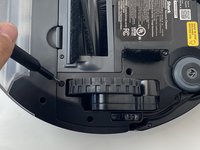
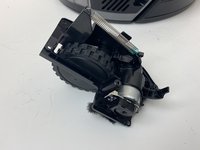
Using a Torx T15 screwdriver, remove the five screws from the drive wheel assembly.
-
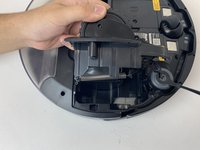
Carefully lift the drive wheel assembly from the wheel well by gently pulling up on the wheel.
-
-
-
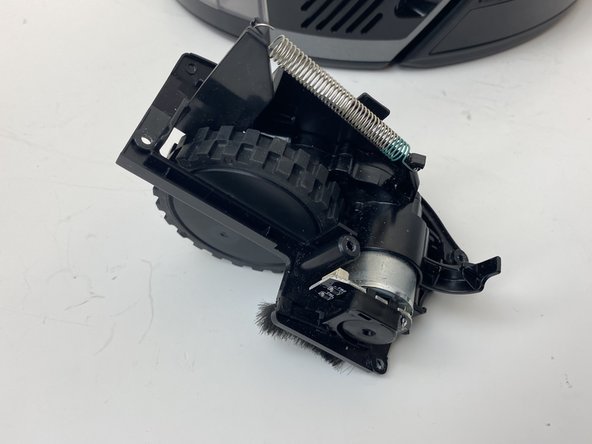
Flip the wheel assembly over and disconnect the cable connector on its underside.
-
Remove the drive wheel assembly.
-
-
-
Orient the device with the bottom facing up.
-
-
-
Using a plastic opening tool, pry first one side of the wheel, then the other out of the caster.
-
Remove the wheel.
-
-
-
Using a Torx TR9 screwdriver, remove both screws from the caster assembly beneath the wheel.
-
Pull the caster assembly up from its slot in the device.
-
-
-
Push down on the black tab and remove the dust bin
-
-
-
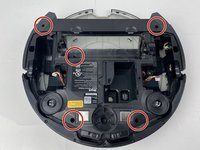
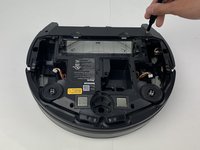
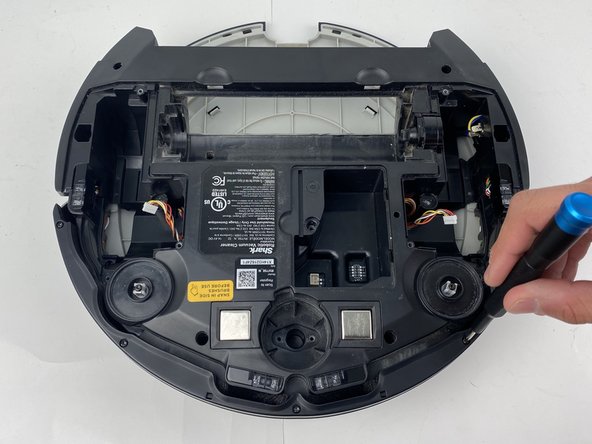
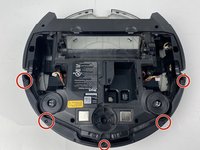
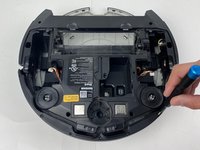
Using a Torx TR15 screwdriver, remove the five screws from the bottom cover.
-
-
-
Using a Torx TR15 screwdriver, remove the five screws along the front edge of the device.
-
Pull the bottom part of the bump guard away from the body of the device.
-
-
-
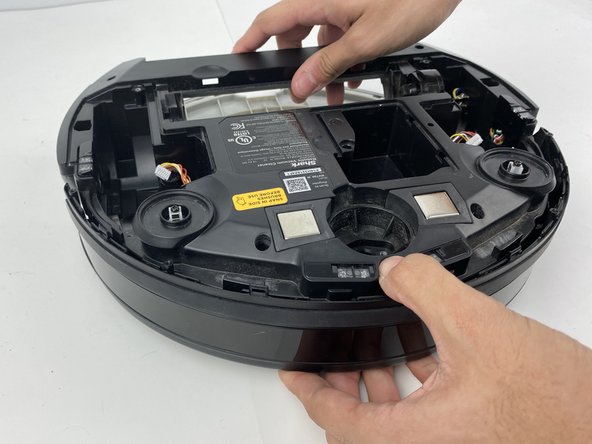
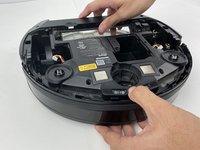
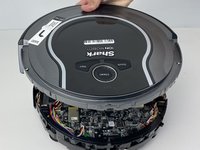
Lift the top cover up from the rear of the robot to separate the top cover from the rest of the robot.
-
-
-
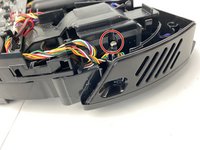
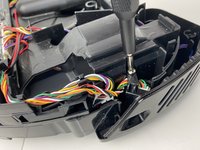
Using a Phillips #00 screwdriver, remove the screw holding down the diagonally vented side cover.
-
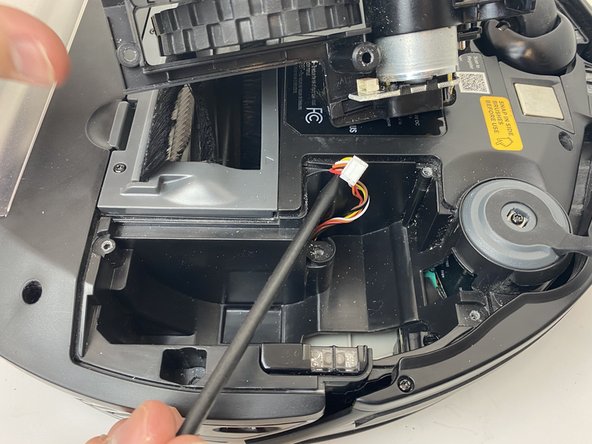
Slide the sensor out from the base of the robot
-
-
-
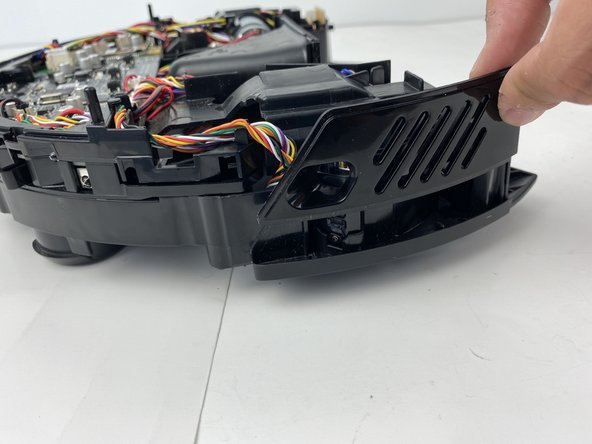
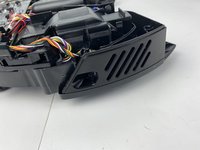
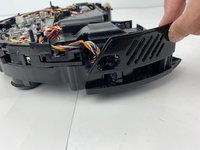
Lift up the diagonally vented cover on the side of the robot containing the side sensor.
-
-
-
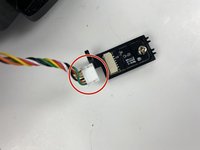
Disconnect the white connector from the sensor.
-
-
-
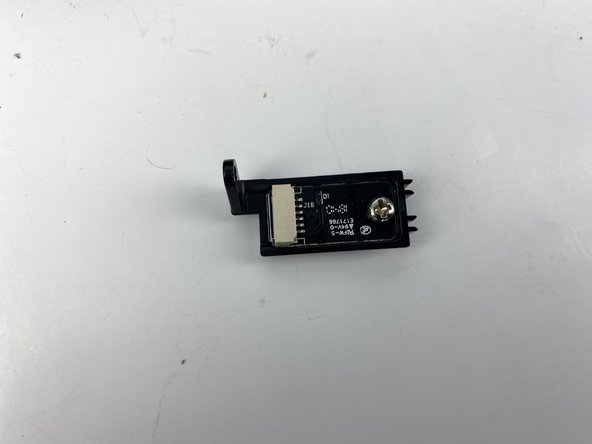
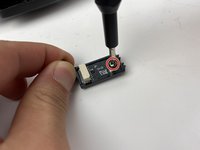
Using a Phillips #00 screwdriver, remove the screw on the sensor.
-
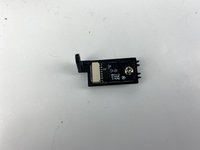
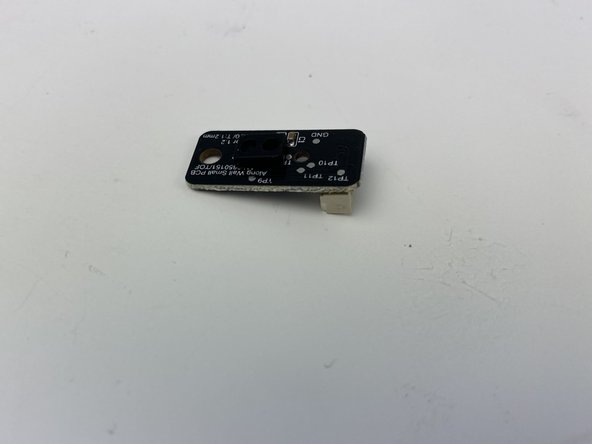
Remove the sensor from its mount.
-
To reassemble your device, follow these instructions in reverse order.
crwdns2935221:0crwdne2935221:0
crwdns2935227:0crwdne2935227:0
crwdns2947410:01crwdne2947410:0
Curious if anyone ever saw the WiFi die in these? I cannot get the shark WiFi to show so I can add it to the network. I press both the bottoms and the icon flashes but shark WiFi never shows so the app can continue.


