crwdns2915892:0crwdne2915892:0
Following this guide requires cutting wires and soldering. For more information on soldering visit the soldering guide.
crwdns2942213:0crwdne2942213:0
-
-
Squeeze Dust Cup release buttons on either side of the component.
-
Pull up to release Dust Cup.
-
-
-
Remove the five 15 mm screws by twisting counterclockwise with a T10 Torx screwdriver.
-
-
-
Use the iFixit opening tool to remove the top component.
-
-
-
-
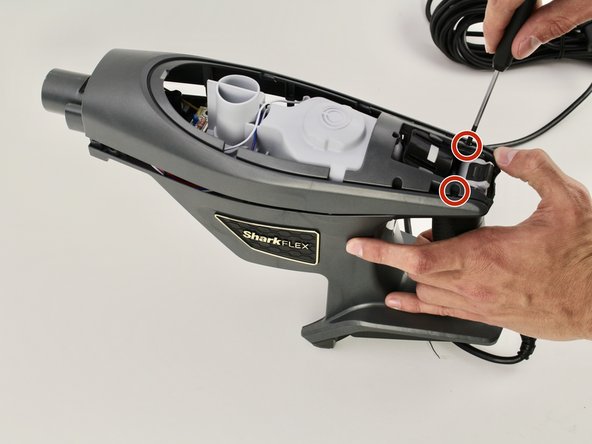
Remove the two 15mm screws by twisting counterclockwise using the T10 Torx screwdriver.
-
-
-
Remove the two 15 mm screws by twisting counterclockwise with a T10 Torx screwdriver.
-
-
-
Remove the two 15 mm screws holding the motor cover by twisting counterclockwise with a T10 Torx screwdriver.
-
-
-
Cut the zip ties holding the motor using the wire cutter.
-
-
-
Cut the wires using the wire cutters to completely remove the motor.
-
To reassemble your device, follow these instructions in reverse order.
To reassemble your device, follow these instructions in reverse order.
crwdns2935221:0crwdne2935221:0
crwdns2935229:02crwdne2935229:0
crwdns2947410:01crwdne2947410:0
how i need to know how to re connect the wires on replacing a new motor, my model is similar HV321.


