crwdns2915892:0crwdne2915892:0
If you are having a problem with your device's charging port, here is a step by step guide to replace a faulty charging port of your Shark Cordless Pet Perfect.
crwdns2942213:0crwdne2942213:0
-
-
Remove the dust cup container from the motor housing.
-
-
-
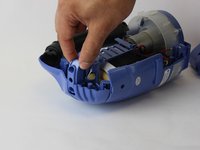
Remove the five 14mm screws with the PH 2 bit. Once all the screws are removed, pull one part of the housing away from the other.
-
-
-
-
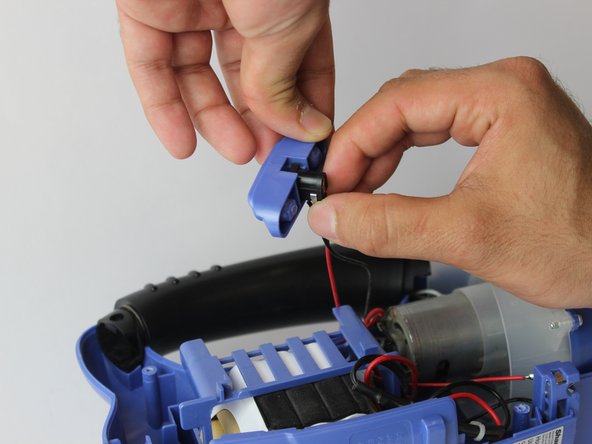
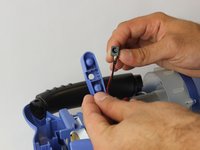
Pull the charging port mount away from the housing. Once separated, pull the the charging port out of the mount to access the charging port itself.
-
-
-
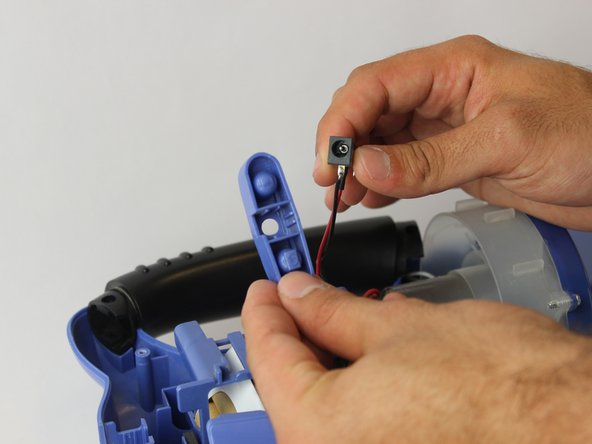
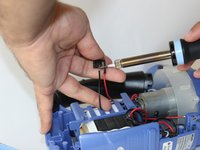
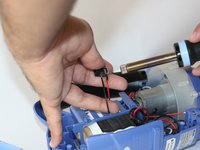
Use a soldering iron to disconnect the wires from both terminals.
-


To reassemble your device, follow these instructions in reverse order.
crwdns2935221:0crwdne2935221:0
crwdns2935229:04crwdne2935229:0
crwdns2935287:0crwdne2935287:0

USF Tampa, Team 16-2, Blackwell Spring 2017 crwdns2935289:0USF Tampa, Team 16-2, Blackwell Spring 2017crwdne2935289:0
USFT-BLACKWELL-S17S16G2
crwdns2931471:04crwdne2931471:0
crwdns2935297:011crwdne2935297:0
crwdns2947412:03crwdne2947412:0
yeah thanks buddy real helpful
not really though, any dunce can get this far. what part is used in the replacement? if replacing this part does not fix the problem, what are my alternatives? are there any tests i could run with a multimeter, say on the charger, battery, or any terminals? too light of an article in my opinion. anyone who can remove screws can get this far, where is there any electrical expertise involved? a real electrician would take a layman from start to finish, including tests to make sure replacing a part is worth the time and money, as in, will simply replacing the terminal actually fix the problem? we’ll find out the hard way. more advice needed in my opinion.
replacement part not listed is my main beef, to be honest, and a DMM test or two to be sure of the problem would be nice.