crwdns2933423:0crwdne2933423:0

Set-Top Box Numb Button Replacement

crwdns2942213:0crwdne2942213:0

  1. Set-Top Box Numb Button Replacement, Numb Button: crwdns2935265:01crwdnd2935265:01crwdnd2935265:03crwdne2935265:0 Set-Top Box Numb Button Replacement, Numb Button: crwdns2935265:01crwdnd2935265:02crwdnd2935265:03crwdne2935265:0 Set-Top Box Numb Button Replacement, Numb Button: crwdns2935265:01crwdnd2935265:03crwdnd2935265:03crwdne2935265:0
    • Make sure the box is not plugged in before starting!

    • Remove the 5 screws holding the outer casing in place: 3 can be found on the back and 1 on either side of the box.

    • Slide the casing backwards.

  2. Set-Top Box Numb Button Replacement: crwdns2935265:02crwdnd2935265:01crwdnd2935265:03crwdne2935265:0 Set-Top Box Numb Button Replacement: crwdns2935265:02crwdnd2935265:02crwdnd2935265:03crwdne2935265:0 Set-Top Box Numb Button Replacement: crwdns2935265:02crwdnd2935265:03crwdnd2935265:03crwdne2935265:0
    • Disconnect the front of the by lifting the 2 connectors . You can also apply extra pressure on the front from below.

    • Tilt the front forward and remove it.

    • Remove the connector by pressing the upper part of it and carefully pulling it.

    • Be carefull not to damage the cables and circuit board!

  3. Set-Top Box Numb Button Replacement: crwdns2935265:03crwdnd2935265:01crwdnd2935265:03crwdne2935265:0 Set-Top Box Numb Button Replacement: crwdns2935265:03crwdnd2935265:02crwdnd2935265:03crwdne2935265:0 Set-Top Box Numb Button Replacement: crwdns2935265:03crwdnd2935265:03crwdnd2935265:03crwdne2935265:0
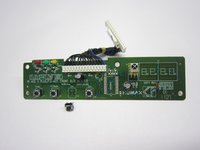
    • Undo the 4 screws of the front panel.

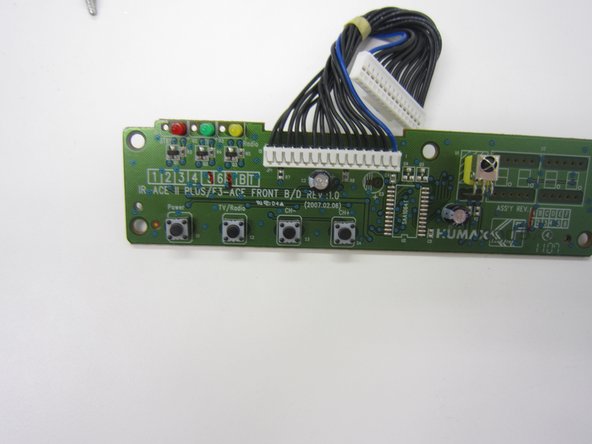
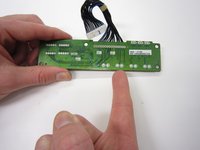
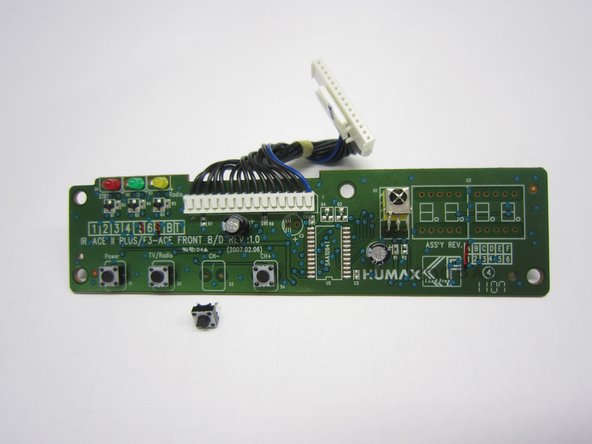
    • Locate your broken button. For instance, the third button from the left (front view), is the CH- button.

  4. Set-Top Box Numb Button Replacement: crwdns2935265:04crwdnd2935265:01crwdnd2935265:03crwdne2935265:0 Set-Top Box Numb Button Replacement: crwdns2935265:04crwdnd2935265:02crwdnd2935265:03crwdne2935265:0 Set-Top Box Numb Button Replacement: crwdns2935265:04crwdnd2935265:03crwdnd2935265:03crwdne2935265:0
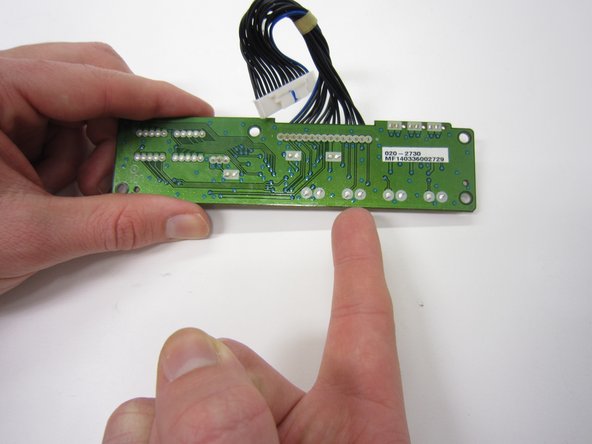
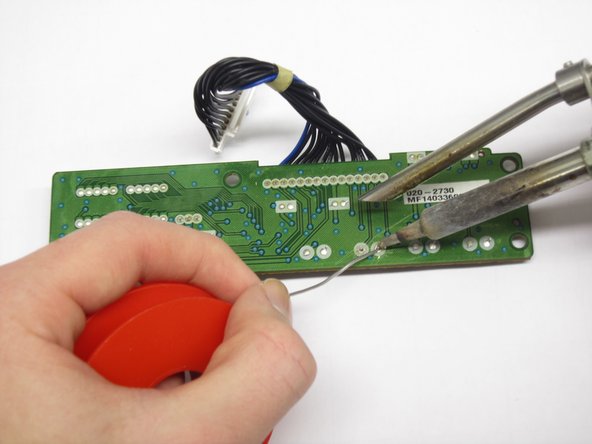
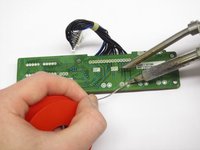
    • Unsolder the push button. You can push it out or maybe use some plyers.

    • Remove the old button and insert the new one.

    • Solder the new push button on.

    • Check this link for help How To Solder and Desolder Connections

crwdns2915888:0crwdne2915888:0

To reassemble your device, follow these instructions in reverse order.

Yvo Kipping

crwdns2935283:012/05/16crwdne2935283:0

101 crwdns2915208:0crwdne2915208:0

crwdns2935295:0crwdne2935295:0

crwdns2915084:0crwdne2915084:0

Delft University of Technology, Team 1-5, Flipsen Fall 2016 crwdns2935289:0Delft University of Technology, Team 1-5, Flipsen Fall 2016crwdne2935289:0

TUD-FLIPSEN-F16S1G5

crwdns2931471:03crwdne2931471:0

crwdns2935303:01crwdne2935303:0

crwdns2944067:00crwdne2944067:0

crwdns2917038:0crwdne2917038:0

crwdns2936625:0crwdne2936625:0:

crwdns2936751:024crwdne2936751:0 0

crwdns2936753:07crwdne2936753:0 2

crwdns2936753:030crwdne2936753:0 13

crwdns2942667:0crwdne2942667:0 431