crwdns2915892:0crwdne2915892:0
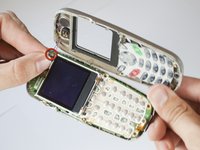
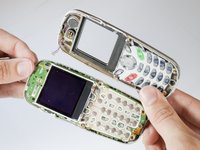
Separate your phone's front and back cover.
crwdns2942213:0crwdne2942213:0
-
-
Rotate the phone onto its front side so that the LCD screen is facing away from you.
-
-
-
Remove the battery by pressing down on the battery release button while sliding the battery downwards.
-
-
-
-
Remove the four small black screws that secure the back phone panel using the Phillips #00 screwdriver.
-
-
-
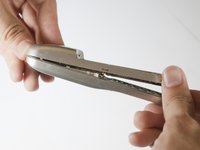
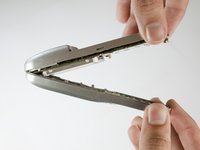
Carefully separate the front and back panels by gently prying them apart. Start at the bottom of the phone (near the AC charger input).
-
-
crwdns2935267:0crwdne2935267:0Tweezers$4.99
-
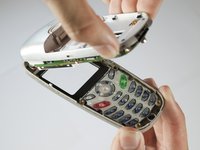
Using your nails, tweezers, or any precise grabbing tool, pinch the antenna wire connector (clear plastic plug) and pull gently. It should pop out rather easily.
-


To reassemble your device, follow these instructions in reverse order.

crwdns2935287:0crwdne2935287:0

Cal Poly, Team 28-29, Regan Spring 2010 crwdns2935289:0Cal Poly, Team 28-29, Regan Spring 2010crwdne2935289:0
CPSU-REGAN-S10S28G29
crwdns2931471:04crwdne2931471:0
crwdns2935297:012crwdne2935297:0