crwdns2915892:0crwdne2915892:0
Before continuing with this guide, this is a continuation of the Basic Modeling Guide. If you're continuing from there, be sure you have your 3D model ready, and you can jump directly to the Shrinkwraping step.
In Blender, sculpting is a digital technique that emulates traditional clay sculpting, allowing users to mold and shape 3D models in an intuitive and more organic manner without having to spend extra time modifying individual vertexes. This approach is particularly effective for crafting intricate details and complex surfaces.
If you want you need the model to follow along with this guide, it can be downloaded from Printables.
-
-
Open a New General Project in Blender and Delete the Default Cube.
-
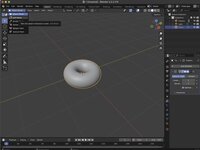
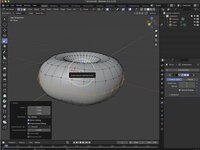
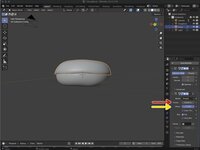
Add a Torus to the scene by clicking Add > Mesh > Torus. This will add a standard Torus to the Scene.
 crwdns2952109:0crwdne2952109:0
-
-
-
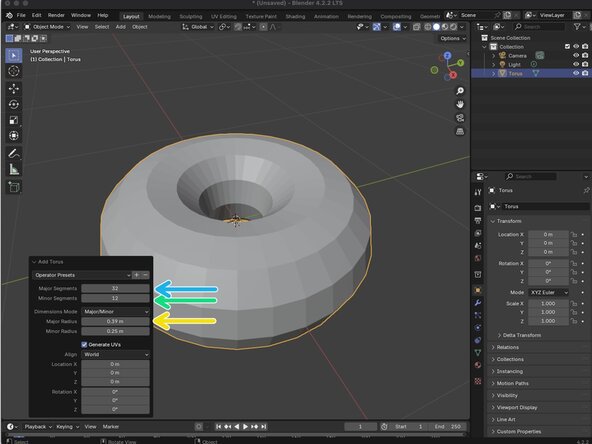
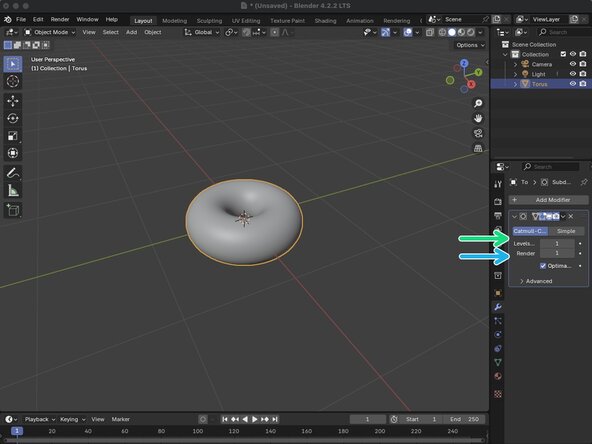
We'll need to modify our Torus' Last Operator. To open the Lat Operator panel you can click on the Add Torus button at the bottom of the 3D Viewport.
-
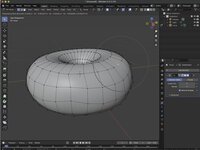
Once you have the Add Torus pannel open you will modify the values of the Major Segments to 32, and set the Major Radious to .39 m
-
Major Segments: This parameter specifies the number of segments in the main ring of the torus. It determines how many times the cross-sectional circle is duplicated around the central axis. Increasing the number of segments results in a smoother, more circular appearance.
-
Minor Segments: This setting controls the number of segments in the cross-sectional circle of the torus. Higher values lead to a more refined and smoother cross-section, enhancing the overall smoothness of the torus.
-
Major Radius: This determines the distance from the center of the torus to the center of its cross-sectional tube. Adjusting the Major Radius changes the overall size of the torus's main ring.
-
-
-
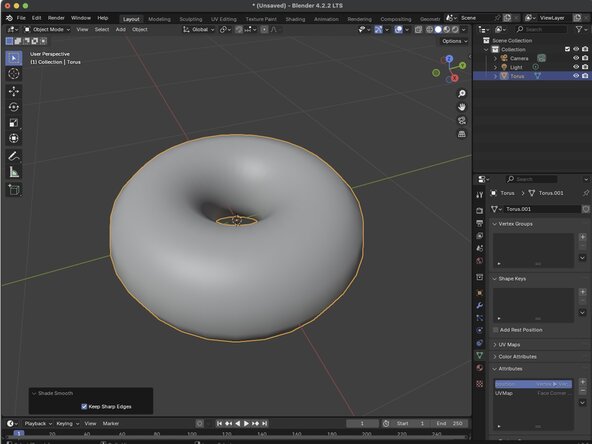
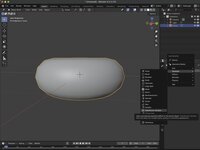
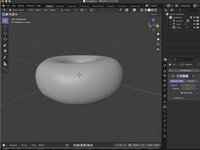
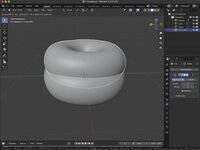
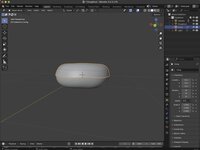
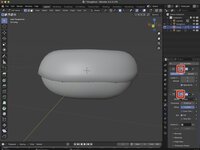
Rather than increasing the geometry of our torus, we are going to use a function called Shade Smooth
-
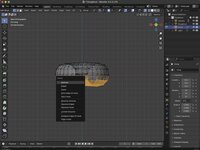
Simply right-click the object and choose Shade Smooth from the context menu.
-
-
-
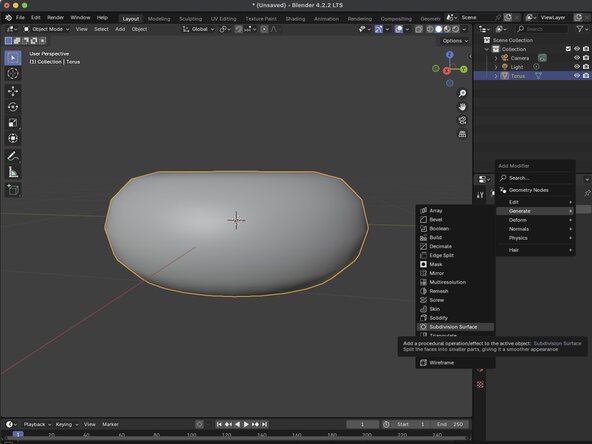
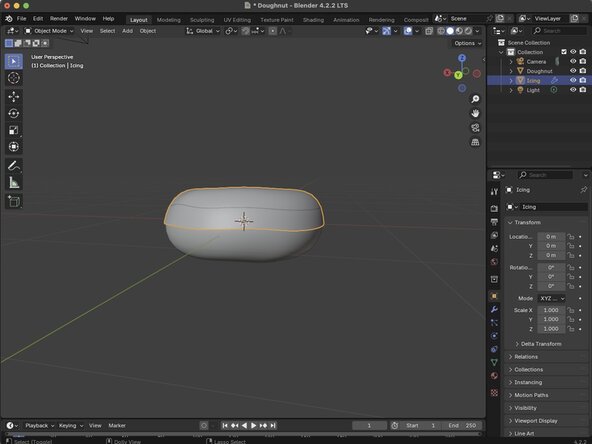
While our Shade Smoothing method does give our object a visually smooth look, we still have some visual artifacts along our edges. We can solve this problem by Subdividing our object's surface.
-
With our object selected, we are going to click our Modifiers button from the properties pannel.
-
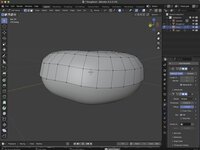
Click Add Modifiers and choose Generate then Subdivision Surface. With the Subdivision Surface modifyer added, we are going to keep the Levels Viewport value at 1, and change our Render at a value to 1.
-
Levels Viewport: This setting determines how many times each face of a mesh is subdivided when displayed in the 3D Viewport. By increasing this value, you can achieve a smoother appearance for your model during editing.
-
Render: The Render setting, which specifies the subdivision level used during the final render. To ensure the rendered output matches what you see in the viewport, set both Levels Viewport and Render to the same value.
-
-
-
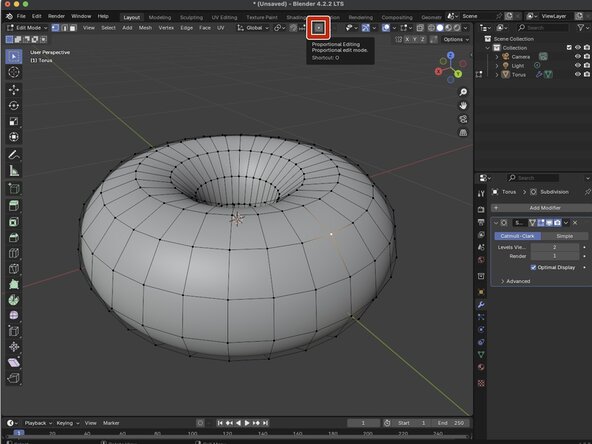
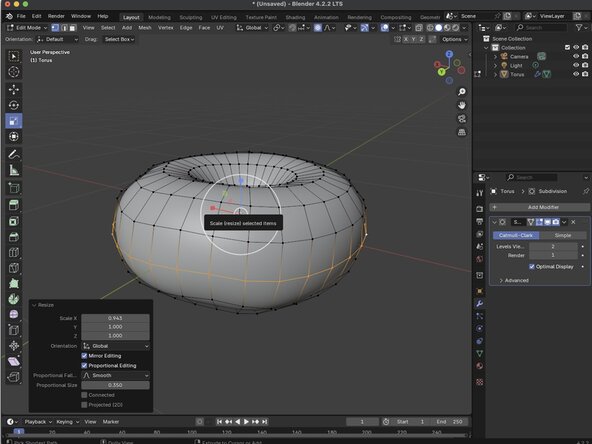
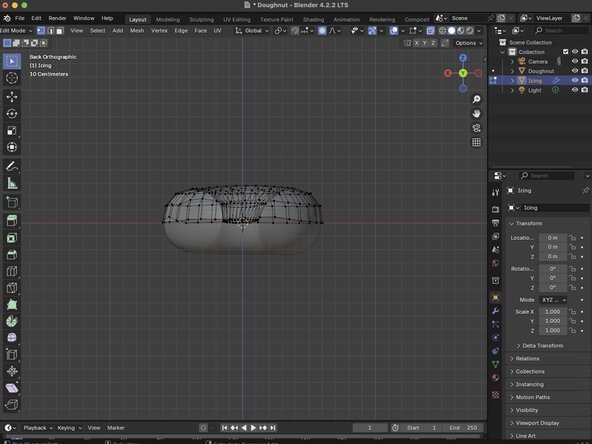
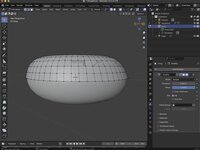
Now we have our smooth object, but we want to deliberatly add imprefections for our specific use case. For this, we will enter edit mode. At the top of your 3D Viewport, you will click on Object Mode, and click Edit Object.
-
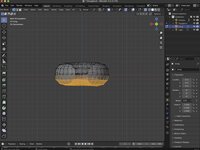
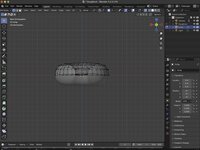
Once in Edit Object mode, we can see the mesh that makes up our object.
-
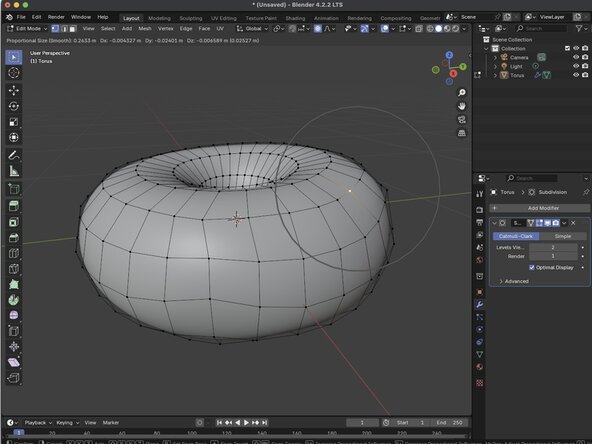
Each individual vertex can be moved the same way we move an object, but this can make our object apper unnatural, and can cause artifacting. Which is why we will use Proportianal Editing. Toggle on the Proportional Editing button at the top of the 3D Viewport.
-
With Proportianal Editing on, select the vertex you want to edit and press the 'g' key to grab that vertex. Move your mouse to the desired point and use the scroll wheel to adjust how much of the area around the point you want to move with that point.
-
-
-
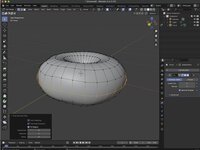
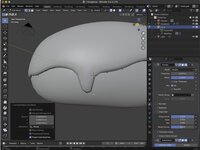
We can also use the scailing in this mode. In this case we will be shrinking the circumfrence of our object. While holding down Shift we can drag along the visible edges that make up our circumfrence. You will need to orbit around your object using the Orbit Gizmo to select the complete circumfrence.
-
Once the whole circumfrence is selected, select the Scale Tool from the tool menu on the left-hand side of the 3D Viewport.
-
-
-
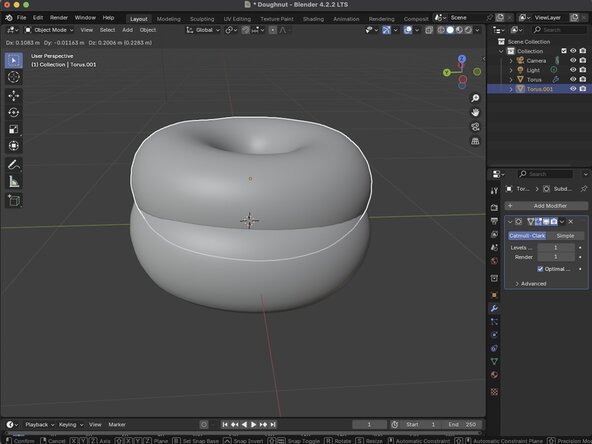
For this step we are going to duplicate our modified Torus. This object will act as the icing on our model of a doughnut.
-
With our Torus selected, were going to click on Object then click Duplicate Objects, then press your esc key. This will place your duplicated object in the exact position as the original. The new object will also appear in the Outliner.
-
You can also rename your objects by double-clicking the object you want to rename in the Outliner
-
We renamed our origonal object to Doughnut.
-
We renamed our duplicate object to Icing.
-
-
-
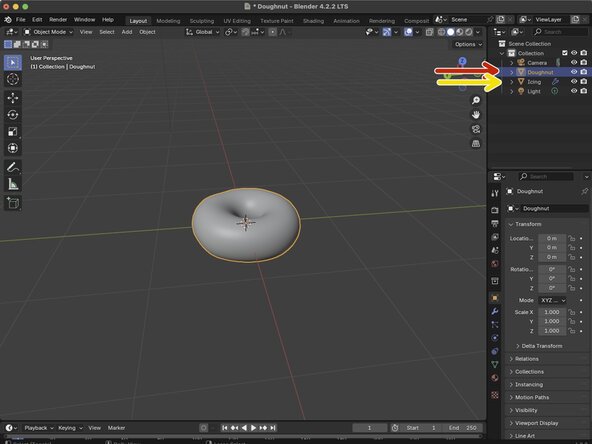
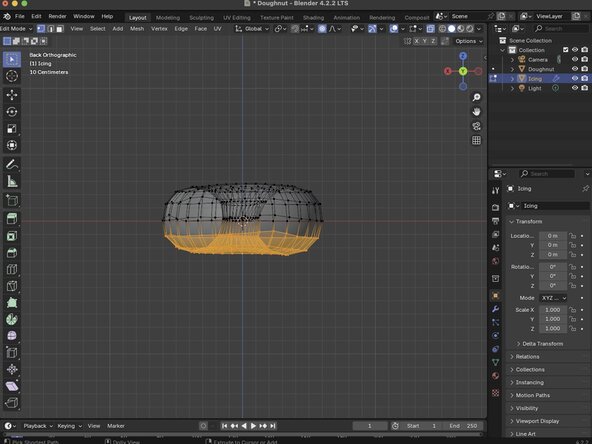
The next thing we're going to do is delete a section of our icing using Edit Mode.
-
Now we can delete each vertice by selecting one section at a time, but we can actually speed this process up by using X-Ray Mode to select geometry through the object.
-
-
-
With all the vertices we want to delete selected we press the Delete key, and choose Verticies from the Context menu.
-
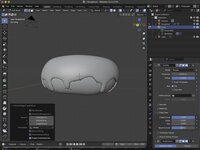
Switching back to our Object mode, we can see that our Doughnut model is now visible underneath the Icing model.
-
-
-
-
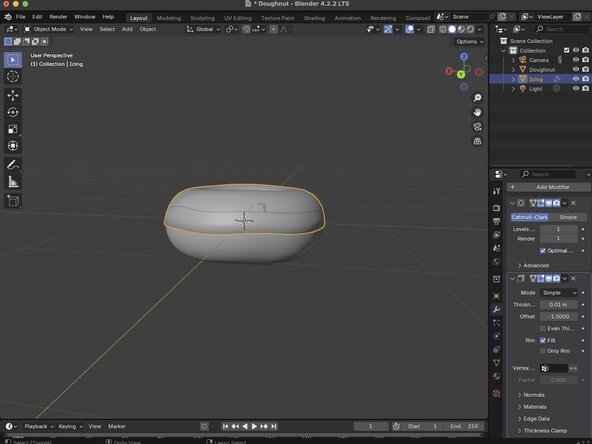
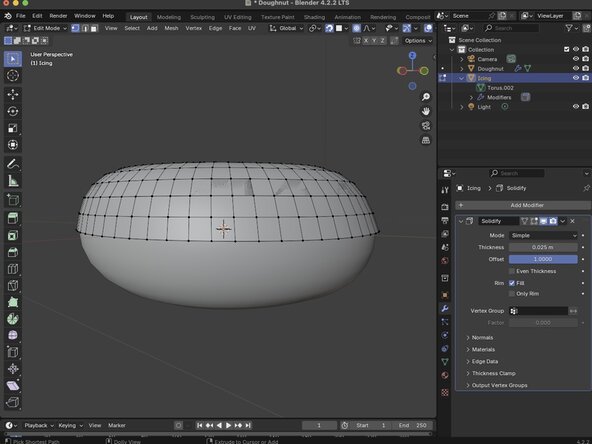
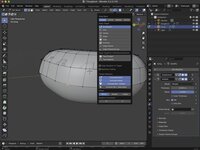
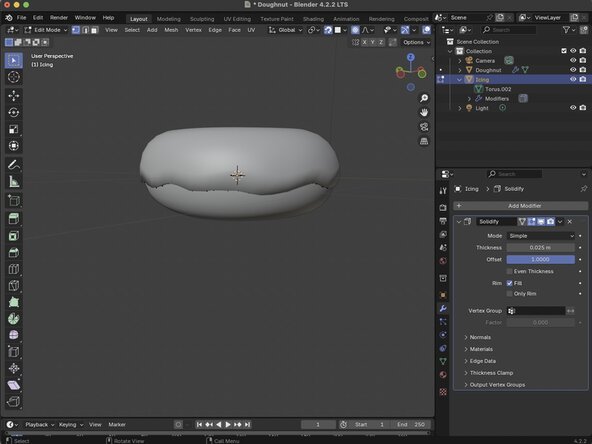
The next thing we're going to do is add some additional depth to our Icing. To do this we will add a Solidifier Modifier to our Icing.
-
With our Icing selected, we are going to click on Modifiers from our Properties menu and click the Add Modifier button. From there we choose Generate from the context menu, and click Solidify to add the Solidify Modifier to our Modifier properties.
-
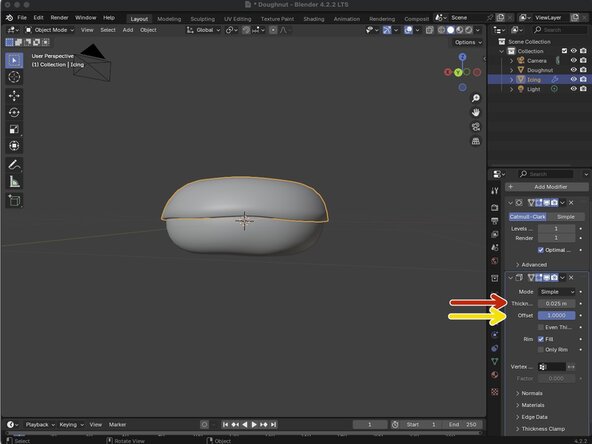
We're going to change our thickness 0.025 m. This specifies the depth to our Icing's mesh.
-
We're also going to offset our model by a value of 1. This parameter determines the direction and positioning of the solidified thickness relative to the original mesh surface.
-
-
-
Their are two buttons in our Modifiers panel with an icon resembling a triangle with dots at its corners.
-
-
-
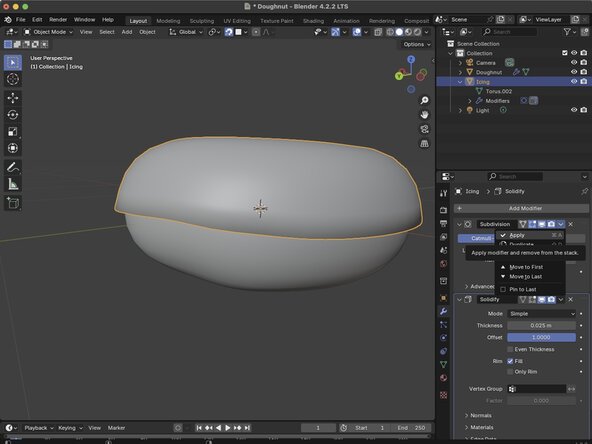
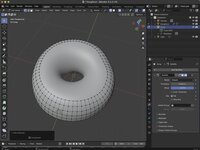
Now if we attempt to add our dribbles to our Icing now, you might notice that our mesh begins to clip into our doughnut. What's happening is that our Icing's mesh doesn't have enough geomitry to account for our doughnut. So we're going to refine the Icing's mesh using the added Subdivision Surface Modifier.
-
With our Icing selected, we are going to go to our Modifiers pannel and find our Subdivision Surface Modifier. Click the down arrow in that modifier, and click Apply from the dropdown menu.
-
-
-
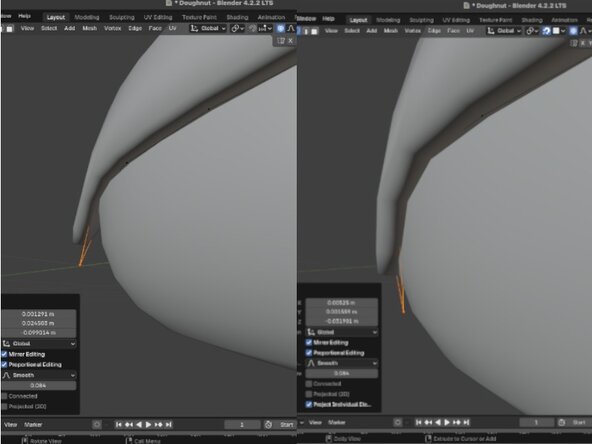
Now from here we could use Proportional Editing to add our dribbles to our Icing, but you might notice that we get a bit of overhang when we attempt to do so. Which is why we need to have our Icing snap to our Doughtnut's surface.
-
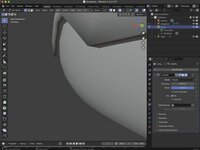
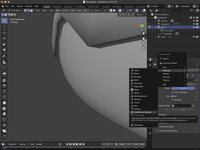
Click on the Snapping Button at the top of the 3D Viewport, and under the section Snap Target for Individual Elements choose Face Project.
-
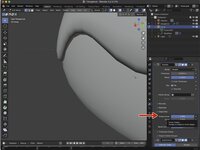
Once Face Project is selected, click the Snap Button next to Snapping, and the use Praportiaonal Editing to add dribbles to our icing.
-
We can see now that when we go to use Praportional Editing to begin adding dribbles to our icing, that our Icing snaps to the surface of our doughnut.
-
-
-
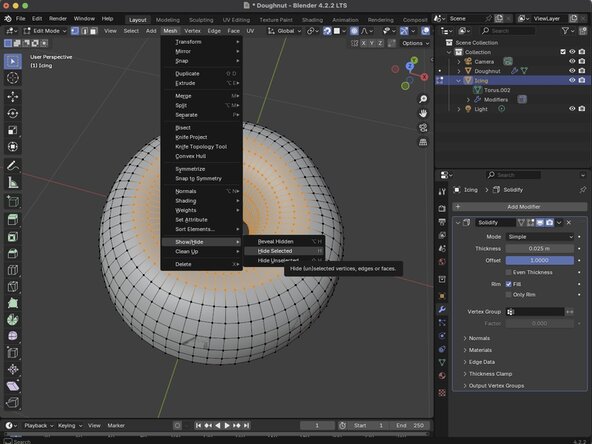
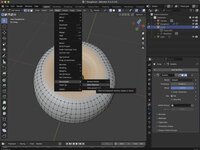
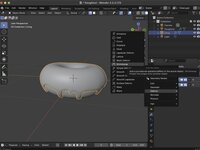
We're also going to need to hid a section of our mesh to prefvent it from being effected by our editing later on. Double-click a vertex in our inner circumference of our Icing to select the whole circumfrence. Press Control and '+' to add to the selection.
-
From the top of our 3D Viewport, choose Mesh, Show/Hide, then choose Hide Selected to hide our selected region.
-
-
-
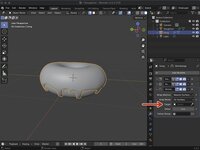
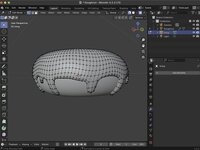
With the section of our Icing's mesh hidden, we can now begin editing our Icing to make it appear more realistic.
-
Using the Proportional Editing tool we simply need to select a vertex along the outer edge of our Icing, pressing 'g' to grab that vertex, and dragging it to our desired position.
-
-
-
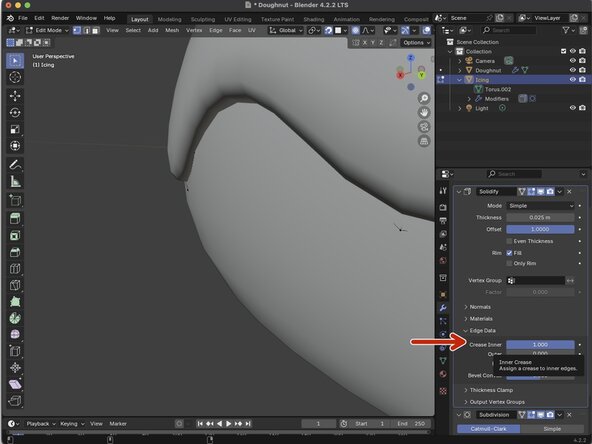
Now as your adding your waves to your Icing, you'll probably notice that the edges of our Icing has an angle to it. We can fix this by adding another Subdivision Surface Modifier to our Icing to add a few more points to our mesh.
-
Click Add Modifier and in the context menu select Generate then Subdivision Surface.
-
Underneath our Solidify Modifier we are also going to need to change our Crease Inner value to 1 to give our Icing's edge a curve.
-
-
-
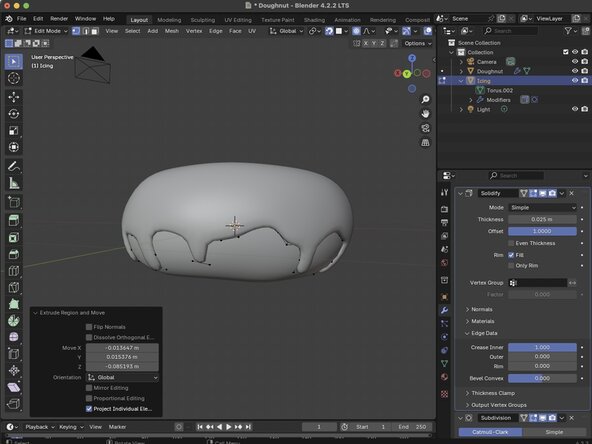
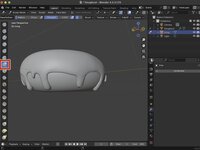
We can also add additional dribble to our Icing by using the Extrude feature.
-
Simple select two verticies along the bottom of our Icing's waves and press the 'e' key. Then drag down to create a nice long dribble. You can click to release once you've reached your desired length.
-
-
-
Before we continue with sculpting it is important to resolve any issues where the mesh of our Icing separate from the mesh of our Doughnut. We can do this using the Shrink Wrap Modifier.
-
Under our Icing's Modifiers tab, click on Add Modifier, and under Deform choose Shrinkwrap.
-
Once our Shrinkwrap modifier has been added, we're going to have to set our Target to our Doughnut.
-
-
-
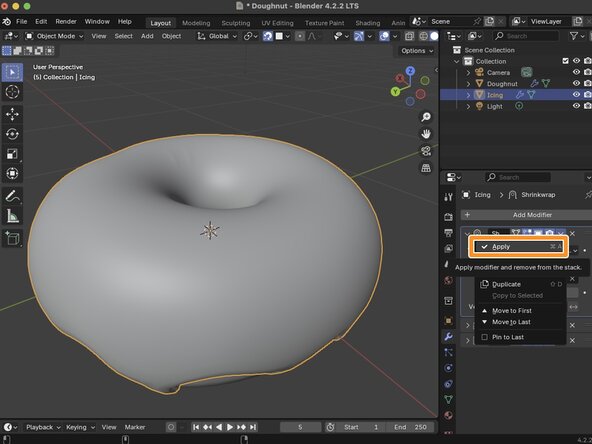
Drag your Shrinkwrap modifier to the top of the modifier stack. This will fix any visial artifacting that we experienced.
-
Click on the Down Arrow on our Shrinkwrap modifier and click apply to remove the modifier from our stack.
-
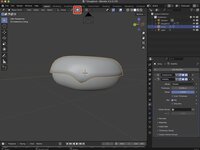
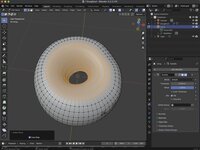
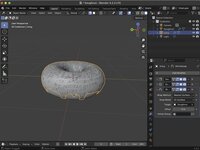
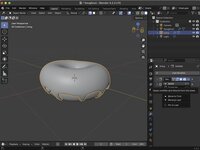
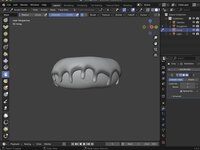
Looking at our Icing's mesh, we can see that it is properly conformed to your Doughnut.
-
-
-
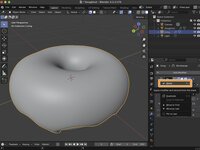
We're almost ready to launch Sculpt mode, the only thing we need to do is to apply our Solidify Modifier. Just like our Shrinkwrap modifier, simply click the down arrow on our Solidify Modifier, and click Apply.
-
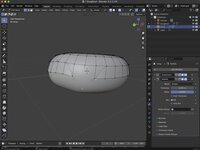
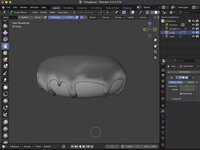
With our Solidify Modifier applied, we just need to click on Edit Mode at the top of our 3D Viewport, and switch to our Sculpting Workspace.
-
-
-
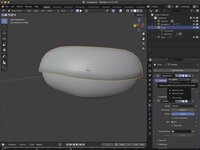
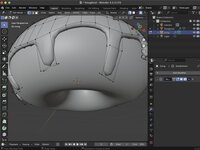
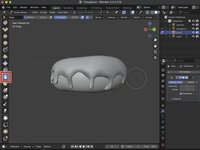
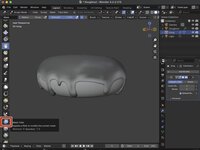
Once in Sculpt Mode we can see the different brush options on the left-hand side of your 3D Viewport.
-
To start, we will be adding some volume to the ends of our Icing drops.
-
-
-
Users have access to a diverse array of brushes in Sculpt Mode. Each brush is tailored for specific sculpting tasks. Here are some of the most commonly used brushes:
-
Clay Strips: Ideal for building up mass and defining forms, this brush allows for the rapid creation of broad shapes, serving as a foundation for more detailed work.
-
Grab: Enables the movement of geometry across the screen, facilitating general shaping and proportion adjustments without affecting finer details.
-
Smooth: Used to blend and refine surfaces, this brush helps eliminate irregularities, resulting in a polished finish.
-
Draw: A versatile brush for adding or subtracting material on surfaces, often customized with different stroke methods and textures to achieve various effects.
-
Crease: Combines the effects of the Draw and Pinch brushes, making it perfect for creating sharp details like wrinkles and edges.
-
Scrape: Useful for hard surface sculpting or aggressive smoothing, this brush scrapes and fills surfaces to achieve the desired form.
-
Inflate: Expands or contracts volumes or surfaces, particularly effective for controlling the thickness of cylindrical shapes.
-
-
-
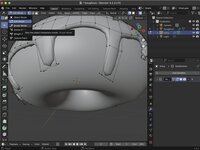
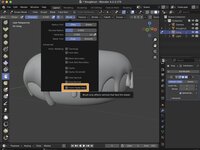
We will also need to add some thickness to only the arches of our Icing, which is where we will be using our Mask Brush to protect the areas we don't want to modify.
-
We will also need to enable the Front Faces Only option underneath the Brush button. From there we simply need to brush over our arches.
-
-
-
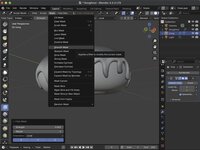
Once we've painted over the areas we want to modify, we are going to press Control and 'I' to invert our Mask.
-
With our mask inverted we're going to click on our Mesh Filter button.
-
We will also need to enable Smooth Masking by clicking on the Mask option at the top of our 3D Viewport, and choosing Smooth Mask. This will make it so that when we modify our ediges are more natural looking.
-
All we need to do now is to click and drag our mouse to the right, across our model to slightly grow the arches of our Icing.
-
-
-
Here we see our unsculpted model compaired to our sculpted model. We can see how adding subblte variations to our Icing can greatly improve the visual aspect of our model.
-


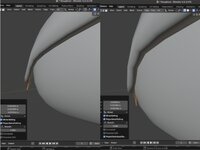


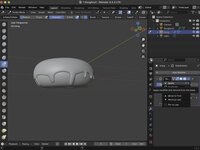


Congratulations! You've just sculpted your model to add additional visual variation to our model.
crwdns2935221:0crwdne2935221:0
crwdns2935227:0crwdne2935227:0

