crwdns2915892:0crwdne2915892:0
This guide will come in very handy for other repairs on your camera because of the number of prerequisites required.
crwdns2942213:0crwdne2942213:0
-
-
Make sure the camera is powered off by pressing and holding the small, square button embedded in the top rim of the camera.
-
-
-
Locate the hatch found on the bottom of the camera.
-
Open the hatch by gripping the small notch and sliding it outwards.
-
-
-
Push the small, plastic arm out of the way to free the battery.
-
The battery is spring loaded and will pop out slightly when the arm is moved.
-
-
-
Pull the battery out of the camera and close the hatch.
-
-
-
-
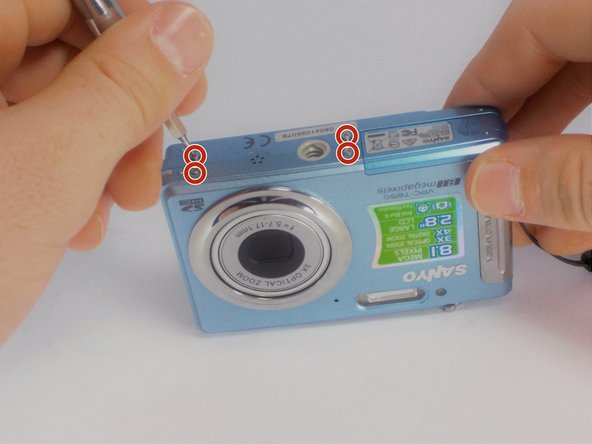
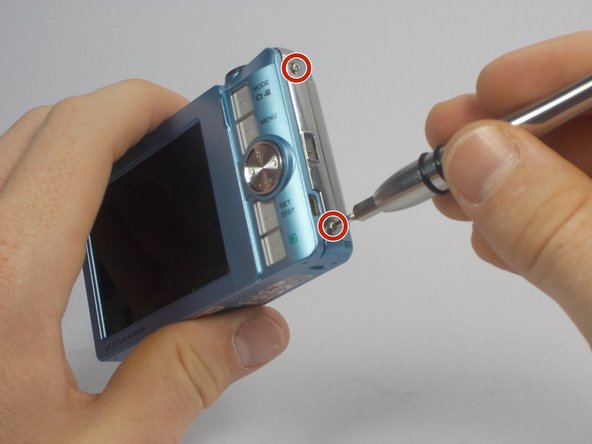
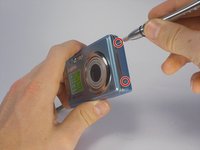
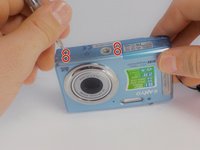
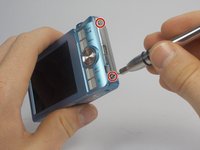
Using your Phillips #000 Screwdriver, remove the eight screws located around the sides and bottom of the camera.
-
-
-
Orient the camera so the display is facing up.
-
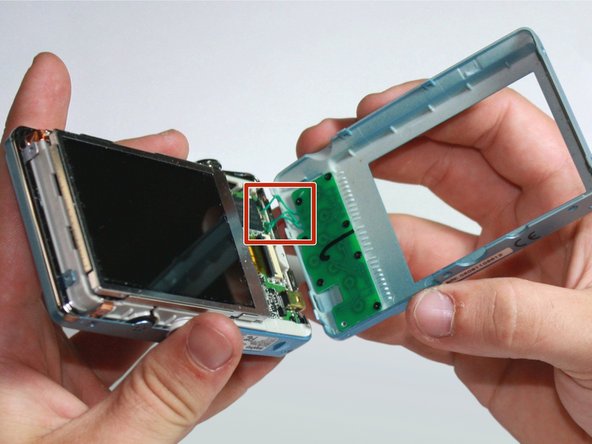
Gently pull off the rear panel surrounding the display.
-
-
-
Remove the eight black screws connecting the keypad circuit board to the rear panel.
-
-
-
With a plastic opening tool, gently remove the chrome framing on the left and right sides of the camera.
-
-
-
Flip the camera over so the lens is facing up.
-
Gently lift up the front panel to remove it from the rest of the camera.
-
-
-
Flip the device over to where the display is located.
-
Using your plastic opening tool, lift the display out of its metal housing.
-
-
-
Locate the orange ribbon connecting the display to the camera.
-
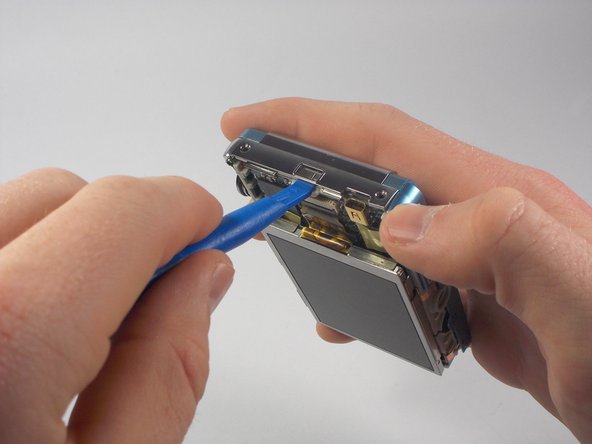
Using your plastic opening tool, gently lift the black bar holding the orange ribbon to the camera.
-
-
-
With two fingers held firmly on the display, gently pull the orange ribbon out of the camera.
-
To reassemble your device, follow these instructions in reverse order.


