crwdns2915892:0crwdne2915892:0
This guide will show you how to properly install a camera for the Sanyo SCP-8100. If your device is having trouble taking pictures or it will not take pictures at all, you may need to install a new camera.
You will need to open the front panel and remove the LCD board in order to get to the camera piece.
crwdns2942213:0crwdne2942213:0
-
-
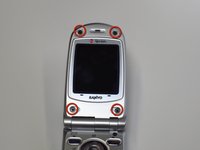
Open the phone and remove the four stickers that hide the four 0.5 mm screws.
-
On the bottom two, use a push pin to pull out the stickers.
-
-
-
For the top two, use the same push pin and gently pull out the stickers.
-
-
-
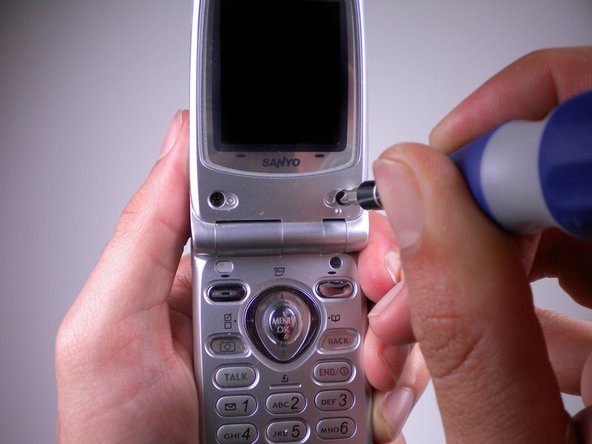
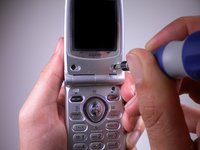
Use the Tri-Wing Y1 screwdriver to unscrew the now uncovered four 0.5 mm screws.
-
-
-
Use the opening tool to pry open the front panel.
-
-
-
crwdns2935267:0crwdne2935267:0Tweezers$4.99
-
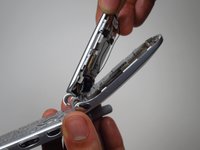
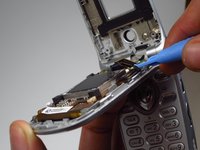
Use tweezers to detach the plastic connector.
-
With the tweezers, pull the wires from the plastic clamp.
-
-
-
Use the opening tool to pull the earpiece off of the top panel.
-
-
-
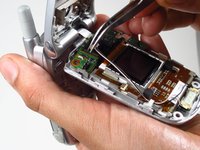
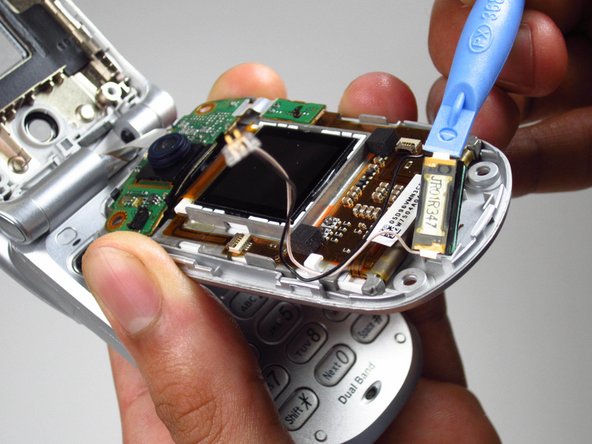
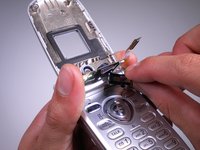
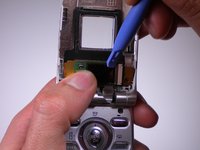
Use plastic opening tool to lift the chip on the right side.
-
-
-
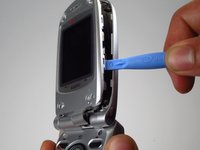
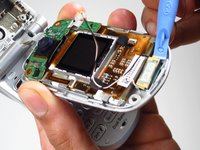
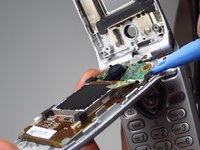
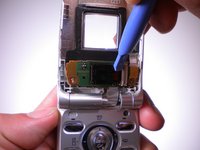
Use plastic opening tool to pry the board off of the front panel.
-
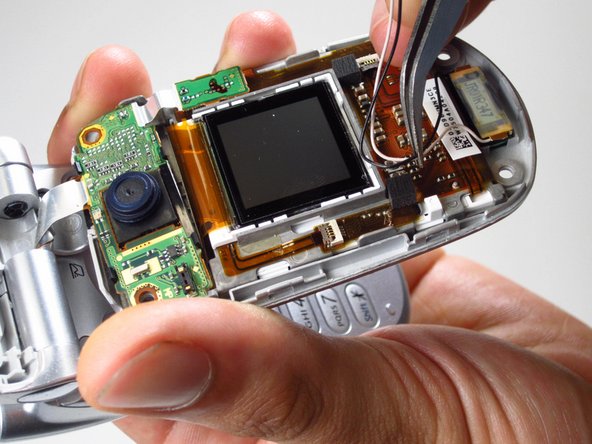
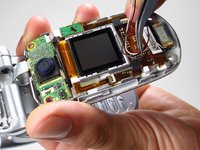
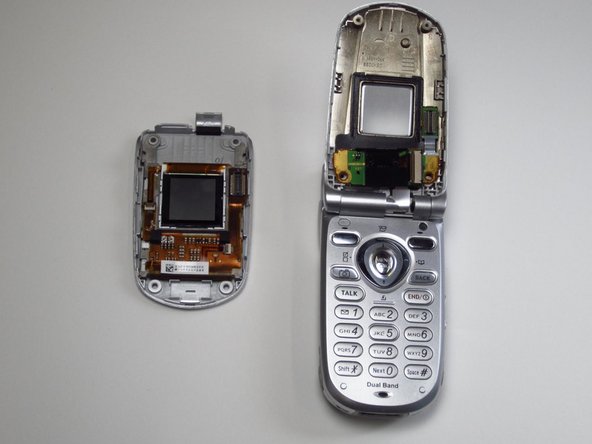
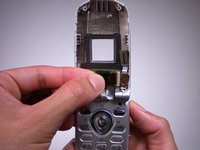
Completely remove the screen from the phone.
-
-
-
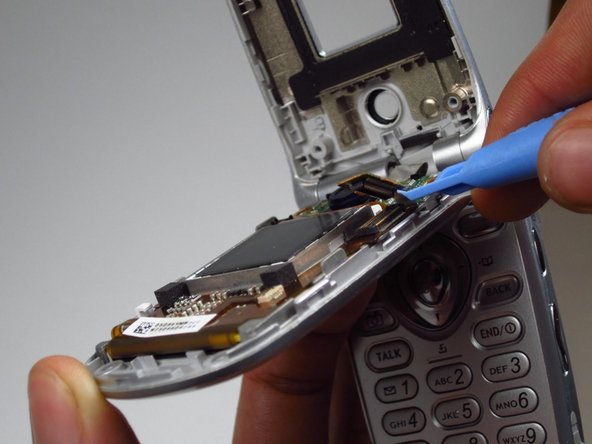
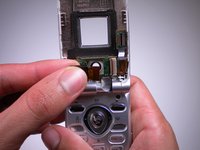
Use the opening tool to take off the black plastic frame around the camera lens.
-
-
-
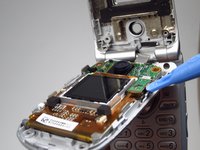
Use the plastic opening tool to flip the ZIF connector to the right.
-
-
-
Lift the camera from the opening.
-
Detach and pull the camera from the ZIF connector.
-


To reassemble your device, follow these instructions in reverse order.
crwdns2935287:0crwdne2935287:0

Cal Poly, Team 10-41, Amido Spring 2013 crwdns2935289:0Cal Poly, Team 10-41, Amido Spring 2013crwdne2935289:0
CPSU-AMIDO-S13S10G41
crwdns2931471:04crwdne2931471:0
crwdns2935297:012crwdne2935297:0