
Sansa e260R Memory Board Replacement

crwdns2959932:0crwdnd2959932:0JenniferWcrwdnd2959932:0crwdnd2959932:0crwdnd2959932:04crwdnd2959932:0crwdne2959932:0
crwdns2959936:0Sun 28, 2014crwdne2959936:0
crwdns2869540:0crwdne2869540:0: 3.3천
crwdns2959988:0crwdne2959988:0
- crwdns2959990:0crwdne2959990:0
- 2
- crwdns2959992:0crwdne2959992:0
- 14
- crwdns2959994:0crwdne2959994:0
- 95
- crwdns2959996:0crwdne2959996:0
- 3,305
crwdns2955950:0crwdne2955950:0: 1
crwdns2960006:01crwdne2960006:0
crwdns2960000:0crwdne2960000:0crwdns2959984:0crwdne2959984:0: 6 7
crwdns2959974:06crwdne2959974:0
crwdns2959970:07crwdne2959970:0
crwdns2959986:0crwdne2959986:0: 1 2
crwdns2959980:01crwdne2959980:0
crwdns2959978:02crwdne2959978:0
crwdns2959930:0crwdne2959930:0
crwdns2943215:0crwdne2943215:0
-
Spudger4.9


-
-
-
Remove the four 1.5mm screws on the back of the device.
 crwdns2952109:0crwdne2952109:0
-
-
-
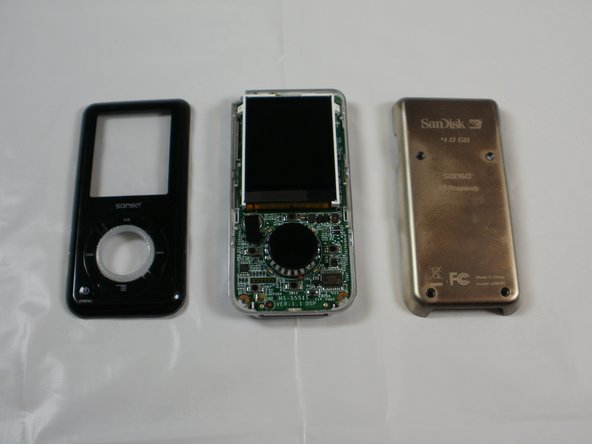
Using a plastic opening tool, lift the metal backing from the front of the device.
-
-
-
Pull the rear panel off of the Sansa e260R.
-
-
-
-
-
Grip the bottom of the battery with your thumb and forefinger and pull it away from the device.
-
-
-
-
-
Remove the four 1.5mm screws on the inner casing of the device.
-
-
-
Flip the device so that the front is facing you.
-
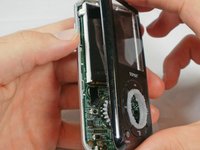
Slide a plastic opening tool between the plastic front cover and the metal back cover of the device.
-
-
-
Pull the front cover away from the rest of the device.
-
-
-
-
-
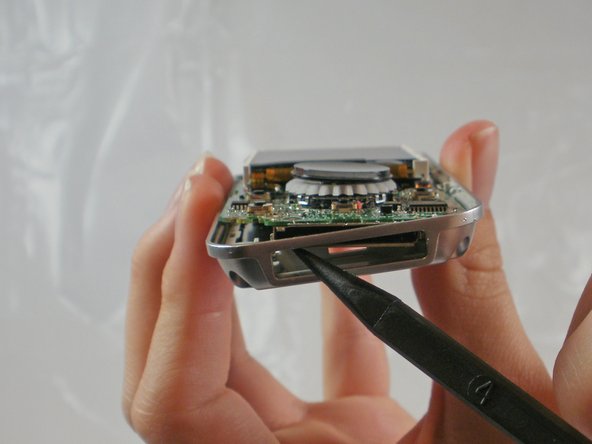
Near the charging port, pull the case away from the motherboard to create clearance to remove the motherboard.
-
Use the spudger to push the motherboard in and pop the metal edge of the charging port up and inside the plastic case.
-
-
-
-
Pull the bottom of the motherboard up and then out.
-
-
-
Peel the rectangle off slowly.
-
-
-
Peel the tape off about halfway so that it is no longer attached to the memory board.
-
-
-
Carefully peel the memory board away from the rest of the motherboard
-
-



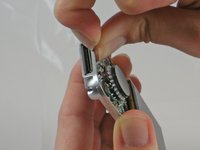
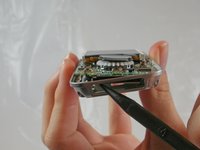


To reassemble your device, follow these instructions in reverse order.
crwdns2935221:0crwdne2935221:0
crwdns2935229:06crwdne2935229:0

crwdns2935287:0crwdne2935287:0

Cal Poly, Team 8-15, Maness Winter 2012 crwdns2935289:0Cal Poly, Team 8-15, Maness Winter 2012crwdne2935289:0
CPSU-MANESS-W12S8G15
crwdns2931471:05crwdne2931471:0
crwdns2935297:060crwdne2935297:0
crwdns2947410:01crwdne2947410:0
thanks a million for this. i accidentally erased the boot partition, bought another one on eBay with a defective audio channel and switched the memory board: eureka! i’m happy listening to my tunes again!
Admin User - crwdns2934203:0crwdne2934203:0 crwdns2950251:0crwdne2950251:0
