crwdns2942213:0crwdne2942213:0
-
-
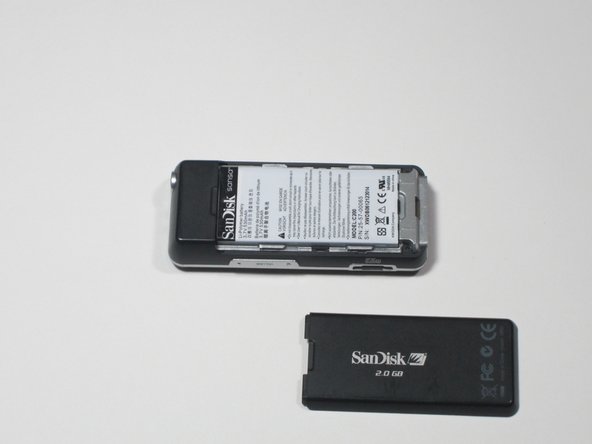
To remove the back cover, slide the back cover toward the top of the device with your thumb.
-
-
-
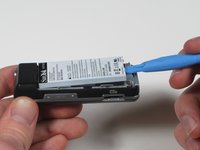
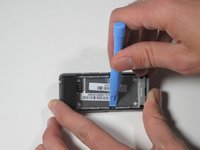
Wedge the plastic pry tool under the edge of the battery.
-
-
-
With the plastic pry tool, gently lift up. The battery should lift up and out.
-
-
-
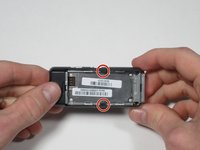
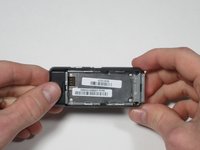
Using a Phillips head screwdriver, remove the two black .265" screws at the base of the device.
-
-
-
Near the middle of the device, locate the two plastic arms of the case cover.
-
Using the plastic pry tool, pry up the two arms of the case to free them from the sides.
-
-
-
-
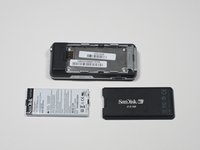
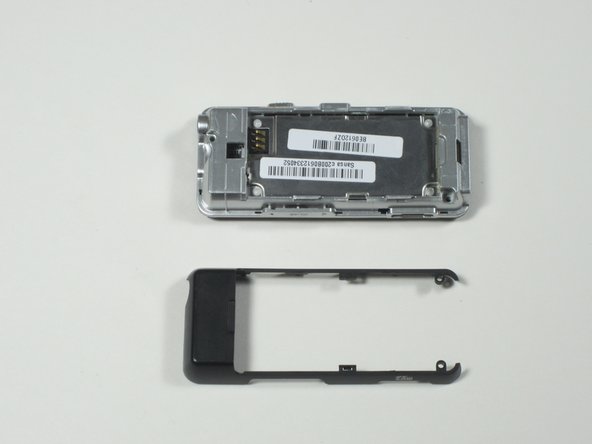
To remove the rear case cover, slide the rear case cover toward the top of the device with your thumb to release it.
-
-
-
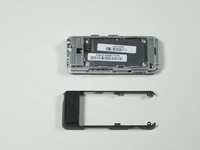
Using a Phillips head screwdriver, remove the single 0.327" silver screw on the back of the device. The screw should be exposed from when you removed the rear case cover.
-
-
-
Flip the device over and gently work a plastic pry tool around the base of the front case cover until it loosens.
-
-
-
Starting on the side furthest away from the buttons, gently lift the front case cover open with your fingers.
-
-
-
To release the ribbon cable, use a plastic pry tool to gently pry up on where the ribbon cable attaches to the motherboard.
-
-
-
You can now safely remove the front case cover from the device.
-
-
-
Using a spudger or flat tool, lift the battery up and away from the board, taking note of its orientation.
-
-
-
Desolder the connectors on both sides of the battery to remove it.
-
Resolder on a new Panasonic 6Y3 micro cell battery, taking care to orient it correctly as noted in the previous step.
-
Bend the battery back so that it's flat against the board.
-


To reassemble your device, follow these instructions in reverse order.
To reassemble your device, follow these instructions in reverse order.
crwdns2935221:0crwdne2935221:0
crwdns2935227:0crwdne2935227:0
crwdns2915084:0crwdne2915084:0

Cal Poly, Team 3-30, Amido Winter 2012 crwdns2935289:0Cal Poly, Team 3-30, Amido Winter 2012crwdne2935289:0
CPSU-AMIDO-W12S3G30
crwdns2931471:03crwdne2931471:0
crwdns2935297:06crwdne2935297:0