crwdns2915892:0crwdne2915892:0
Use this guide to replace the keyboard if the keys do not work or jam or stick when they are pressed.
crwdns2942213:0crwdne2942213:0
-
-
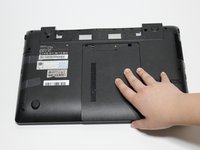
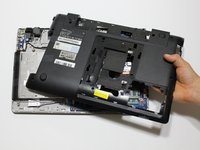
Place the computer upside down, with the battery pack facing away from you.
-
-
-
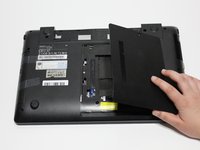
Remove the battery by pushing out the locks on either end then pushing the battery away from you.
-
-
-
Using the J0 Japanese Industrial Standard screwdriver, remove the 4.5mm screw on the ODD/HDD Memory panel.
-
-
-
Pull the panel towards you to release it, then lift it off the computer.
-
-
-
Using the J0 Japanese Industrial Standard screwdriver, remove the 4.5mm screw next to the label “ODD."
-
Remove the three 4.5mm screws from around the memory drive nest.
-
-
-
Using the J1 Japanese Industrial Standard screwdriver, remove the thirteen 9.5mm screws from the panel that cover the bottom of the computer.
-
-
-
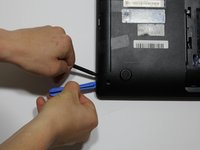
Begin removing the computer casing by prying beside the disk drive with the iFixit opening tool and the spudger, working counterclockwise.
-
Lift the panel from the computer.
-
-
-
Remove the disc drive by pulling it towards the outside of the computer.
-
-
-
-
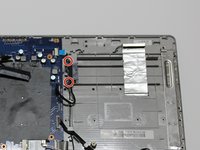
Using the J0 Japanese Industrial Standard screwdriver, remove the two 7mm screws that hold down the plug-in to the disc drive.
-
-
-
Using the J0 Japanese Industrial Standard screwdriver, remove the 3.5mm screw from the chip connected to the USB ports.
-
-
crwdns2935267:0crwdne2935267:0Tweezers$4.99
-
-
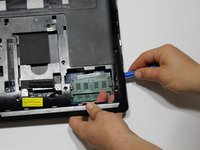
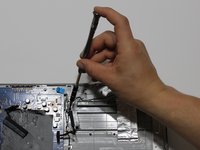
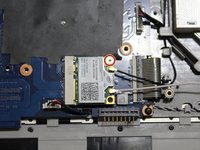
Using the J0 Japanese Industrial Standard screwdriver, remove the 4.5mm screw holding down the chip next to the power prongs where the battery connects.
-
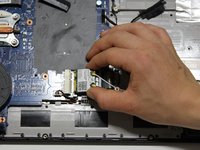
Gently pull the chip from its connector.
-
-
-
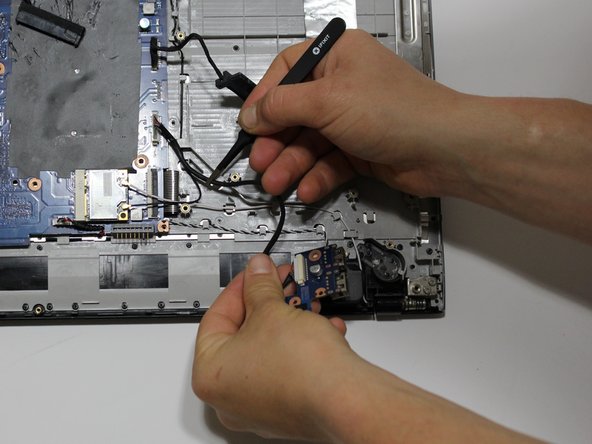
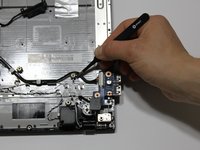
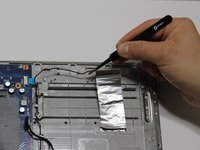
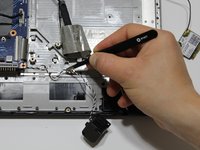
Disconnect the wire screen connection from its port by pulling upwards.
-
-
-
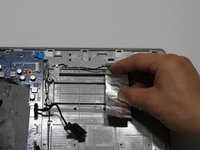
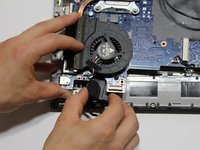
Gently pull up the speaker towers from either end of the computer.
-
-
-
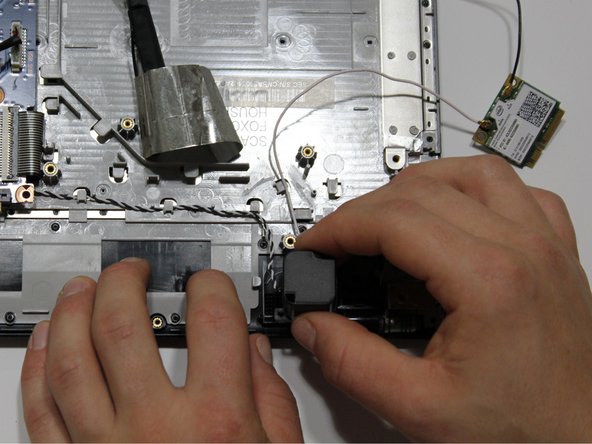
Using the blunt tweezers, unthread the wires that connect the motherboard to the speakers from their holders, without crimping the wires.
-
-
-
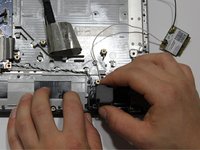
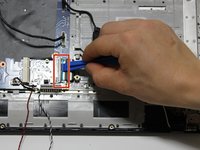
Using the iFixit opening tool, gently pry up the plastic clasp that holds the keyboard power circuit down, and pull out the strip from the connection.
-
-
-
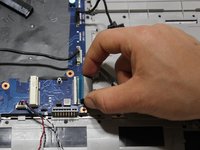
Pull out the plastic cover to release the Kotl strip, then pull out the strip.
-
-
-
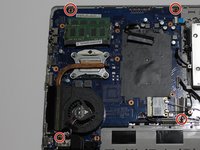
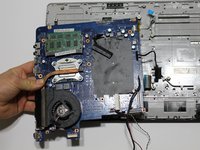
Using the J0 Japanese Industrial Standard screwdriver, remove the four 4.5mm screws from the corners of the motherboard.
-
Lift the motherboard from the computer.
-
-
-
Using the J0 Japanese Industrial Standard screwdriver, remove the four 4.5mm screws on the attachments that connect the screen and keyboard, starting on the right corner, then moving to the left corner. There will be two screws on each bottom corner.
-
-
-
Flip the computer over so that the front of the computer is facing you.
-
-
-
Open the computer screen until it disconnects from the keyboard.
-


To reassemble your device, follow these instructions in reverse order.
To reassemble your device, follow these instructions in reverse order.
crwdns2935221:0crwdne2935221:0
crwdns2935229:03crwdne2935229:0

crwdns2915084:0crwdne2915084:0

Carson-Newman University, Team S1-G1, Sobiech Spring 2019 crwdns2935289:0Carson-Newman University, Team S1-G1, Sobiech Spring 2019crwdne2935289:0
CNU-SOBIECH-S19S1G1
crwdns2931471:05crwdne2931471:0
crwdns2935297:06crwdne2935297:0