crwdns2915892:0crwdne2915892:0
Use this guide to replace a damaged or broken motherboard.
crwdns2942213:0crwdne2942213:0
-
-
Use a Phillips head screwdriver to remove 5 screws from the camera. There are 2 4mm screws on the left side, 2 2mm screws on the right side and 1 4mm screw on the bottom.
-
-
-
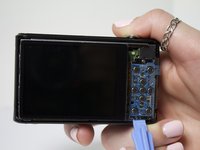
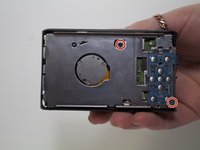
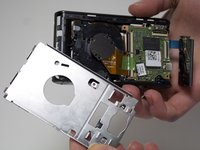
Use your fingers to pull the back cover off.
-
-
-
-
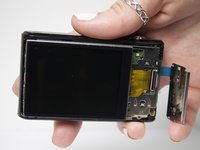
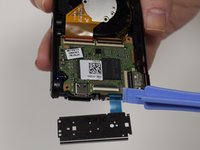
Separate the button panel to reveal the port holding the screen on.
-
-
-
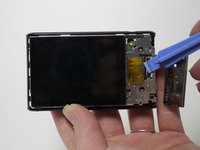
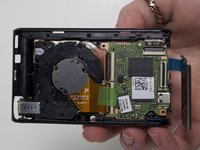
Remove the yellow cable by pulling gently upwards, away from the inside of the camera, until it separates from its port.
-
-
-
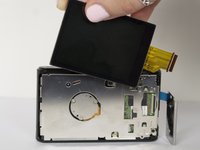
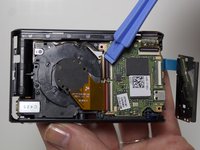
Remove 2 3mm screws from the metal plate covering the motherboard and lens using a Phillips #00 screw driver.
-
-
-
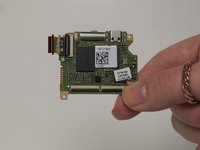
Remove the 4 cables connecting the motherboard to the camera body.
-


To reassemble your device, follow these instructions in reverse order.
To reassemble your device, follow these instructions in reverse order.
crwdns2935221:0crwdne2935221:0
crwdns2935229:02crwdne2935229:0
crwdns2915084:0crwdne2915084:0

Marist, Team 1-6, Laflen Spring 2015 crwdns2935289:0Marist, Team 1-6, Laflen Spring 2015crwdne2935289:0
MARS-LAFLEN-S15S1G6
crwdns2931471:02crwdne2931471:0
crwdns2935297:08crwdne2935297:0
crwdns2947412:03crwdne2947412:0
Thanks for great info. I should add that one can also clean the sensor. Sensor is circular plate with 3 screws at back of the lens. Now the camera is like new!
Where can you buy a replacement motherboard?
ST76 and ST77 are very close relatives.
As it can be seen on the parts, some are marked: ”ST77”
Paul