crwdns2942213:0crwdne2942213:0
-
-
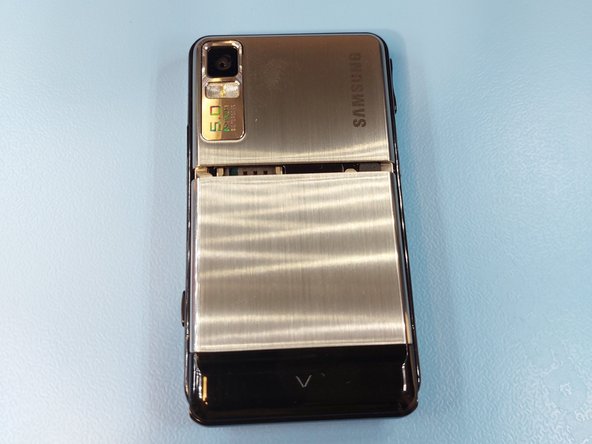
Flip the device around and remove the back panel by pulling it down.
-
-
-
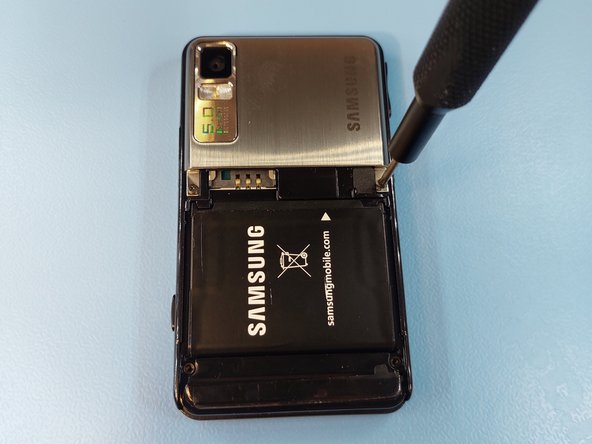
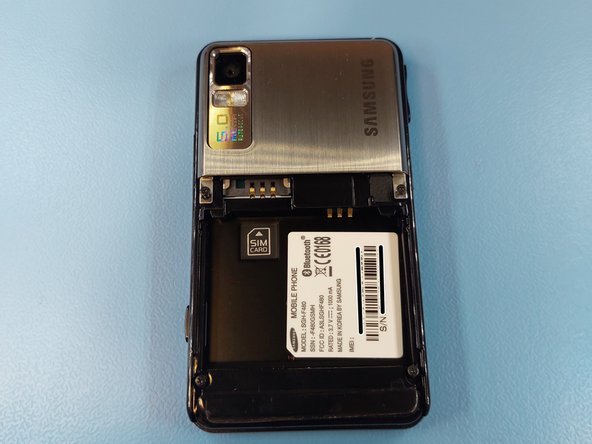
The battery can be removed with a gentle tap on the screen.
-
-
-
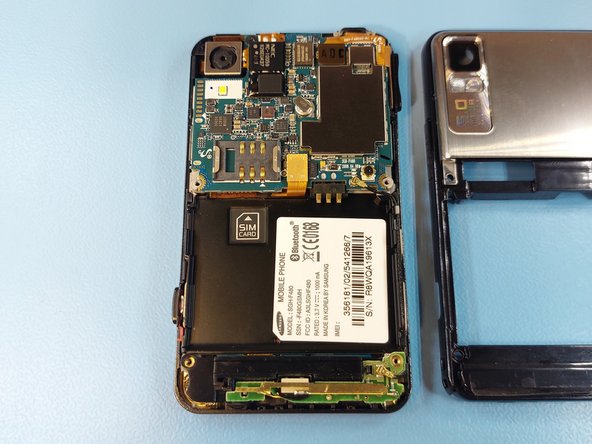
Further inside can be got by separating the frames. Slide an opening pick between the frames, starting from the bottom corners.
-
-
-
Remove all the button caps, as they may drop out later on.
-
-
-
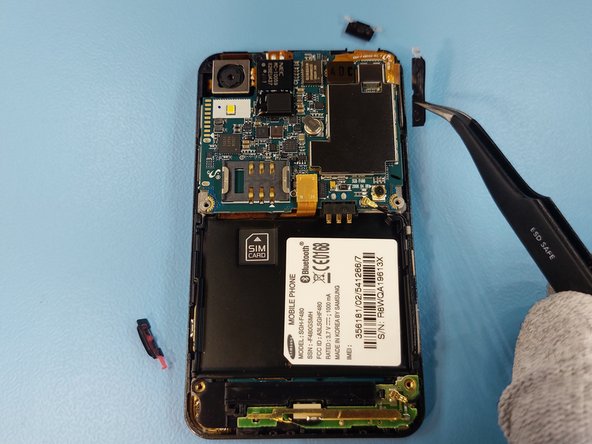
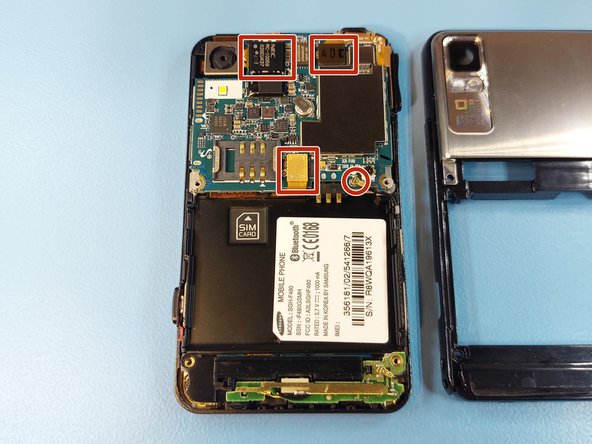
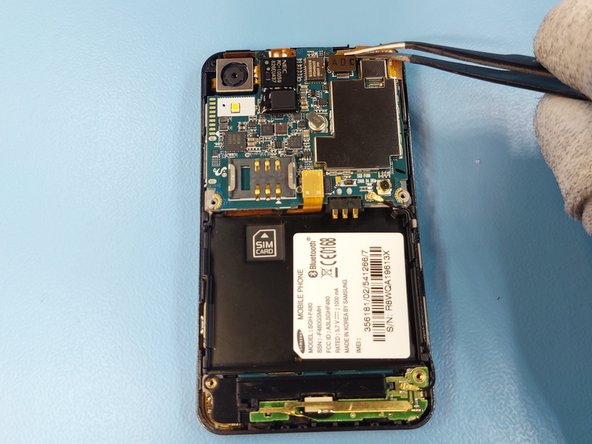
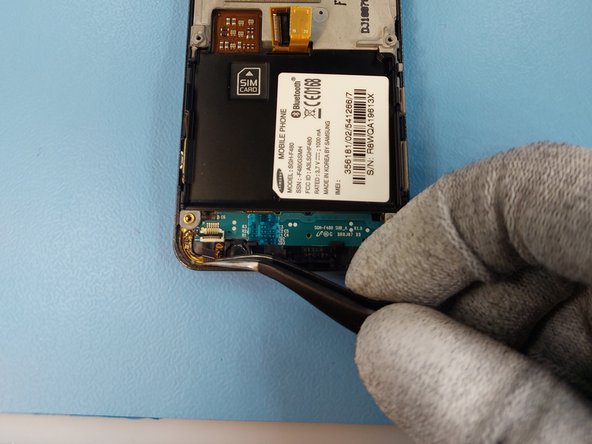
Disconnect all the connectors on the motherboad.
-
-
-
-
Remove the one Phillips #00 screw from next to the camera module.
-
-
-
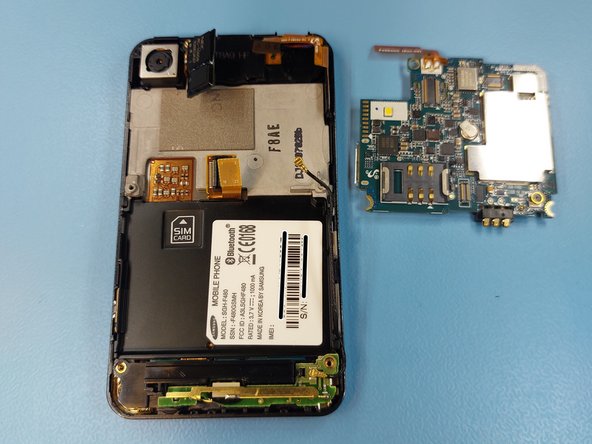
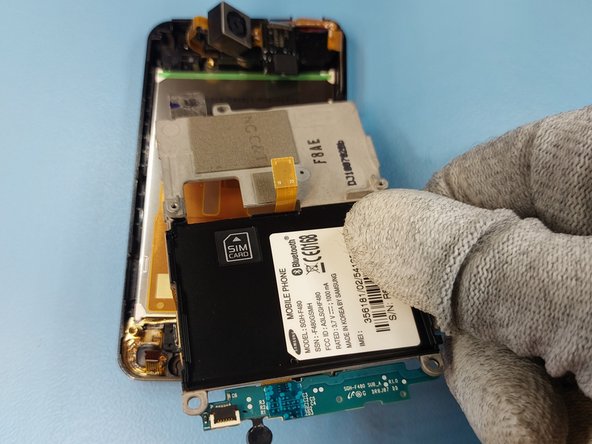
Remove the motherboard by lifting.
-
-
-
The component from the bottom can be removed easily by lifting as it isn't held by anything anymore.
-
-
-
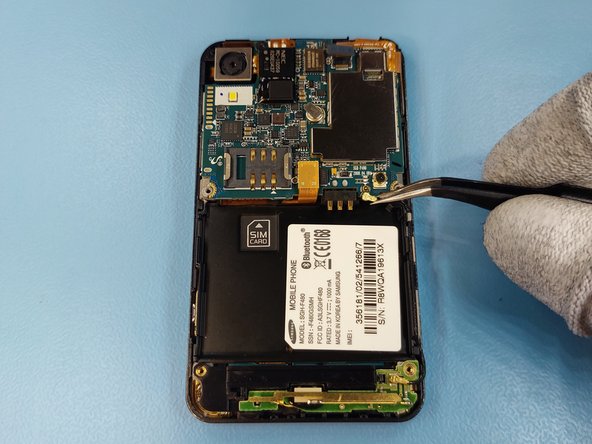
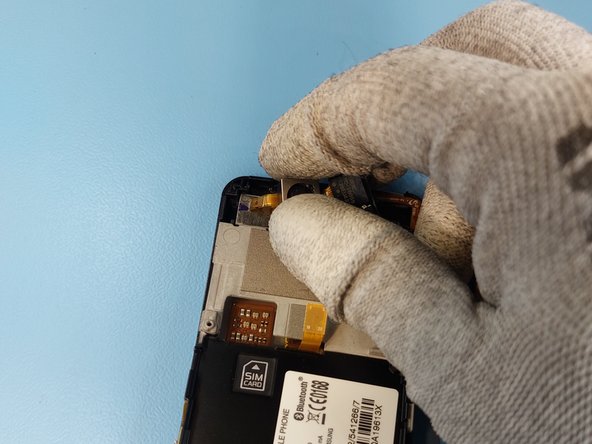
Open the connectors latch and pull the cable out of the connector.
-
-
-
The camera module is installed to the frame with glue. Separate it by sliding a Jimmy tool under the module.
-
-
-
The frame can be separated from the screen by sliding the Jimmy tool as shown on the image.
-
-
-
Remove the front earpiece by sliding the Jimmy tool between the frame and the module.
-
-
-
Lift the camera module from its socket.
-
-
-
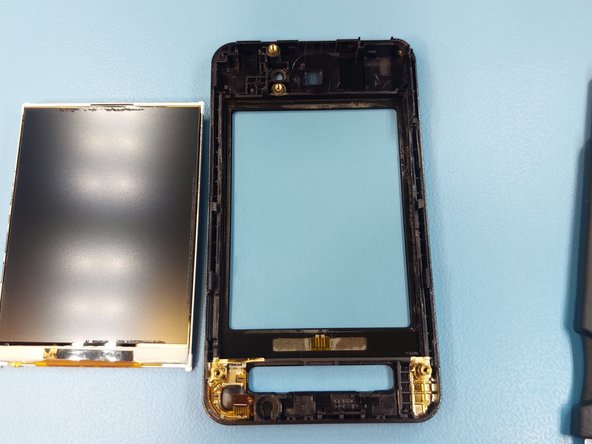
The display can be removed by sliding a Jimmy tool between the frame and the display.
-


To reassemble your device, follow these instructions in reverse order.
To reassemble your device, follow these instructions in reverse order.
crwdns2935221:0crwdne2935221:0
crwdns2935227:0crwdne2935227:0
