crwdns2933423:0crwdne2933423:0
crwdns2947577:0crwdnd2947577:0crwdne2947577:0

Samsung SCH-A310 Keypad Replacement

crwdns2942213:0crwdne2942213:0

  1. Samsung SCH-A310 Keypad Replacement, Antenna: crwdns2935265:01crwdnd2935265:01crwdnd2935265:01crwdne2935265:0
    • Remove the battery by pressing the button at the top of the case.

    crwdns2952109:0crwdne2952109:0

    crwdns2917038:0crwdne2917038:0

  2. Samsung SCH-A310 Keypad Replacement: crwdns2935265:02crwdnd2935265:01crwdnd2935265:03crwdne2935265:0 Samsung SCH-A310 Keypad Replacement: crwdns2935265:02crwdnd2935265:02crwdnd2935265:03crwdne2935265:0 Samsung SCH-A310 Keypad Replacement: crwdns2935265:02crwdnd2935265:03crwdnd2935265:03crwdne2935265:0
    • Unscrew the antenna by twisting it counter-clockwise until it is loose.

    • Slide the antenna out of the phone.

    • The black casing can be removed from the old antenna and used for the new antenna.

    crwdns2952109:0crwdne2952109:0

    crwdns2917038:0crwdne2917038:0

  3. Samsung SCH-A310 Keypad Replacement, Keypad: crwdns2935265:03crwdnd2935265:01crwdnd2935265:01crwdne2935265:0
    • Using a #00 Phillips Screwdriver, remove the 4 (3mm) black screws from each corner of the back casing.

    • Place these screws in a safe place. If you can, try to loosen the screws without removing them entirely to help keep track of them, they are easy to lose.

    crwdns2952109:0crwdne2952109:0

    crwdns2917038:0crwdne2917038:0

  4. Samsung SCH-A310 Keypad Replacement: crwdns2935265:04crwdnd2935265:01crwdnd2935265:03crwdne2935265:0 Samsung SCH-A310 Keypad Replacement: crwdns2935265:04crwdnd2935265:02crwdnd2935265:03crwdne2935265:0 Samsung SCH-A310 Keypad Replacement: crwdns2935265:04crwdnd2935265:03crwdnd2935265:03crwdne2935265:0
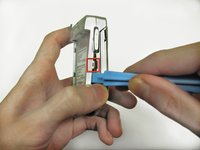
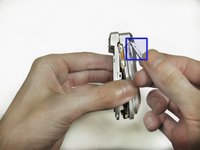
    • Use the wide plastic prying tool to open the back case.

    • To make this process easier, use the tool to push against this tab while gently pulling the back upward.

    • Repeat this process on the opposite side.

    • The volume button may fall out, but don't force it back in. Set it aside for reassembly.

    • When replacing the volume button, the rubber tab must be placed carefully into the space in the inner casing.

    crwdns2952109:0crwdne2952109:0

    crwdns2917038:0crwdne2917038:0

  5. Samsung SCH-A310 Keypad Replacement: crwdns2935265:05crwdnd2935265:01crwdnd2935265:03crwdne2935265:0 Samsung SCH-A310 Keypad Replacement: crwdns2935265:05crwdnd2935265:02crwdnd2935265:03crwdne2935265:0 Samsung SCH-A310 Keypad Replacement: crwdns2935265:05crwdnd2935265:03crwdnd2935265:03crwdne2935265:0
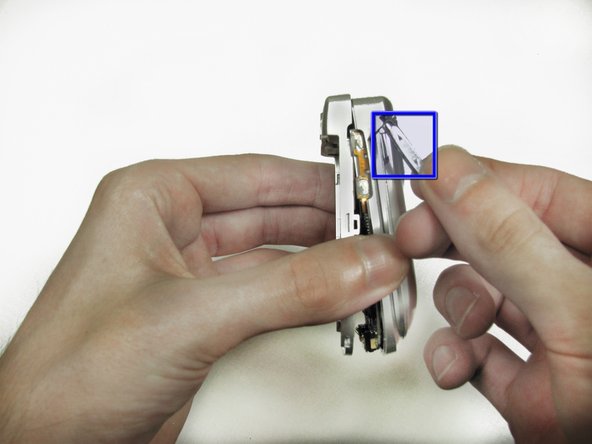
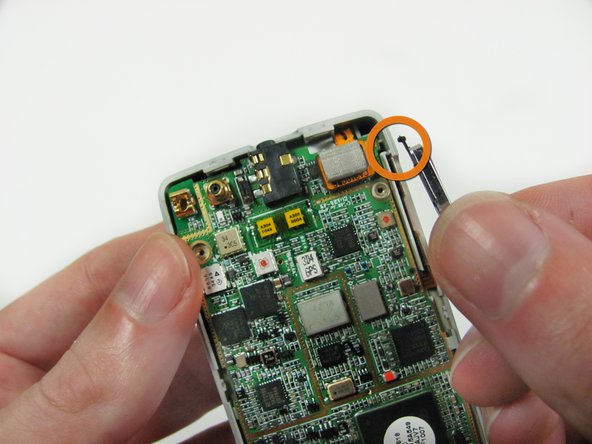
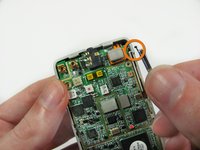
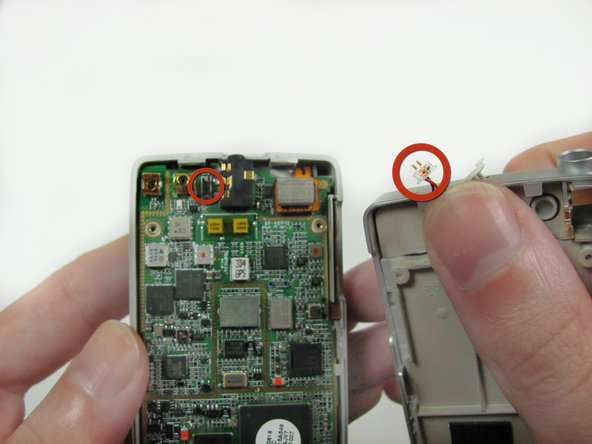
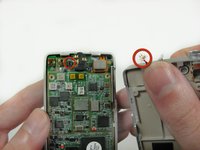
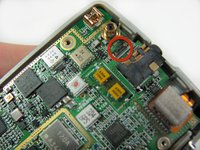
    • Pull the back plate up by gently twisting slightly towards the top left corner. When you feel the catch release, you can fold the plate back like a book cover.

    • Be careful of the connectors. There are two very small wires which run to the back cover of the phone.

    • If you accidentally pull the wires out, don't panic. The connector can be pushed back into place very easily.

    • If you are confident in your ability to reassemble the device, pulling the connector out can make this process easier by getting the back casing out of the way.

    crwdns2952109:0crwdne2952109:0

    crwdns2917038:0crwdne2917038:0

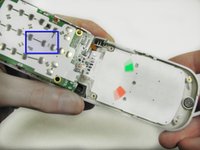
  6. Samsung SCH-A310 Keypad Replacement: crwdns2935265:06crwdnd2935265:01crwdnd2935265:02crwdne2935265:0 Samsung SCH-A310 Keypad Replacement: crwdns2935265:06crwdnd2935265:02crwdnd2935265:02crwdne2935265:0
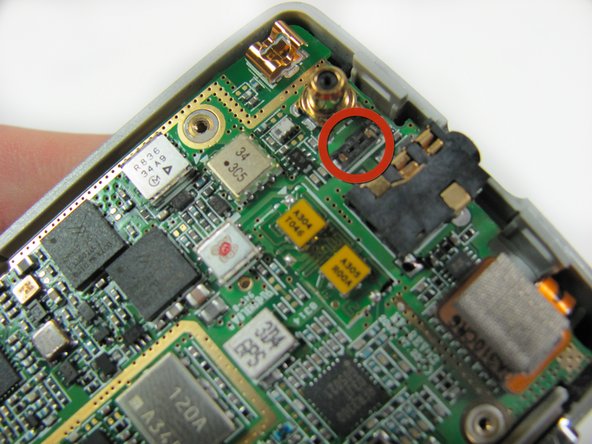
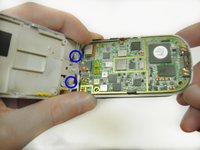
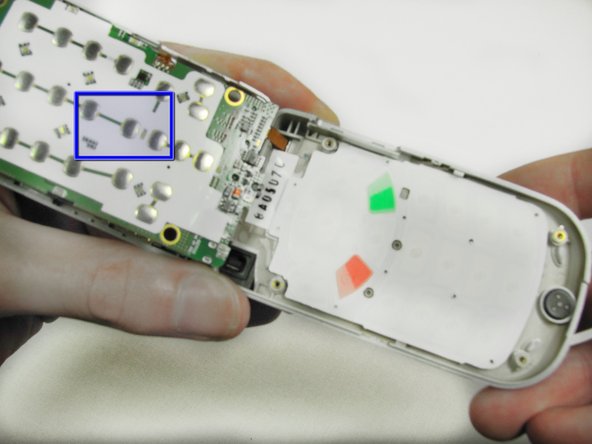
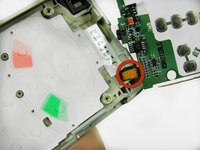
    • Fold the circuit board back like a book cover just as you did with the back plate.

    • Be careful of this connector which goes to the front of the phone.

    • Unlike the connector in the previous step, this one should not be removed unless you plan to replace the motherboard.

    • The silver contacts on the bottom of the motherboard are what recognize key presses; if the phone isn't responding to key presses, you will need to replace the motherboard here.

    crwdns2952109:0crwdne2952109:0

    crwdns2917038:0crwdne2917038:0

  7. Samsung SCH-A310 Keypad Replacement: crwdns2935265:07crwdnd2935265:01crwdnd2935265:01crwdne2935265:0
    • Simply pop the keypad out of the case by pressing the keys through the frame.

    • If keys were sticky, give them a thorough cleaning with soap and water; if they are damaged, replace the keypad.

    • Make sure to dry the keypad very thoroughly before placing back in the frame.

    crwdns2952109:0crwdne2952109:0

    crwdns2917038:0crwdne2917038:0

crwdns2915888:0crwdne2915888:0

To reassemble your device, follow these instructions in reverse order.

crwdns2935221:0crwdne2935221:0

Jacob

crwdns2935283:001/20/12crwdne2935283:0

1 crwdns2915208:0crwdne2915208:0

crwdns2935295:0crwdne2935295:0

crwdns2935287:0crwdne2935287:0

Cal Poly, Team 11-23, Maness Winter 2012 crwdns2935289:0Cal Poly, Team 11-23, Maness Winter 2012crwdne2935289:0

CPSU-MANESS-W12S11G23

crwdns2931471:04crwdne2931471:0

crwdns2935297:010crwdne2935297:0

crwdns2947412:00crwdne2947412:0

crwdns2917038:0crwdne2917038:0

crwdns2936625:0crwdne2936625:0:

crwdns2936751:024crwdne2936751:0 2

crwdns2936753:07crwdne2936753:0 6

crwdns2936753:030crwdne2936753:0 33

crwdns2942667:0crwdne2942667:0 1,757