crwdns2933423:0crwdne2933423:0

Samsung RC512 Screen Replacement

crwdns2942213:0crwdne2942213:0

  1. Samsung RC512 Screen Replacement, Battery: crwdns2935265:01crwdnd2935265:01crwdnd2935265:01crwdne2935265:0
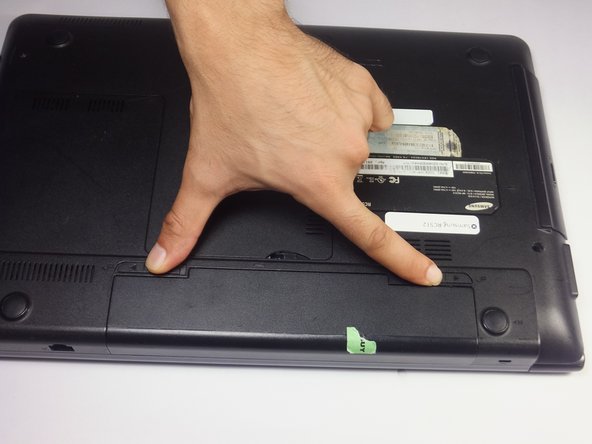
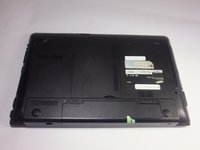
    • Place the laptop upside down.

  2. Samsung RC512 Screen Replacement: crwdns2935265:02crwdnd2935265:01crwdnd2935265:02crwdne2935265:0 Samsung RC512 Screen Replacement: crwdns2935265:02crwdnd2935265:02crwdnd2935265:02crwdne2935265:0
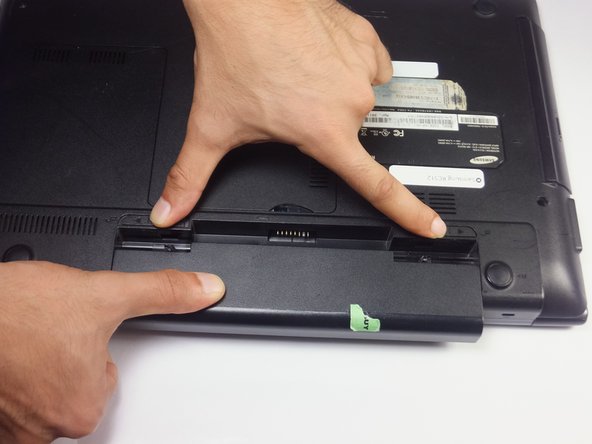
    • Locate two notches above the battery.

    • Slide both battery locking notches to either side to remove the battery.

    • Pull the battery out.

  3. Samsung RC512 Screen Replacement, Screen: crwdns2935265:03crwdnd2935265:01crwdnd2935265:03crwdne2935265:0 Samsung RC512 Screen Replacement, Screen: crwdns2935265:03crwdnd2935265:02crwdnd2935265:03crwdne2935265:0 Samsung RC512 Screen Replacement, Screen: crwdns2935265:03crwdnd2935265:03crwdnd2935265:03crwdne2935265:0
    • The Laptop should be off before removing the battery.

    • Slide both battery locking notches to either side to remove the battery.

    • Pull the battery out.

  4. Samsung RC512 Screen Replacement: crwdns2935265:04crwdnd2935265:01crwdnd2935265:03crwdne2935265:0 Samsung RC512 Screen Replacement: crwdns2935265:04crwdnd2935265:02crwdnd2935265:03crwdne2935265:0 Samsung RC512 Screen Replacement: crwdns2935265:04crwdnd2935265:03crwdnd2935265:03crwdne2935265:0
    crwdns2935267:0crwdne2935267:0
    Tweezers
    $4.99
    crwdns2942207:0crwdne2942207:0
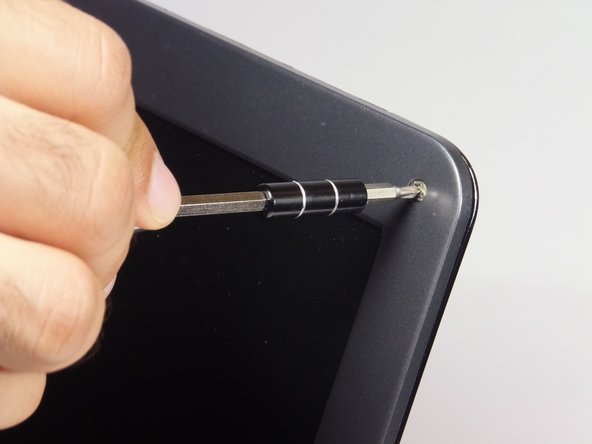
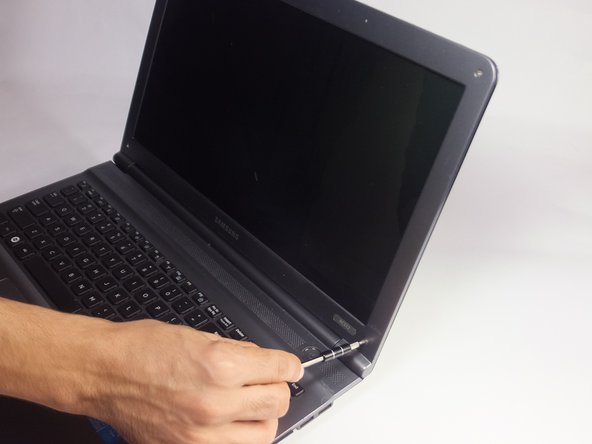
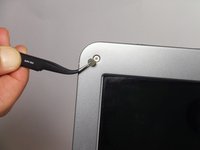
    • Remove the gray covers with tweezers to expose the 4mm screws.

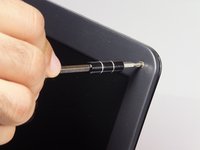
    • Using a Phillips #0 screwdriver, remove the four 4 mm Phillips #0 screws.

  5. Samsung RC512 Screen Replacement: crwdns2935265:05crwdnd2935265:01crwdnd2935265:02crwdne2935265:0 Samsung RC512 Screen Replacement: crwdns2935265:05crwdnd2935265:02crwdnd2935265:02crwdne2935265:0
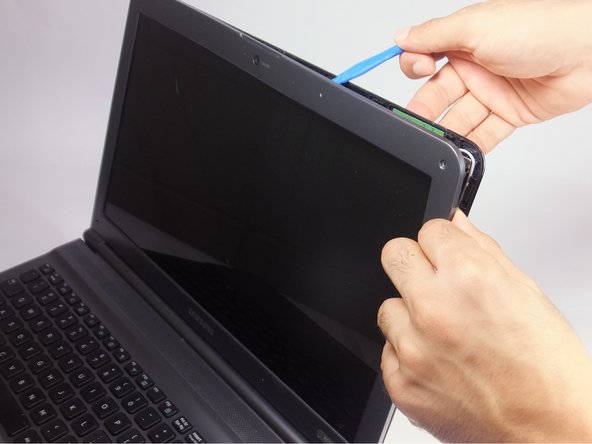
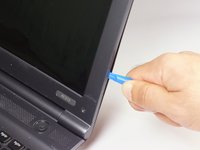
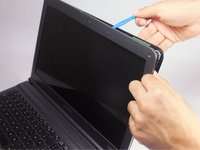
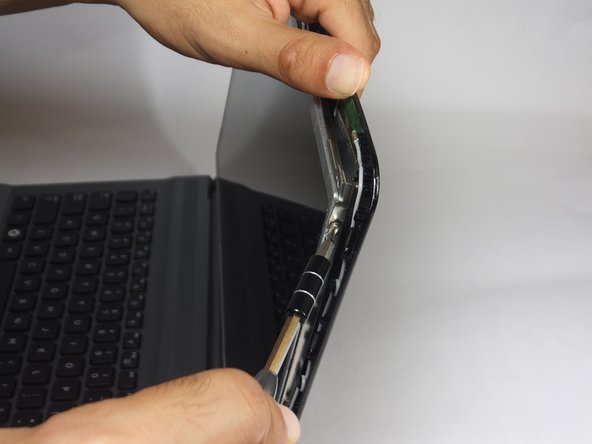
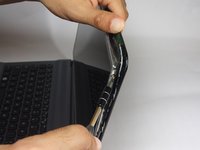
    • Insert the blue plastic opening tool into the bezel and rear housing of the screen.

    • Use the plastic opening tool to pop open the claps that hold the casing on the screen.

    • Work your way around the sides carefully and continue this to the bottom.

    • You may use your fingers to help remove the cover.

  6. Samsung RC512 Screen Replacement: crwdns2935265:06crwdnd2935265:01crwdnd2935265:02crwdne2935265:0 Samsung RC512 Screen Replacement: crwdns2935265:06crwdnd2935265:02crwdnd2935265:02crwdne2935265:0
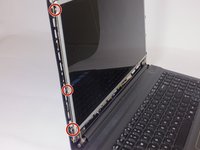
    • With the Phillips #0 screwdriver remove the six 3 mm screws, which mount the screen onto the base of the laptop.

    • As you remove the last two screws, support the screen. As the screws are taken out, the screen will begin to fall forward.

  7. Samsung RC512 Screen Replacement: crwdns2935265:07crwdnd2935265:01crwdnd2935265:03crwdne2935265:0 Samsung RC512 Screen Replacement: crwdns2935265:07crwdnd2935265:02crwdnd2935265:03crwdne2935265:0 Samsung RC512 Screen Replacement: crwdns2935265:07crwdnd2935265:03crwdnd2935265:03crwdne2935265:0
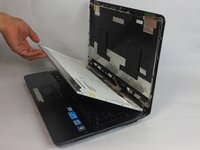
    • Gently lay the LCD onto the keyboard.

    • Do not separate the LCD screen and the back panel from each other. The video connector still connects the two together.

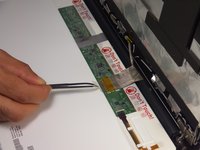
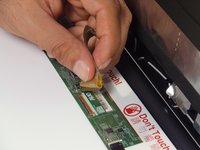
    • Remove the tape that secures the video connector to the LCD screen with tweezers.

    • Grasp the video connector at its base and pull it away from the LCD screen.

    • The only thing holding the screen will be the clear tape causing it to come out easily.

crwdns2915888:0crwdne2915888:0

To reassemble your device, follow these instructions in reverse order.

crwdns2935227:0crwdne2935227:0
jando

crwdns2935283:009/15/16crwdne2935283:0

896 crwdns2915208:0crwdne2915208:0

crwdns2935297:08crwdne2935297:0

crwdns2915084:0crwdne2915084:0

USF Tampa, Team 18-2, Blackwell Fall 2016 crwdns2935289:0USF Tampa, Team 18-2, Blackwell Fall 2016crwdne2935289:0

USFT-BLACKWELL-F16S18G2

crwdns2931471:04crwdne2931471:0

crwdns2935297:08crwdne2935297:0

crwdns2944067:00crwdne2944067:0

crwdns2917038:0crwdne2917038:0

crwdns2936625:0crwdne2936625:0:

crwdns2936751:024crwdne2936751:0 2

crwdns2936753:07crwdne2936753:0 3

crwdns2936753:030crwdne2936753:0 10

crwdns2942667:0crwdne2942667:0 706