crwdns2915892:0crwdne2915892:0
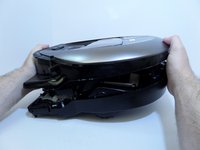
Replace the left driving wheel of your POWERbot to end movement problems. To resolve the C 02 error code, replace the left driving wheel.
crwdns2942213:0crwdne2942213:0
-
-
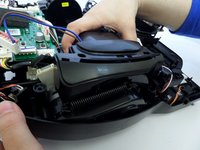
Turn the emergency switch off.
 crwdns2952109:0crwdne2952109:0
-
-
-
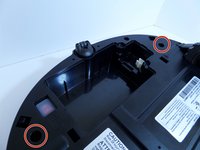
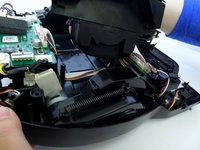
Remove the two exposed screws on the top right of the device.
-
-
-
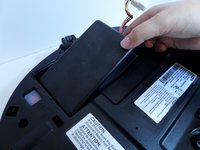
Lift the cover plate to expose the battery.
-
-
-
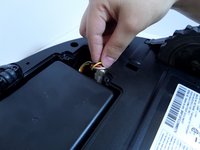
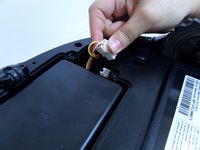
Using one hand, pinch the white plastic connector where the battery's wiring connects the POWERbot. Pull up to disconnect.
-
-
-
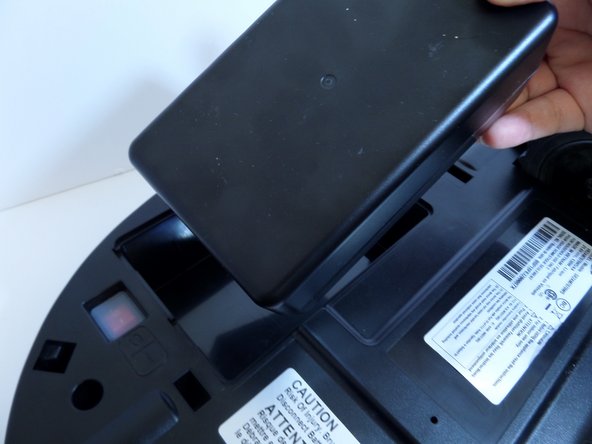
Lift the battery from the right side, up and out of its compartment.
-
-
-
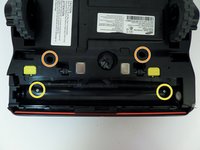
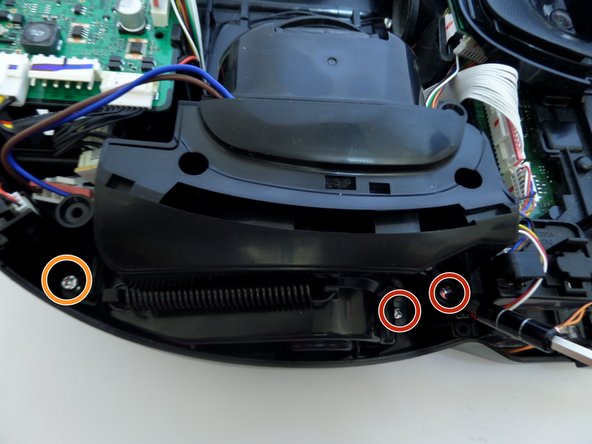
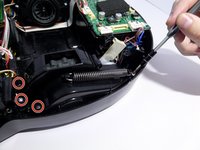
Unscrew the two silver 1.5 cm screws on the left and right side of the battery compartment.
-
Remove the two 1.5 cm screws above the yellow sliding lock tabs.
-
Remove the two 1.2 cm screws in the brush compartment.
-
-
-
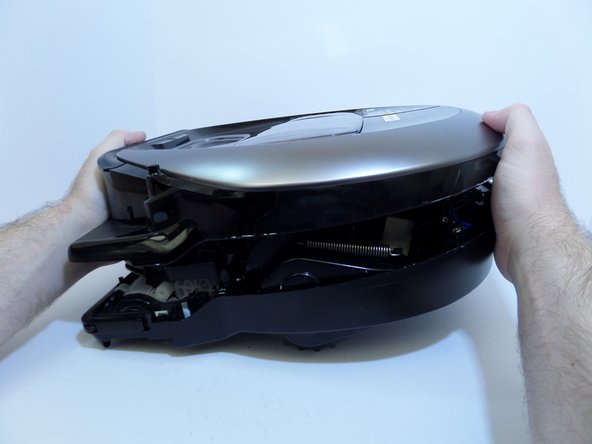
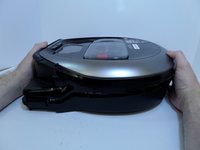
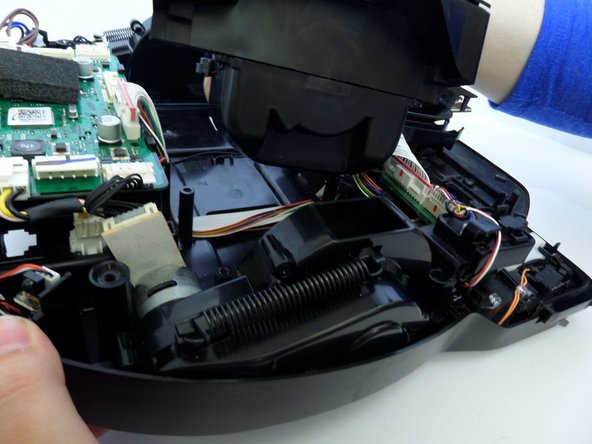
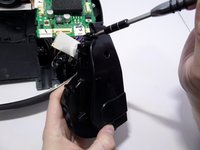
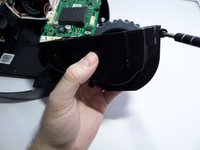
With moderate force, separate the silver top from the black bottom of the vacuum.
-
-
-
-
Disconnect the white and red wired connector attached to the top half of the base of the vacuum by squeezing the connector and pulling up.
-
-
-
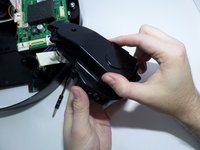
Pinching the top and bottom of the black wired connector, pull outward, fully detaching the top from the bottom of the device.
-
-
-
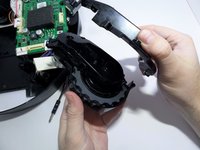
Detach the wide circuit connector on the left side by pinching and pressing down on the right and left side of the clip, pulling the connector out.
-
-
-
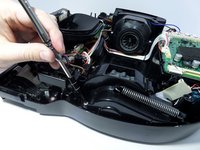
Remove the four 1.2 cm screws.
-
Remove the single 0.8 cm screw.
-
-
-
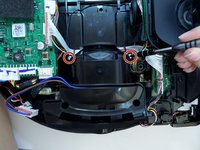
Remove the two 1.5 cm screws on the motor chamber.
-
-
-
Lift the motor by grabbing the body of the motor, lifting upward.
-
-
-
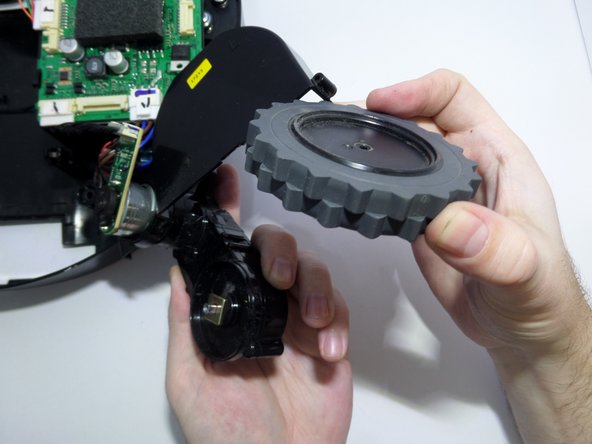
Unscrew the two screws securing the left and right ends of the wheel casing to the base of the vacuum.
-
-
-
Unscrew the screws securing the black plastic piece to the left of the wheel casing.
-
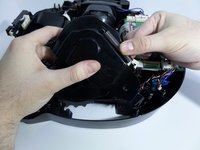
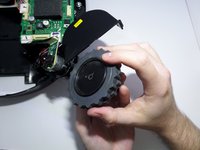
Lift the wheel casing out of the vacuum base.
-
-
-
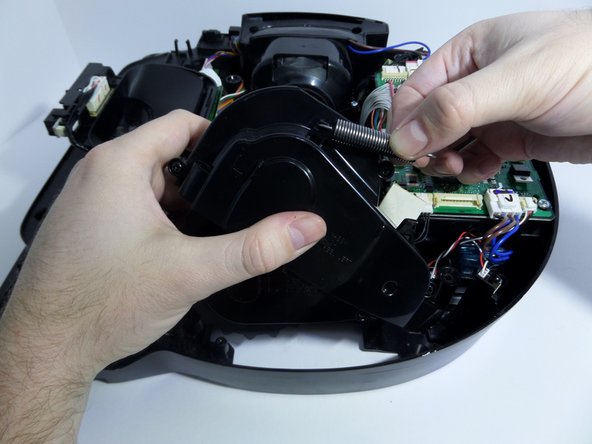
Arrange the wheel so that the spring is fully retracted.
-
Unhook one edge of the spring by carefully pulling the spring towards the hook.
-
With the spring unhooked, remove the spring from the wheel casing.
-
-
-
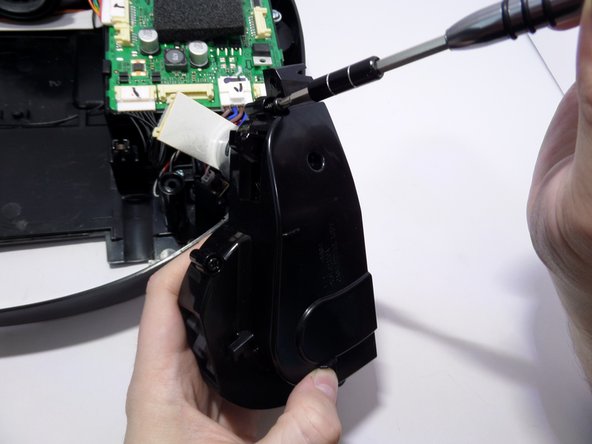
Remove the screws that are fastening the two halves of the wheel casing together.
-
-
-
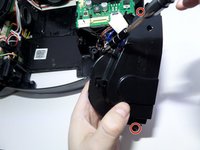
Unscrew the black 1 cm screw securing the center of the wheel to the remaining half of the wheel casing.
-


To reassemble your device, follow these instructions in reverse order.
crwdns2935221:0crwdne2935221:0
crwdns2935229:05crwdne2935229:0
crwdns2935287:0crwdne2935287:0

CSU Fullerton, Team S2-G8, Bruce Fall 2017 crwdns2935289:0CSU Fullerton, Team S2-G8, Bruce Fall 2017crwdne2935289:0
CSUF-BRUCE-F17S2G8
crwdns2931471:03crwdne2931471:0
crwdns2935297:010crwdne2935297:0
crwdns2947412:02crwdne2947412:0
Where can you find the replacement left driving wheel? are all the model the same?
ghvolleyball - crwdns2934203:0crwdne2934203:0 crwdns2950251:0crwdne2950251:0
My left wheel seams to have sand in the gear box now and won’t turn. I need a replacement part or assembly for a R7065 Powerbot LH wheel gear box, which is very similar to the R7070. As far as I can see (I have one of each) the R7065 has two rubber beaters and two brush beaters where as the R7070 has 4 rubber beaters.
Steven Nicholas - crwdns2934203:0crwdne2934203:0 crwdns2950251:0crwdne2950251:0