
Samsung P241 Power Cable Replacement

crwdns2959932:0crwdnd2959932:0Sarah Wachtfogelcrwdnd2959932:0crwdnd2959932:0crwdnd2959932:02crwdnd2959932:0crwdne2959932:0
crwdns2959936:0Yan 19, 2016crwdne2959936:0
crwdns2869540:0crwdne2869540:0: 1763
crwdns2959988:0crwdne2959988:0
- crwdns2959990:0crwdne2959990:0
- 0
- crwdns2959992:0crwdne2959992:0
- 18
- crwdns2959994:0crwdne2959994:0
- 93
- crwdns2959996:0crwdne2959996:0
- 1,763
crwdns2955950:0crwdne2955950:0: 0
crwdns2959998:0crwdne2959998:0
crwdns2960000:0crwdne2960000:0crwdns2959984:0crwdne2959984:0: 0 1
crwdns2959956:0crwdne2959956:0
crwdns2959968:01crwdne2959968:0
crwdns2959986:0crwdne2959986:0: 0 1
crwdns2959958:0crwdne2959958:0
crwdns2959976:01crwdne2959976:0
crwdns2915892:0crwdne2915892:0
crwdns2959928:0crwdne2959928:0 ↓Make sure you look at the Samsung P241 Troubleshooting Guide first to see if you can solve your problem without taking the DVD player apart.
This guide will help you figure out if the problem is with your current power cable or the motherboard, and show you how to replace the power cable if the current power cable is broken.
crwdns2959930:0crwdne2959930:0
crwdns2943215:0crwdne2943215:0


-
-
-
With the back of the DVD player facing you, remove the three 1 cm black screws on the right, left, and top sides using a Phillips #1 screwdriver.
 crwdns2952109:0crwdne2952109:0
-
-
-
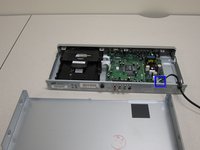
Pull the top cover towards you until you can lift it up and off.
-
-
-
-
-
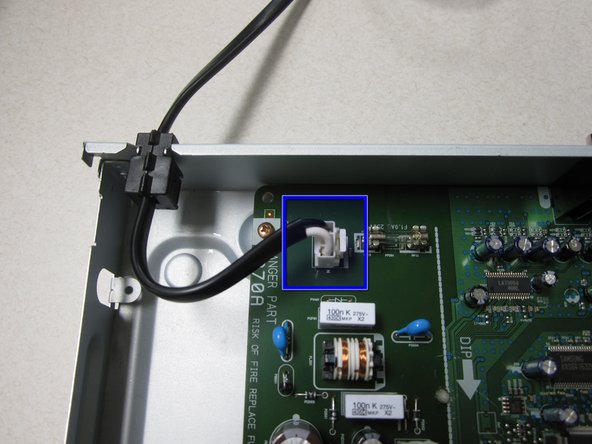
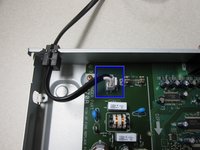
Unclip the power cable from the motherboard and gently pull up to remove.
-
-
-
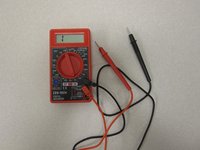
Once you have unclipped the power cable, use a multimeter (left) to test if the cable is still functional.
-
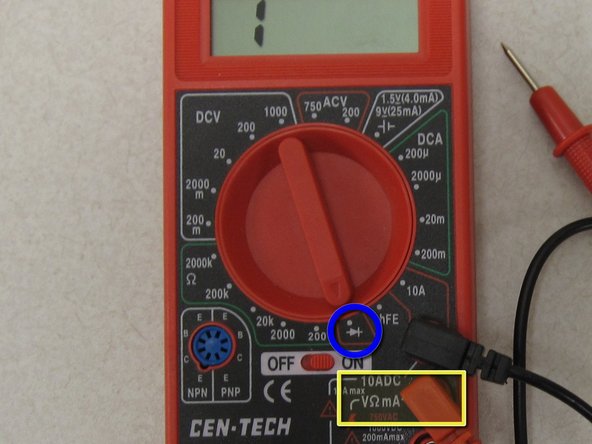
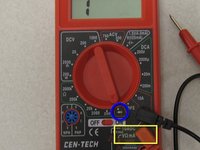
Turn the dial on the multimeter to continuity test mode.
-
Make sure the positive lead is plugged into the voltmeter/ohmeter outlet.
-
-
-
-
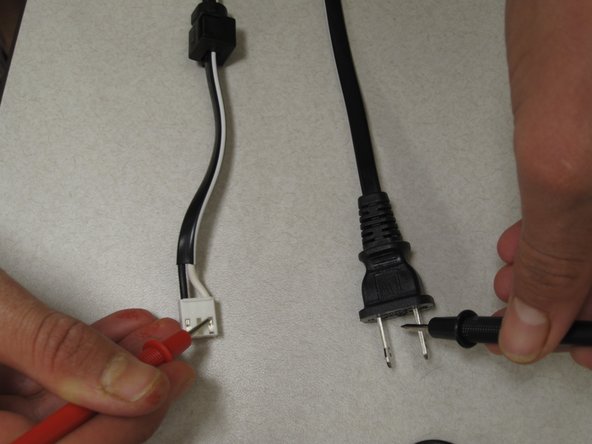
Use one multimeter lead to touch one of the prongs on the AC side of power cable. Use the other lead to touch one end of the clip side of the power cable.
-
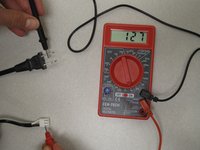
The multimeter will show numbers if there is a good electrical connection. If it does not show any numbers the first time, try using the lead to touch the other prong.
-
Repeat the above directions with the other prong and clip side of the power cable.
-
If the multimeter does not show numbers during any of the connections, your power cable is dead and you will need to replace it.
-
-
-
If you found that the power cable has a good electrical connection, you will have to test that the cable has not shorted out.
-
To do this, touch each prong on the AC side of the power cable. If numbers show on the screen, your power cable is bad and must be replaced.
-
If the cable works, the problem is with the motherboard.
-
-




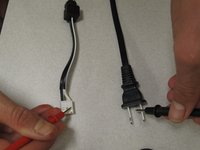

To reassemble your device, follow these instructions in reverse order.

crwdns2935287:0crwdne2935287:0

Cal Poly, Team 14-7, Forte Winter 2011 crwdns2935289:0Cal Poly, Team 14-7, Forte Winter 2011crwdne2935289:0
CPSU-FORTE-W11S14G7
crwdns2931471:05crwdne2931471:0
crwdns2935297:084crwdne2935297:0
