crwdns2933423:0crwdne2933423:0

Samsung Odyssey NP800G5M Fan Replacement

crwdns2942213:0crwdne2942213:0

  1. Samsung Odyssey NP800G5M Fan Replacement, Battery: crwdns2935265:01crwdnd2935265:01crwdnd2935265:01crwdne2935265:0
    • Remove the eleven 6.6 mm screws on the back of the computer using the Phillips #0 screwdriver.

  2. Samsung Odyssey NP800G5M Fan Replacement: crwdns2935265:02crwdnd2935265:01crwdnd2935265:02crwdne2935265:0 Samsung Odyssey NP800G5M Fan Replacement: crwdns2935265:02crwdnd2935265:02crwdnd2935265:02crwdne2935265:0
    • Using the opening tool, gently pry apart the back corners until the plastic separates from the body of the laptop.

    • Work your way around the body of the laptop until the back cover is completely separated.

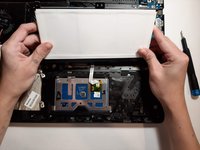
    • Remove the back casing.

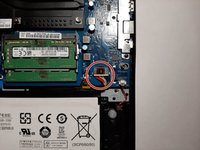
  3. Samsung Odyssey NP800G5M Fan Replacement: crwdns2935265:03crwdnd2935265:01crwdnd2935265:02crwdne2935265:0 Samsung Odyssey NP800G5M Fan Replacement: crwdns2935265:03crwdnd2935265:02crwdnd2935265:02crwdne2935265:0
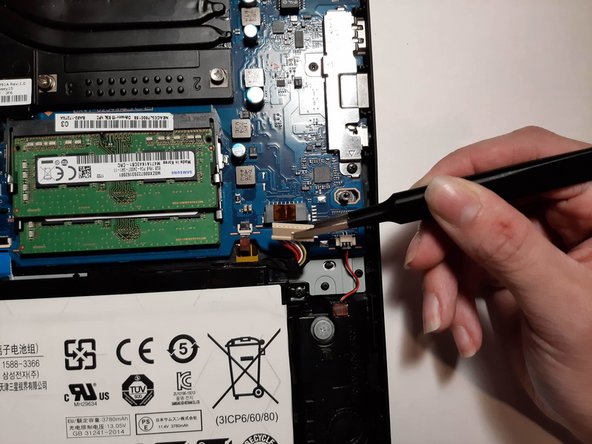
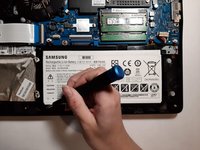
    • Disconnect the battery connector cable.

    • Working on the device without removing the battery connector cable can damage major components of the device.

  4. Samsung Odyssey NP800G5M Fan Replacement: crwdns2935265:04crwdnd2935265:01crwdnd2935265:03crwdne2935265:0 Samsung Odyssey NP800G5M Fan Replacement: crwdns2935265:04crwdnd2935265:02crwdnd2935265:03crwdne2935265:0 Samsung Odyssey NP800G5M Fan Replacement: crwdns2935265:04crwdnd2935265:03crwdnd2935265:03crwdne2935265:0
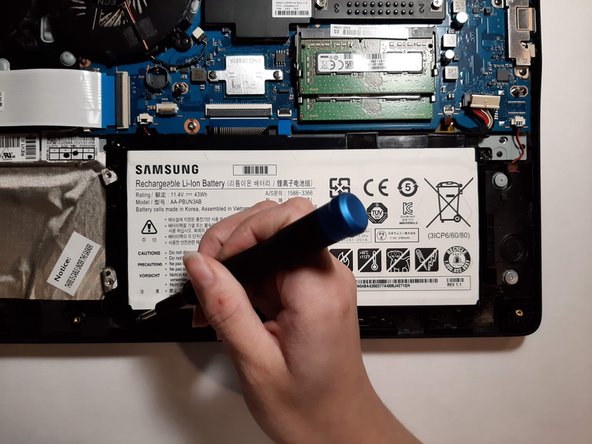
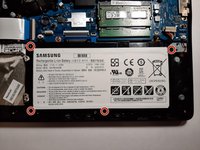
    • Remove the four 6.6 mm screws using the Phillips #0 screwdriver.

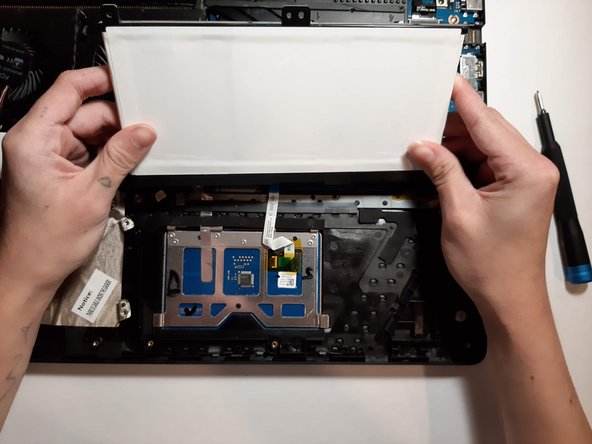
    • Remove the battery from the device.

  5. Samsung Odyssey NP800G5M Fan Replacement, Fan: crwdns2935265:05crwdnd2935265:01crwdnd2935265:03crwdne2935265:0 Samsung Odyssey NP800G5M Fan Replacement, Fan: crwdns2935265:05crwdnd2935265:02crwdnd2935265:03crwdne2935265:0 Samsung Odyssey NP800G5M Fan Replacement, Fan: crwdns2935265:05crwdnd2935265:03crwdnd2935265:03crwdne2935265:0
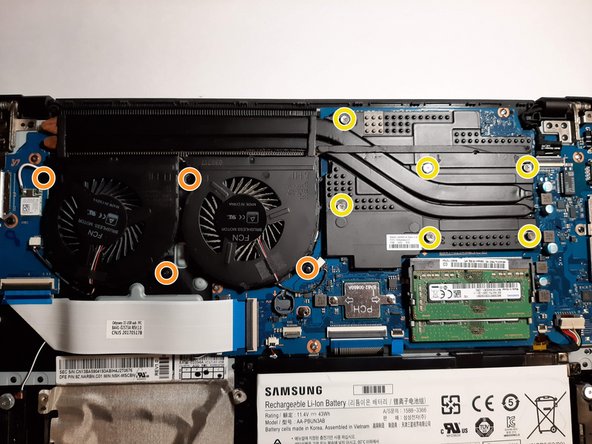
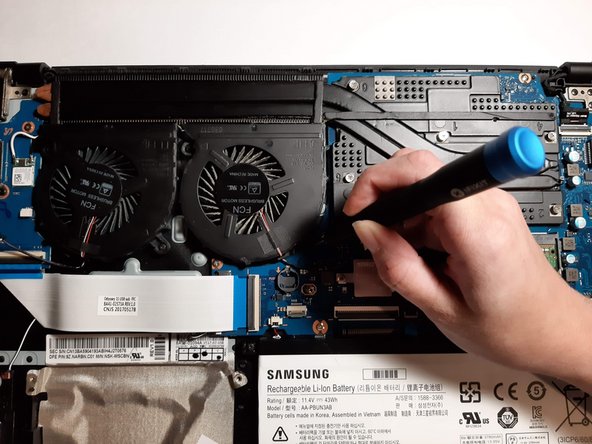
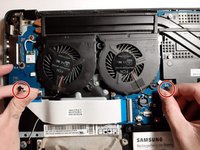
    • Disconnect the fans from the motherboard by pulling the plugs away from their connectors.

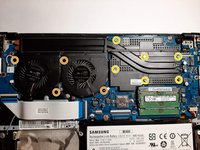
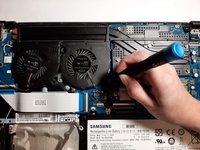
    • Using the Phillips #0 screwdriver, remove the four 4.6mm screws.

    • Using the same screwdriver, unscrew the six screws surrounding the heat sink.

    • These screws cannot be removed from the device.

    • Remove the fan assembly from the device.

crwdns2915888:0crwdne2915888:0

To reassemble your device, follow these instructions in reverse order.

crwdns2935229:04crwdne2935229:0
Sean Surrency

crwdns2935283:009/16/19crwdne2935283:0

807 crwdns2915208:0crwdne2915208:0

crwdns2935297:05crwdne2935297:0

crwdns2915084:0crwdne2915084:0

Embry-Riddle Aeronautical University, Team S24-G6, McClure Fall 2019 crwdns2935289:0Embry-Riddle Aeronautical University, Team S24-G6, McClure Fall 2019crwdne2935289:0

ERAU-MCCLURE-F19S24G6

crwdns2931471:04crwdne2931471:0

crwdns2935297:05crwdne2935297:0

crwdns2944067:00crwdne2944067:0

crwdns2917038:0crwdne2917038:0

crwdns2936625:0crwdne2936625:0:

crwdns2936751:024crwdne2936751:0 2

crwdns2936753:07crwdne2936753:0 3

crwdns2936753:030crwdne2936753:0 17

crwdns2942667:0crwdne2942667:0 1,226